The easiest way to Draw with PowerPoint
Using the Ink . tool
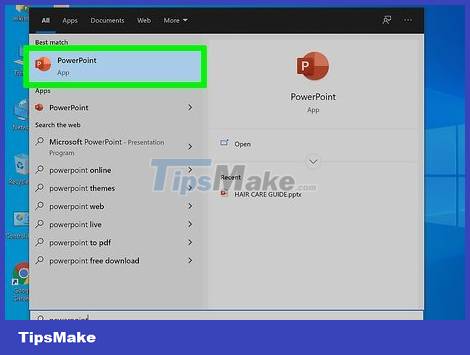
Open Microsoft PowerPoint. If you don't have it installed, you can check out the free trial of the office suite provided by Microsoft.
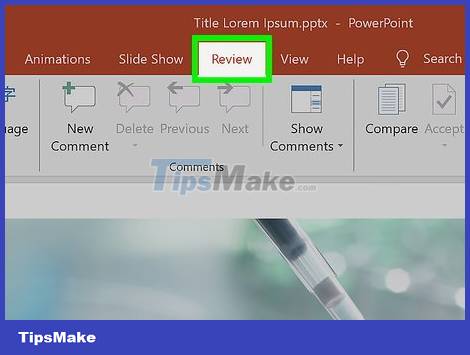
Select the 'Review' tab on the right side of the menu bar.
For Office 365 users, this tab might be 'Draw'. All the same controls related to 'Inking' are included here. If not found, this feature may not be supported on the current operating system, or you need to update the version of Office.
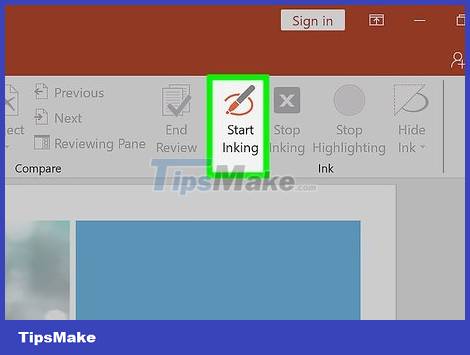
Click 'Start Inking'. The option to the right of this toolbar brings up a new set of drawing tools.
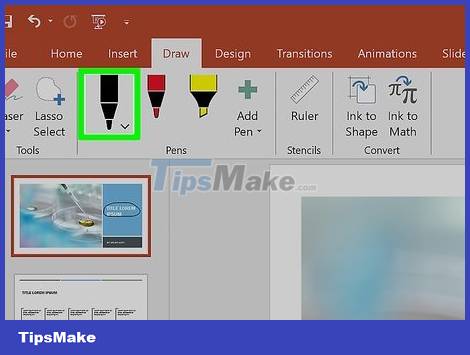
Use the 'Pen' tool to draw hands. This button is on the left, you can select the pen tool and create a basic contour drawing.

Use the 'Highlighter' tool to draw transparent lines. This tool works similar to the Pen, but the stroke is larger and transparent, so you will be able to overwrite other text or drawings without covering them.

The 'Eraser' tool is used to erase drawn elements. After selecting the tool, click and drag the mouse pointer over the lines you want to erase.
Click the drop-down arrow on the 'Eraser' button to select the eraser size setting.
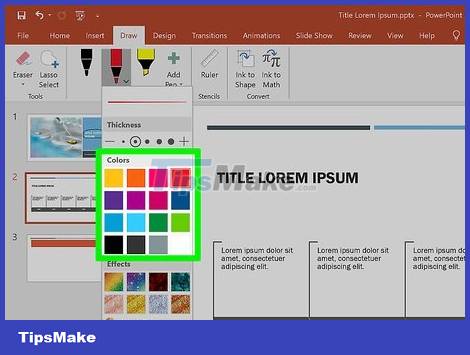
Change tool color. Select the 'Color' drop-down in the 'Pen' section of the toolbar and then choose a different color for the pen/marker from the palette.

Adjust the thickness of the tool. Click the 'Thickness' menu from within the 'Pen' section of the toolbar to choose different sizes for pens/markers.
You can also choose a preset color/size from the menu to the left of the 'Color' and 'Thickness' drop-down boxes.
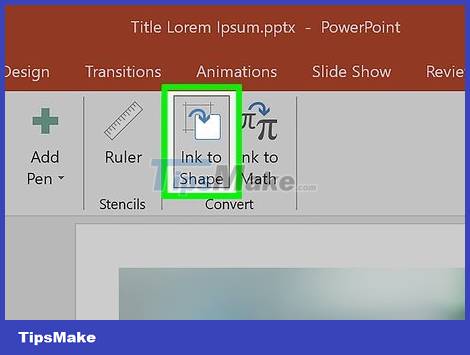
Click 'Convert to Shapes'. This feature will automatically adjust any relative shape to a complete shape. For example, if you hand-draw a circle and select this feature, the contour will be converted to a complete circle.
This feature also predicts a shape based on the number of strokes (squares, hexagons, and so on).
Shapes are adjusted only after the feature has been enabled. Shapes drawn before you click 'Convert to Shapes' will not change.
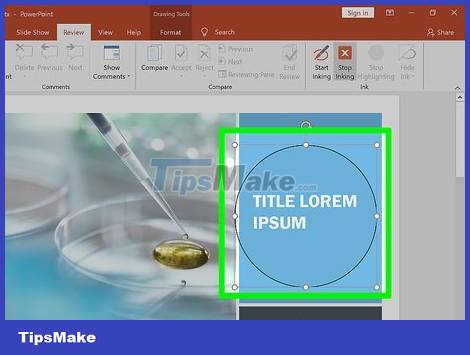
Click 'Select'. This tool allows you to drag and move shapes around the screen.
If you get stuck, you can click 'Lasso' and draw a circle around the area you want to select. The Lasso tool only works with drawing objects.
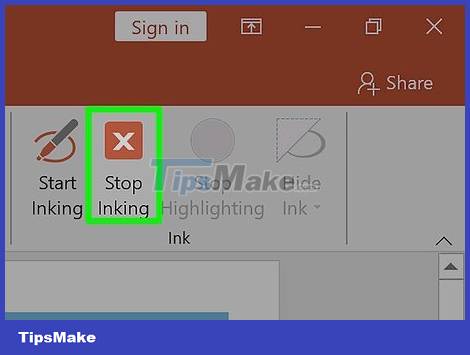
Stop the Inking feature. Click here to have the 'Select' tool automatically selected once you're done editing with a pen or marker. If you have not made any edits, you will be redirected to the 'Review' tab.
Using the Drawing tool
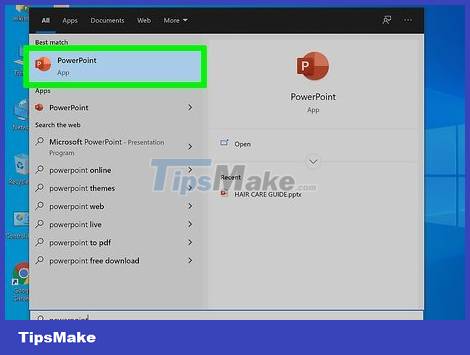
Open Microsoft PowerPoint. These steps also work with an alternative such as Google Slides or Openoffice Impress, but the menu options and location will be quite different.
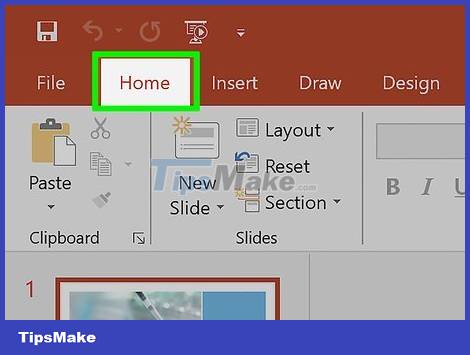
Select the 'Home' tab in the upper left. This tab is selected by default if you are working with a new document.
All drawing tools will appear to the right of the 'Drawing' section in the toolbar. On a Mac, the location of this section is similar, but there will be no labels.

Select the shape or contour tool. On Windows, a list of shape or line options will appear to the left of the 'Drawing' section in the toolbar. On Mac, both types of tools will appear when you click 'Shapes' to the right of the unlabelled section.
Click the down arrow to expand the list and see more shape/line options.
To proceed with the hand drawing, click on the 'Scribble' stroke option from within the tools list.
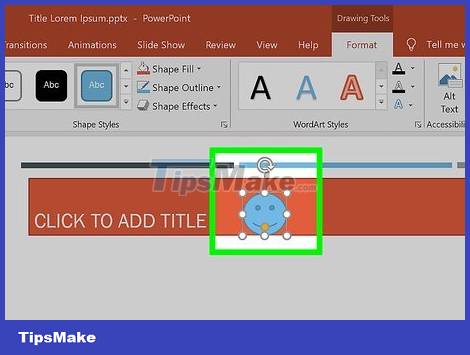
Click and drag the mouse pointer to draw. The line or shape (depending on the tool) will start where the mouse is clicked and end where you release the mouse.
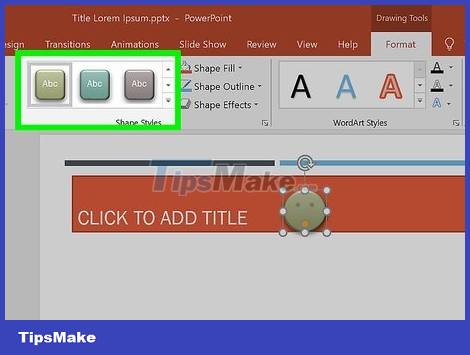
Select the shape available in 'Quick Style'. This option is located in the right part of the toolbar, includes different shades of color and transparency settings for the selected line/image.
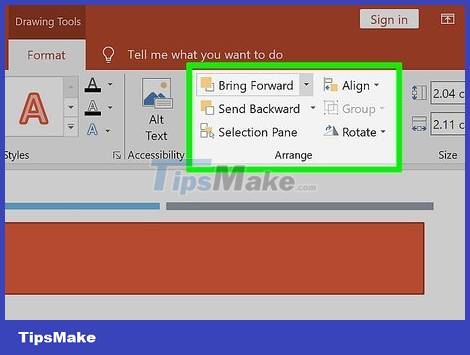
Click 'Arrange'. This option is also in the right section and brings up a list of alternate settings. Options like 'Bring to front' or 'Move to back' allow you to work with overlapping drawings.

Use Shape Effects. To the right of the other drawing tools, you'll see three Fill, Outline, and Effects buttons:
'Shape Fill' will open a list of palettes to fill in the drawn shape.
'Shape Outline' contains a list of palettes for contouring the shape.
'Shape Effects' includes a list of preset graphics or lighting for the shape, such as 'Embossed', 'Glow' or 'Shadow'. You can apply multiple effects to the shape at once if you want.
These effects do not affect the drawn lines.
Export as image file

Open the 'File' menu and select 'Save As'. You will be taken to the interface to name and choose where to save.
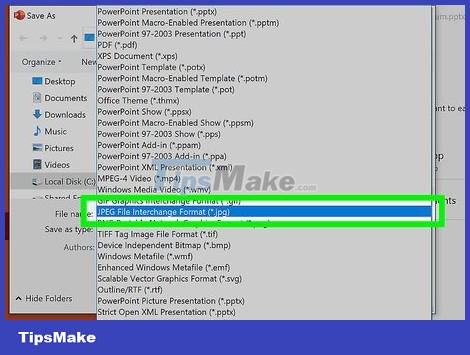
Select the image file type. Below the file name field is a drop-down menu for choosing a format. This menu includes various image file types (.jpg, .gif, .png, .bmp, and more).
By default, Powerpoint will save the file as a .pptx.
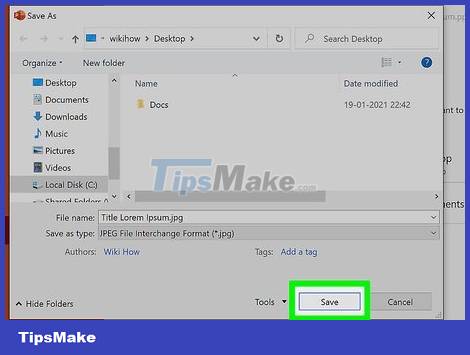
Click 'Save'. A copy of the image will be saved to the specified location in the file format of your choice.
If you are saving multiple slides as a file, the program will ask you to choose whether to export the entire slide ('All Slides') or just one page ('Just This One').