Simple tips to fix Windows errors for your computer quickly
Quick tips to fix Windows errors for computers, Laptops, help speed up your computer to operate more efficiently within just a few clicks with Windows Repair software.

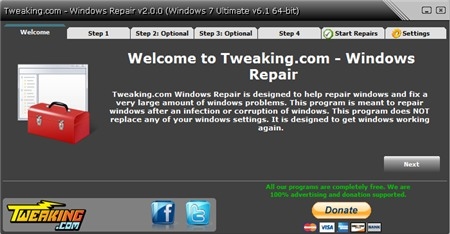
Windows Repair is a quick and free software to fix Windows system errors.
You can download the installation Link Here :
http://www.tweaking.com/content/page/windows_repair_all_in_one.html
Note, the program runs on Windows XP / Vista / 7/8 / 8.1 computers. After downloading the software to your computer, follow the steps below:
Step 1: Scan for viruses
Scan for viruses and malware with the antivirus tools suggested by Windows Repair or scan your computer with the license of reputable antivirus software that you have installed. Scanning for computer viruses is very important because after fixing the errors, the malware still exists, it is considered as a useless repair work.

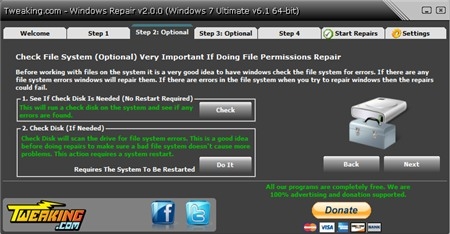
Step 2: Check the system with the Check disks command
This is an important step to detect file system errors and will carry out automatic repair. It should be done after virus scan.
Step 3: Restart the computer
After the Windows Repair program automatically repairs corrupted or corrupted system files, you need to turn off the computer and restart it.
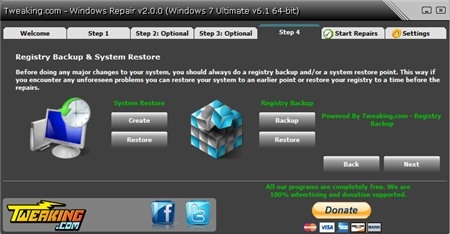
Step 4: Create a system backup
Before performing a repair, backing up the system and Registry is essential to help you take the initiative in the process of fixing errors, or 'fighting', at least you have a way to 'return' when something goes wrong. . Click Create to create a system backup point> click Backup to make a copy of the Registry> ready for Windows Repair to do your main job on the Start Repairs tab.

Step 5: Start fixing errors with Windows Repair
1. Click Start to open the error correction window.
2. Check / uncheck the items to repair (or leave the default), option to turn off or restart the computer after doing so.
3. Click Start to detect and fix errors (takes about 5 minutes).

Note: Does not work while Windows Repair is fixing the error. The entire working process of the program is shown in the Log section, when the repair is completed, the repair content is shown in the Repair Info section.
4. Once completed, restart the computer again and experience the difference.