Table of Contents
How to Use Windows Repair to Fix Windows Errors is easier to understand when the core ideas are paired with practical examples. The sections below explain the topic clearly, highlight useful steps, and point out details that can prevent common errors.
If you want to detect and fix errors on your computer, users can immediately use Troubleshoot tool available on Windows operating system, fix errors related to software, hardware, network, interface and security on Windows ten.
- Instructions for fixing 100% Full Disk error on Windows 10
- 10 common errors on Windows 10 and how to fix bugs
- How to use the Startup Repair tool to fix problems in Windows 7
Instructions for using Windows Repair to fix Windows
Step 1:
Windows Repair latest version 2018 has 2 versions that are free and costly. Although the free Windows Repair version supports you to find and fix common problems on Windows, it is enough to use. Download the free Windows Repair version under the link below.
- Download the Windows Repair tool
Step 2:
Click the.exe file to install Windows Repair.
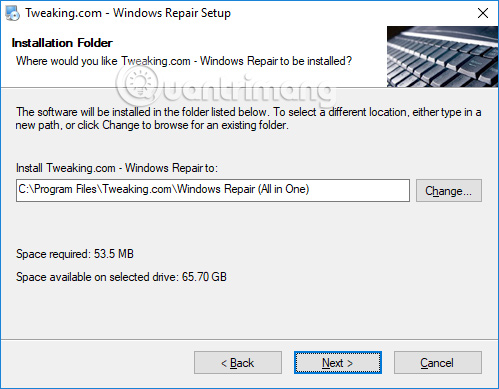
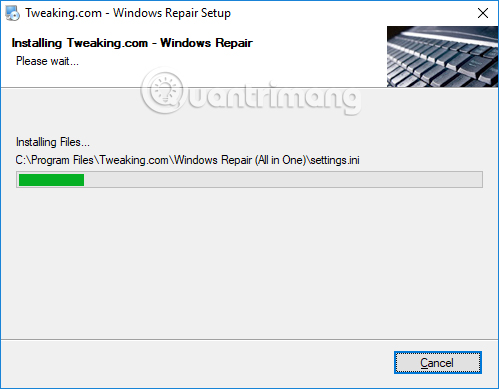
The steps to install Windows Repair are very simple, with no additional installation tips. Users just need to click Next to complete the installation of the tool.
Step 3:
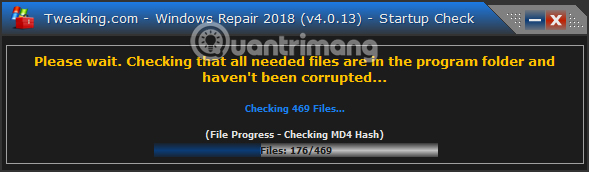
Start the software after the installation is complete. On the first run, Windows Repair will check all data to make sure we are using the latest version.
Step 4:
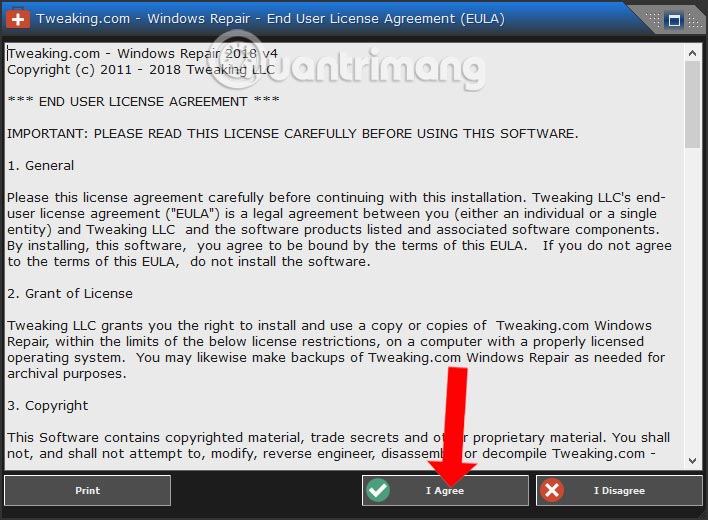
Appearing the terms of the software's terms of use, click I Agree to agree and continue.
Step 5:
Appears the main interface of the software. In general, the new Windows Repair version still has the same interface as the old version. In particular, the manufacturer encourages users to use Windows Repair in Safe Mode to get the best results.
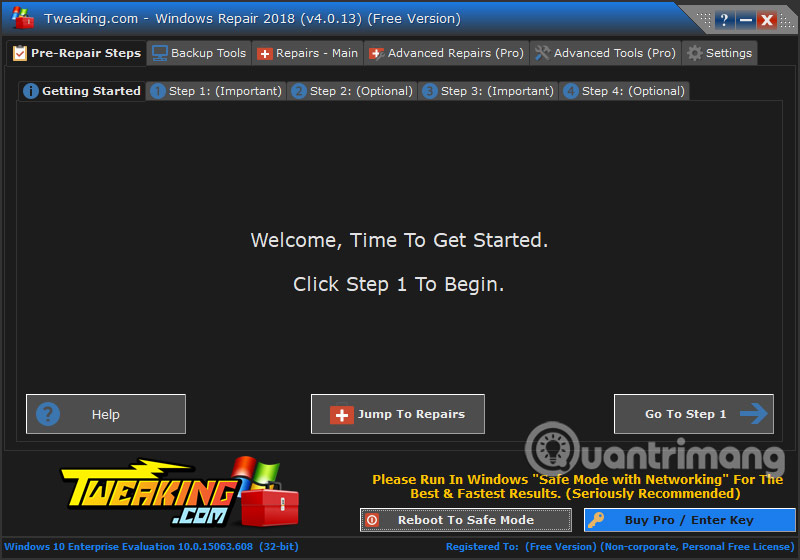
Also in this main interface you will see the tool provides 2 options to find and fix errors on the computer. Fix errors automatically in 4 steps at Pre-Repair Steps, or fix errors in specific groups. It's best to use the Pre-Repair Steps option. Click Go To Step 1 .
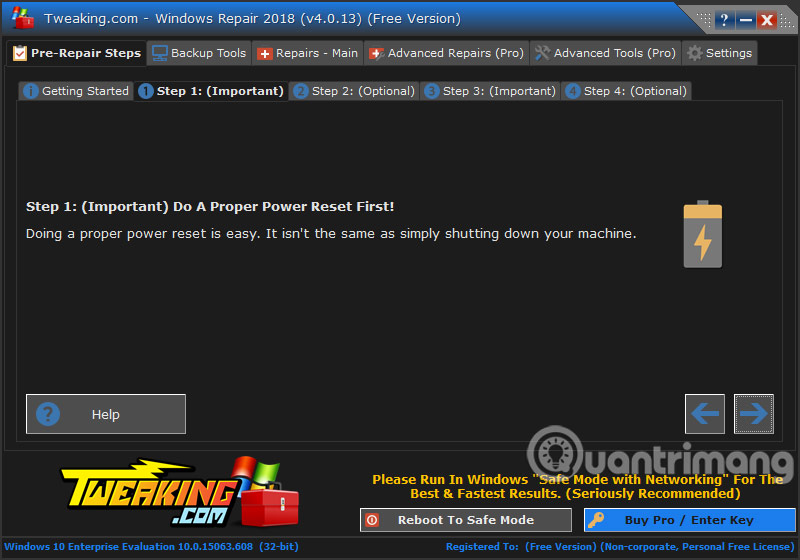
Step 6:
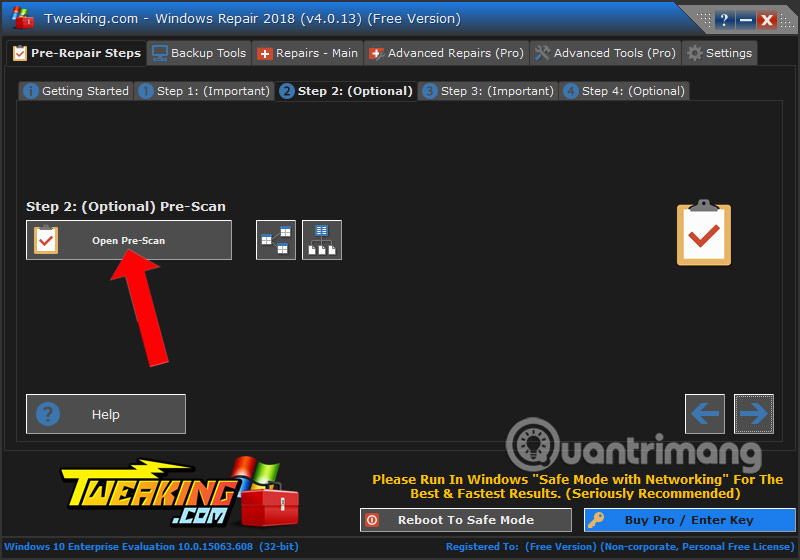
Click on Step 2 and then click Open Re-scan to perform a specific test on the computer.
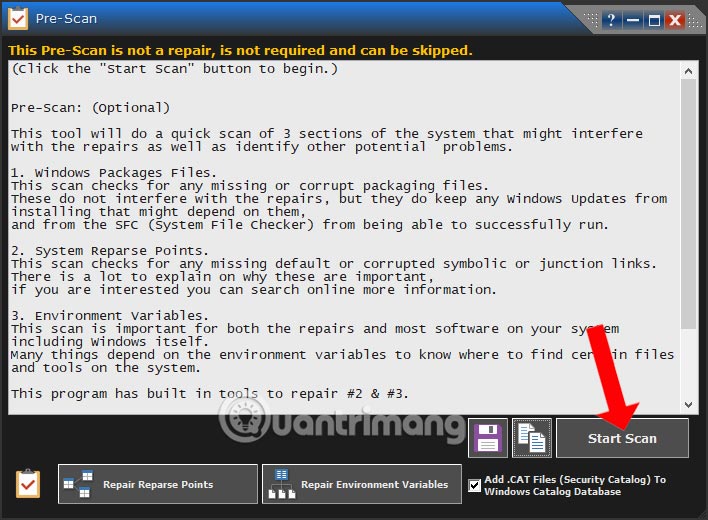
Click on Start scan to check the computer.
Step 7:
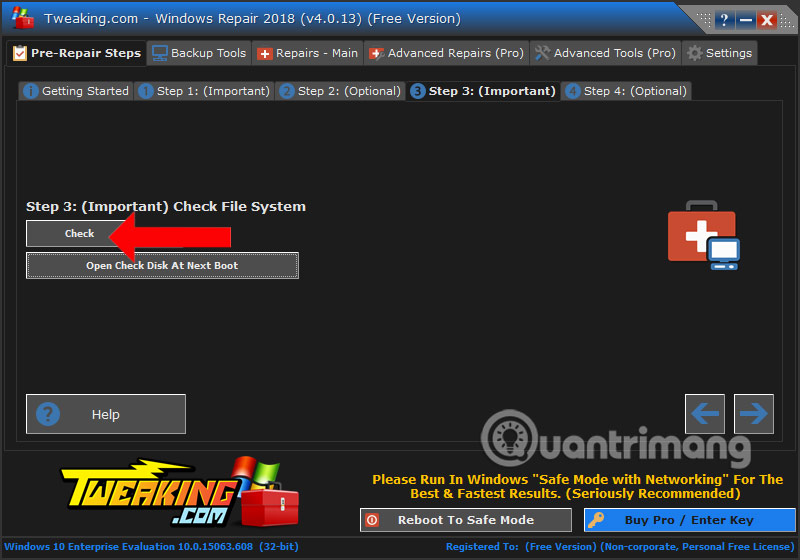
Next to Step 3: Important , this step will conduct in-depth testing into the system to detect existing errors on the computer. Click Check to proceed with the test.
Step 8:
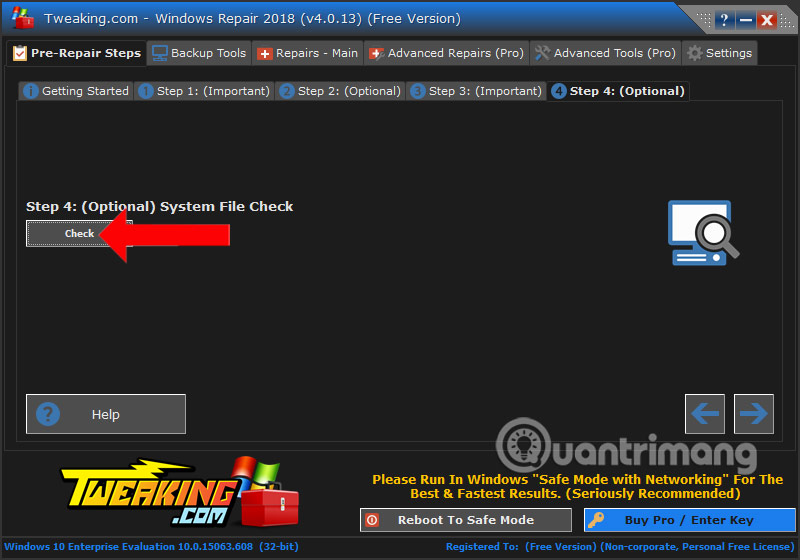
In Step 4: Optional to check the hard drive error on the computer, press the Check button to check.
Step 9:
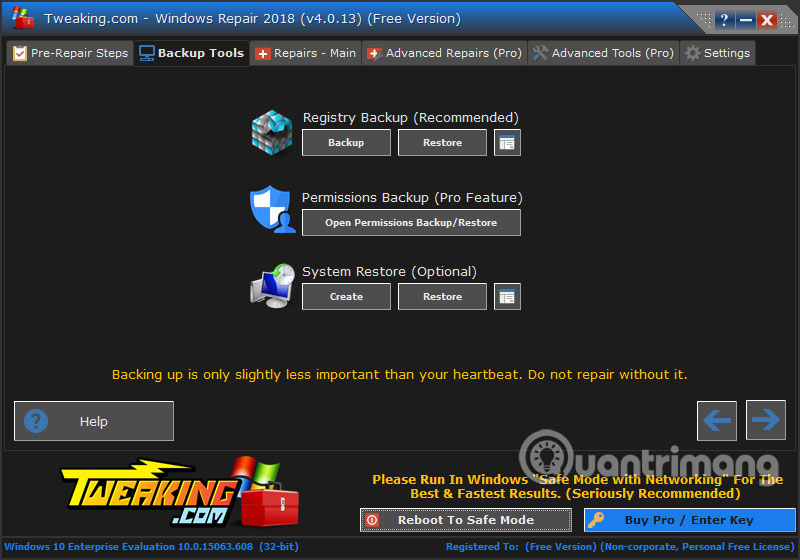
Next, when you click Backup Tools , you will be able to back up important items on the system including Registry, permissions settings and activation shortcuts, using the System Restore tool available on Windows.
Step 10:
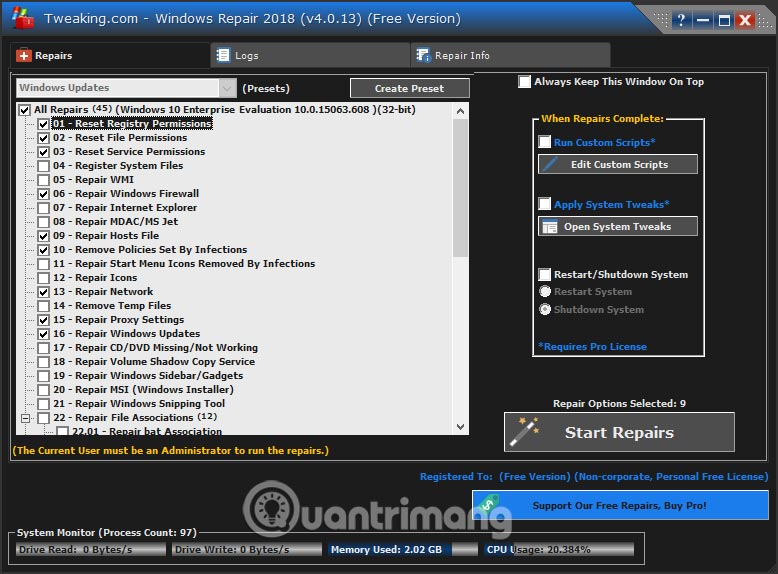
Clicking on Repair - Main will focus on resolving errors according to the main functions and groups. When you determine which error belongs to which group, click on that group to see suggestions for fixing errors.
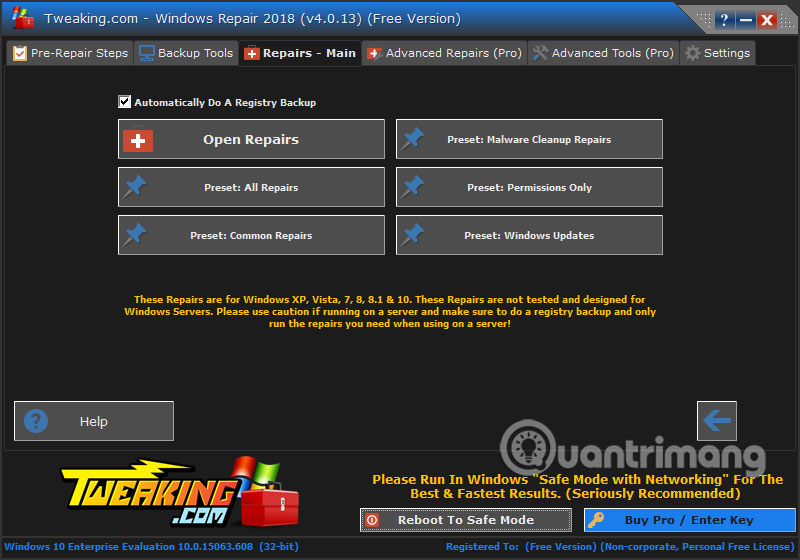
When you open a functional editing group, Windows Repair will perform a backup of the system so that it can restore the previous state in case the problem is corrected.
Step 11:
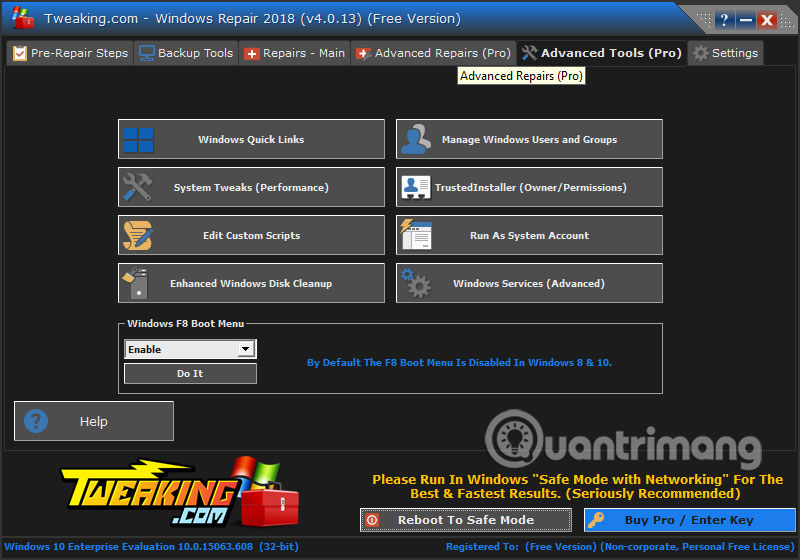
With the Pro version, we will have the section Avanced Tools (Pro) clean and optimize Windows, get support from the Windows Repair manufacturer.
Step 12:
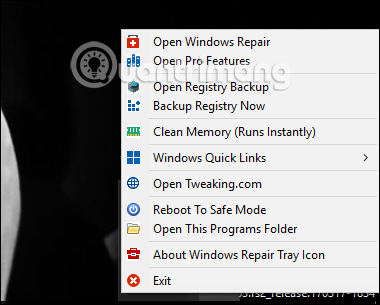
To quickly customize Windows Repair features, you can right-click the Windows Repair icon in the system tray to bring up a list of features.
- How to fix Automatic Repair error in Windows 10
- Steps to fix errors: 'Windows Protection Resource cannot start the repair service'
- Fix Windows XP by reinstalling in Repair mode
I wish you all success!
FAQ
What is How to Use Windows Repair to Fix Windows Errors?
If you want to detect and fix errors on your computer, users can immediately use Troubleshoot tool available on Windows operating system, fix errors related to software, hardware, network, interface and security on Windows ten.
Why is How to Use Windows Repair to Fix Windows Errors important?
A clear understanding of How to Use Windows Repair to Fix Windows Errors helps you make informed decisions, avoid common mistakes, and use the relevant tools or techniques more effectively.
How should beginners approach How to Use Windows Repair to Fix Windows Errors?
Start with the fundamental concepts, follow the examples step by step, and test each change in a safe environment before applying it to important systems or data.
Related Articles
 3 Built-in Windows File Repair Tools You Need: Explained4 minutes read
 Fix Windows Startup Errors with Startup Repair6 minutes read
 Windows Repair Supports Fixing All Errors on Windows4 minutes read
 Simple Tips to Fix Windows Errors for Your Computer Quickly4 minutes read
 Steps to Fix Errors: 'Windows Protection Resource Cannot Start3 minutes read
 4 Tips to Fix Hidden Windows Errors and Quickly Recover Corrupted Files7 minutes read
Reader Comments 0
Sign in with email or Google to join the discussion.