How to fix Automatic Repair error in Windows 10
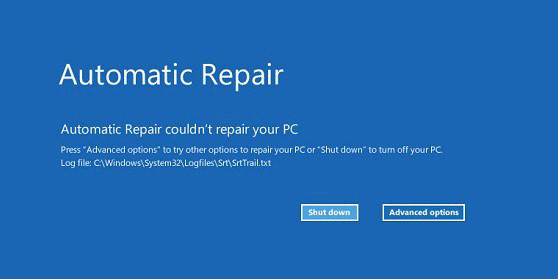
Repeating Automatic Repair can be one of the most frustrating things that happen to your Windows computer. Ironically, it never actually fixes anything, instead it causes the computer to fail to repeat itself (Bootloop). And tell you 'Automatic Repair couldn't repair your PC' , then it gives you the option to ' Shutdown ' or access the ' Advanced options. '
This is an important issue to find a quick and sometimes drastic solution, so the following article will provide instructions to help you overcome this error.
Why does an Automatic Repair repeat error occur?
First, the most common reason is that Windows is not turned off properly due to power cuts or laptop batteries. If this happens, the data in the registry will 'fill' the error item, your hard drive may be corrupted because the machine has no time to switch to standby mode.

Some solutions to fix Automatic Repair repeat errors
Start Windows normally
Let's start with the simplest solution. Sometimes Automatic Repair repeat errors may occur not because of a real computer problem but because Windows mistakenly thinks that a problem has occurred. So try pressing F8 many times when your computer starts to enter Windows Boot Manager, then select 'Start Windows Normally'.

If you are lucky, the above can solve the problem, otherwise continue to follow the following steps.
Perform system recovery
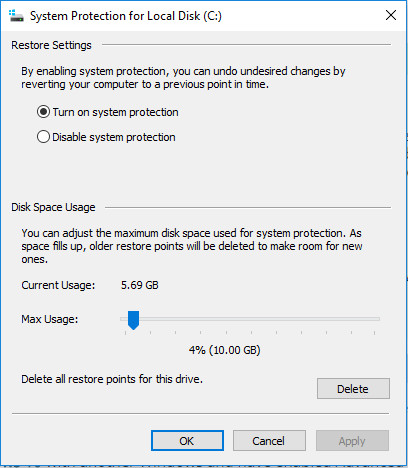
The next step is to try performing a system recovery. Note that you need to turn on system protection in Windows first to do this.

Automatic Repair will guide you to the blue Advanced Startup Options screen. Here, select 'Troubleshoot> Advanced options> System Restore' and select the day before the problem occurred.
- Instructions on how to use System Restore on Windows
Use Command Prompt
If the above still doesn't work, you need to do some commands with the Command Prompt. In the Advanced Startup screen, click 'Troubleshoot> Advanced Options '. From there, select Command Prompt and enter the following commands, each command separated by Enter.
Note : for the last command, "c:" will change depending on your Windows drive letter.
bootrec.exe / rebuildbcd
bootrec.exe / fixmbr
bootrec.exe / fixboot
bootrec.exe / chkdsk / r c:
Hopefully one of the solutions above will help you backup and run Windows. However, the worst case is that you will have to reinstall Windows. You can do this from the Advanced Startup screen, just go to 'Troubleshoot> Reset your PC' and follow the instructions.
If unsuccessful, create a Windows 10 CD or flash drive can boot. To use this boot device, from Advanced Startup Options on the PC select the " Use a device " option, then follow the instructions.
- How to create USB Boot, USB install Windows by Rufus
Good luck!