How to fix the Repetitive Repair mode of Windows 10
When you encounter a problem in the system, Windows 10 will always boot automatically into Repair mode to find and fix errors. It may fix all problems but sometimes it may not succeed and you will be stuck in this automatic repair loop.
How to fix the problem
In case you are stuck in Repair mode, use the Command Prompt to turn this off. The order of implementation is as follows:
• Press and hold the power button until the computer shuts down. Then press the power button again to turn on the device.
• Quickly press F11 to access the Troubleshooter menu.
• Next, go to Advanced Options> Command Prompt.
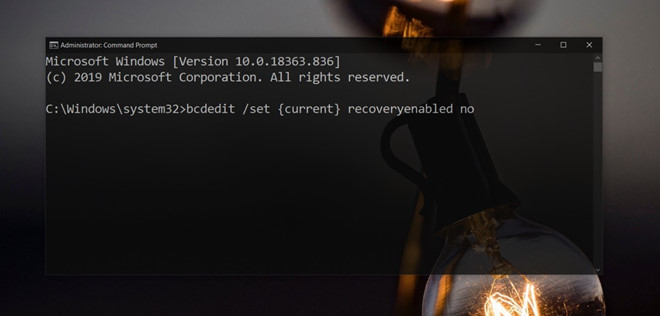
• After the Command Prompt window has been started, at the command prompt, type bcdedit / set {current} recoveryenabled no and press Enter.
• After that, shutdown and restart, you will exit Repair mode and access the Desktop.

Use the command line to turn off the Auto Repair feature
How to turn auto-repair on again
While this feature does not fix the error will cause users to be stuck in the standby screen, but it is still necessary for your operating system when the system fails.
You launch the Command Prompt with Administrator privileges by opening the Start menu> typing CMD, right-clicking on the search results, and selecting Run as administrator.
At the command prompt, type bcdedit / set {current} recoveryenabled yes and press Enter.
Finally restart the computer to apply the changes.
Share by
Marvin Fry
Update 21 May 2020
You should read it
- ★ Here's how to update your phone to Windows 10 Mobile, whether it's supported or not!
- ★ Viruses are not only a threat to computers
- ★ How to use PowerPoint to film and take screenshots
- ★ Simple tips to fix Windows errors for your computer quickly
- ★ Six tips for adding wireless devices to your work environment