Set the default font in Excel
Set default font in Excel - Font and font size of Excel do not match the needs of the process you work with Excel. You want to change the default font and font size so that whenever you open Excel, you do not need to take time to install fo.
Excel's default font and font size do not match the needs of the process you work with Excel. You want to change the default font and font size so that when you open Excel, you do not need to spend time setting the font and font size.

The following article shows you how to set the default font size and font size in Excel.
Excel 2007
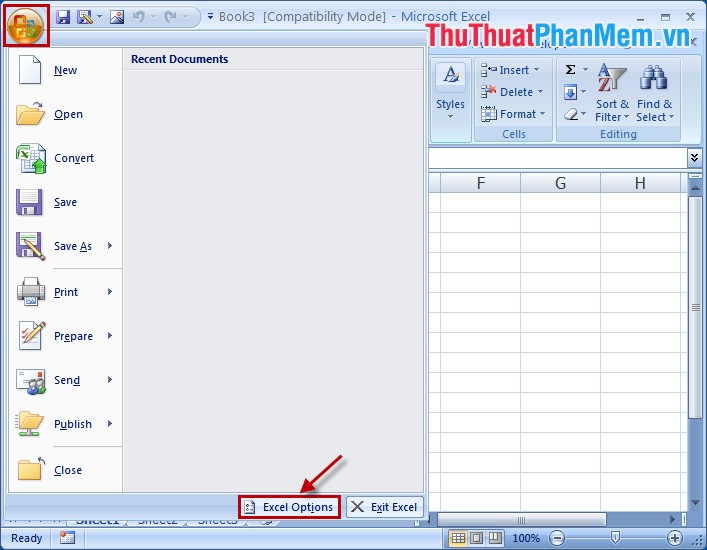
Step 1: Open Excel file and then select Office Button icon -> Excel Option .
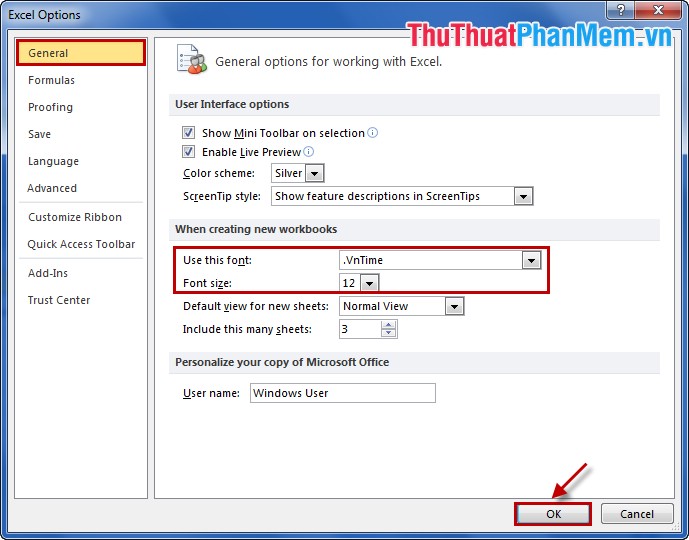
Step 2: In the Popular section , change the font and font size you want to set as the default. Then click OK to save.

A dialog box appears to change the default font after restarting excel, select OK .

Excel 2010
Step 1: You open a new Excel file and then select File -> Options .

Step 2: In the General section, select the font and font size to set as default for Excel and click OK .
After the dialog box appears, click OK .

With Microsoft Excel 2013 you perform the same as Microsoft Excel 2010.
So with simple steps, you quickly set the default font and font size for Excel. Good luck!