Time settings are automatically saved in Excel
Auto-save time settings in Excel - In Excel, the default auto-save time is 10 minutes, but you can change the auto-save time to suit your needs..
During the process of working in Excel spreadsheets, you need to regularly save data for a short period of time to avoid the case of power failure or for some reason that you could not save it. In Excel, the default auto-save time is 10 minutes, but you can change the auto-save time to suit your needs.

The article shows how to change the time automatically saved in Excel.
With Excel 2010.
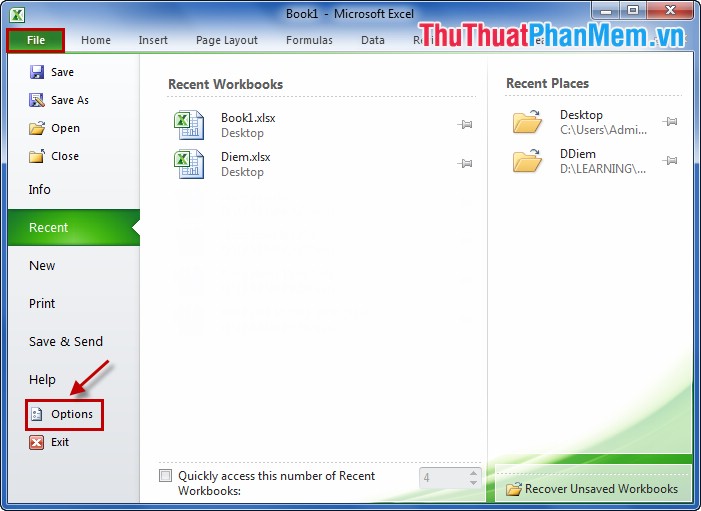
Step 1: Open Excel file and then select File -> Options .
Step 2: In Excel Options, select Save in the left menu.

Step 3: In the Save workbooks section , the default automatically save time is 10 minutes, you change the time automatically saved in the Save AutoRecover information every box (the unit is minutes). Then click OK .

For Excel 2007, instead of selecting File -> Options , select the Office Button icon -> Excel Options .

And perform the following steps similar to Excel 2010.
With Excel 2013 you perform the same operations as Microsoft Excel 2010 above.
Good luck!