Set the default font and font size in Excel
Every time you open Excel, you must align the font format and font size accordingly. The following article will guide you how to set the default font size and font size in Excel..
To do the setup, follow these steps:
1. Set Default Font.
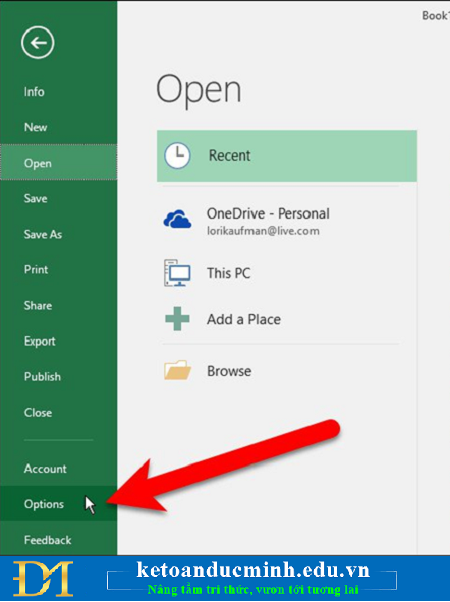
Open an Excel file, select File.

Select Options in the left frame list as below:
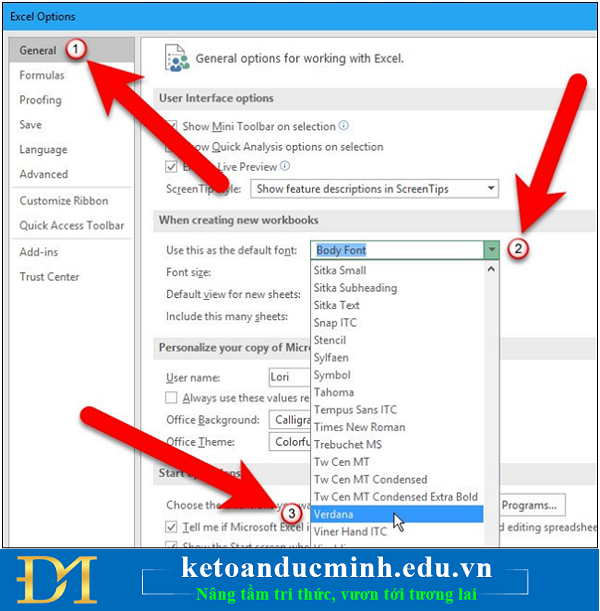
In General (number 1), at the Use this as the default font menu (number 2), select any font (number 3) that you want to set as the default font as shown below:
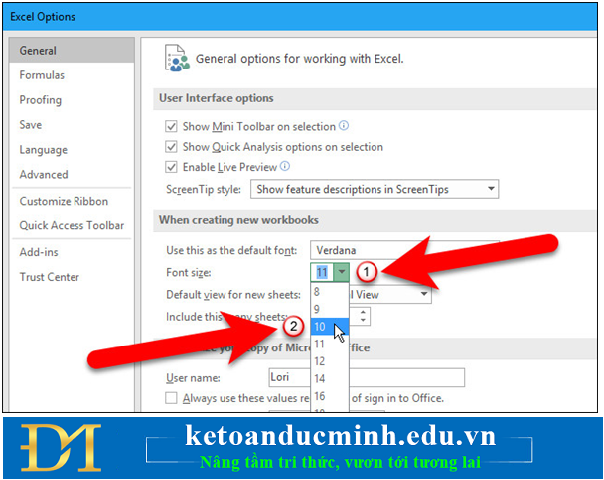
2. Set the default font size.
Follow the steps in section 1, to select the default font size, then at the Font Size Menu (number 1) choose any font size (number 2) that you want to make the default.
Click OK to save the changes and close the Excel Options dialog window.
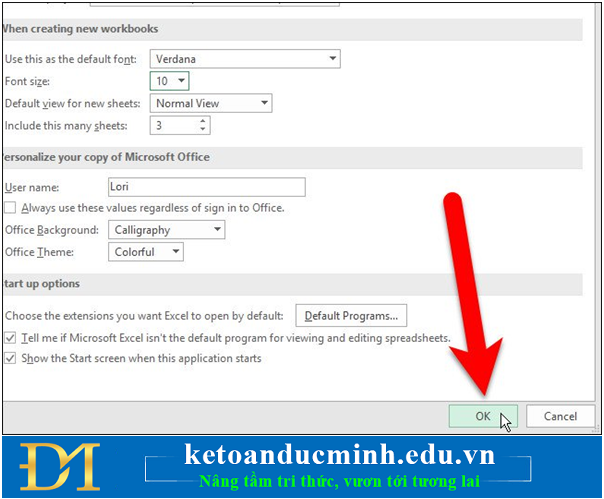
You must close the Excel file, then reopen the Excel file to see the changes. On the next dialog window, click OK, then close and reopen Excel.
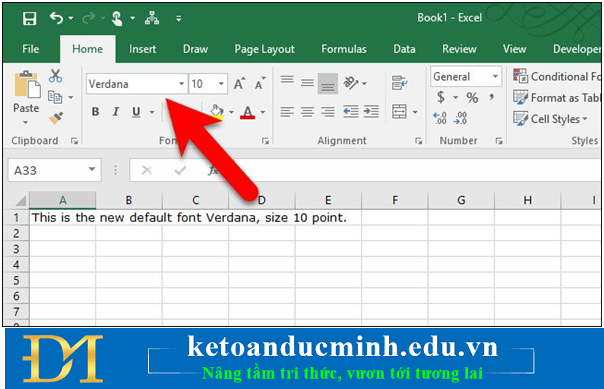
You should now see the font and font size you have chosen as the default font on all cells in Excel files. So you've set the default font and font size in Excel.
You can also change the font by using the Home tab on the Ribbon. However, this method applies only to the current Excel file you are using.