Photoshop CS: Curved image on the background
In a recent exercise, I showed you how to create artistic borders and frames for an image. Do you think those photos will look softer and more impressive when it is modified a bit to become a curved image?
In a recent exercise, I showed you how to create artistic borders and frames for an image. Do you think those photos will look softer and more impressive when it is modified a bit to become a curved image on a flat surface. This exercise will guide you to create a curved photo in the background, prepare a photo you like and we practice.
1 Create a background
- Let's start with a new Document, size 400px x 300px, any background color.
- Set foreground color - background (foreground: #ECECEC - background: # 7C7B7B)
- use the Gradient tool
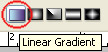
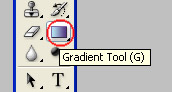 with Liner gradient option
- Place your mouse on the top edge of the background and drag a straight line to the bottom edge.
You get the background image.

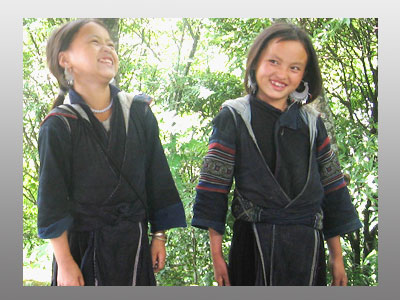
2. Open an image you want.
- Copy a part of the image you want to curve, so that the size of the selection is smaller than the background size.
- Paste the selected image into the center of the background
- Rename the image layer to "nen curved"
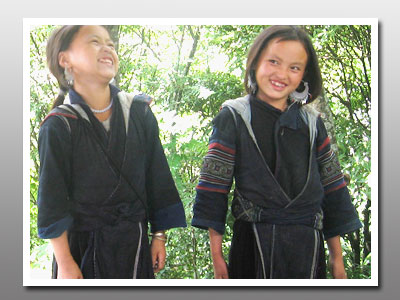
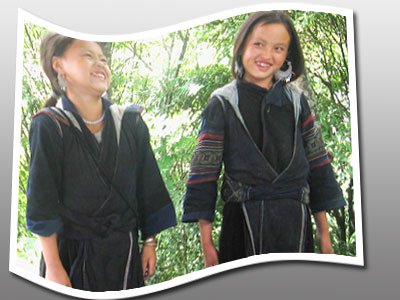
Practice lesson, I choose this picture:
3. Create borders and shadow images
- Right-click "Curve" layer> Blending option > Set Strocke and drop shadow with attribute
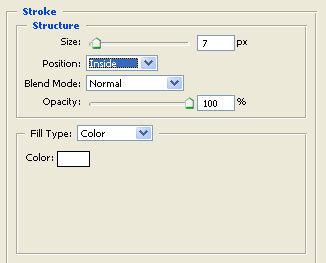
Stroke
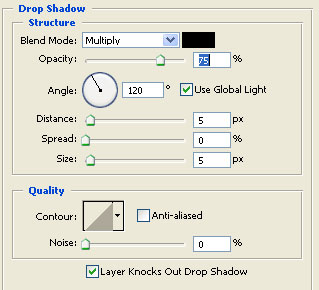
+ Drop shadow: to default
Result of step 3
(You can change this step 3 by cutting the edges of the learned image in the lesson: cutting out the edges and creating a picture frame )
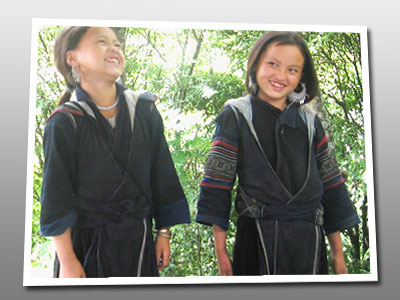
4. Tilt photos
- Edit> Free transform (ctrl + T)
- click on each button point on the 4 corners, hold down Ctrl + drag the button to get an oblique shape (3D) as follows:
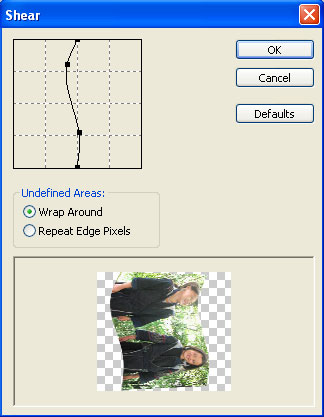
5. Rotate the picture
- Edit - Transform - Rotate 90 CW.
- Filter - Distort - Shear and set properties for the image as follows
6. Finish
- Rotate the image: Edit - Transform - Rotate 90 CCW. You have the final result as follows
Was this article helpful?
Your feedback helps us improve.
Related Articles
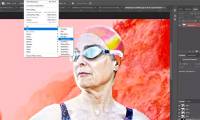
 How to use Photoshop CS5 - Part 9: Delete complex backgrounds in Photoshop5 minutes read
 How to change the background color in Photoshop6 minutes read
 Beautiful background for Photoshop2 minutes read
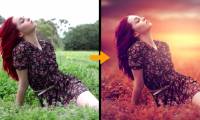
 How to blur the background in Photoshop7 minutes read
 Guide to change Background beautiful, detailed and easy to learn2 minutes read
 How to separate people from the background image in Photoshop3 minutes read
Reader Comments 0
Sign in with email or Google to join the discussion.