Macromedia Flash - Pinwheel hill
A cute image as in animation with a simple hill ramp and several pinwheel trees. You will see that to create that image is not difficult at all with this tutorial.
A cute image as in animation with a simple hill ramp and several pinwheel trees. You will see that to create that image is not difficult at all with this tutorial.
Step 1. Create a new file with the parameters shown in Figure 1:

Figure 1
Step 2 Select the Pencil Tool , adjust the option to Smooth , draw a line like Figure 2:

Figure 2
Step 3. Select the Line Tool , adjust the parameters in the Properties panel of this tool as shown in Figure 3b:
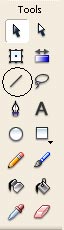
Figure 3a

Figure 3b
Step 4. Draw 3 pillars as shown in Figure 4:
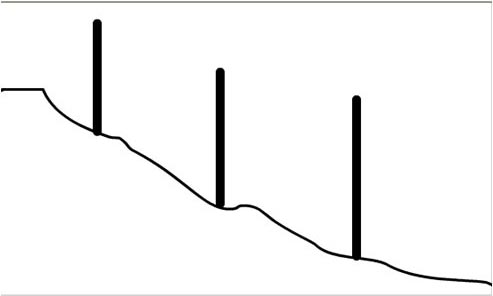
Figure 4
Step 5. Lock the existing layer, create a new layer. Select the Oval Tool , adjust the fill color and the border color as shown in Figure 5, draw an oval shape, then use the Selection Tool to adjust it a little bit for the pinwheel.
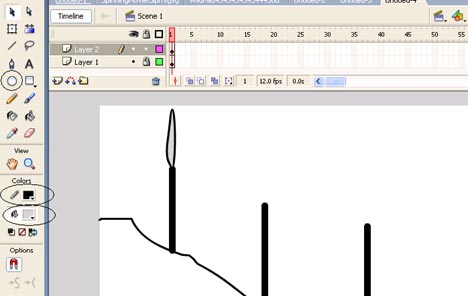
Figure 5
Step 6. Double click the mouse to select it, press Ctrl-C to create a copy on the clipboard. Then right-click outside the window and select Paste in Place to paste the copy into the correct coordinates of the current pinwheel (see Figure 6).
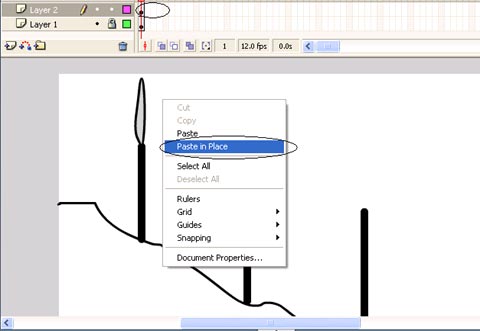
Figure 6
Step 7. Notice that the pinwheel is still selected, if not selected, repeat step 6. Right-click it and select Free Transform (see Figure 7).

Figure 7
Step 8. Move the center of the rotation (the white circle between the Free Transform frame) to the pinwheel (see Figure 8).
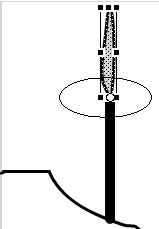
Figure 8
Step 9. On the menu, choose Modify > Transform > Scale and Rotate (see Figure 9).
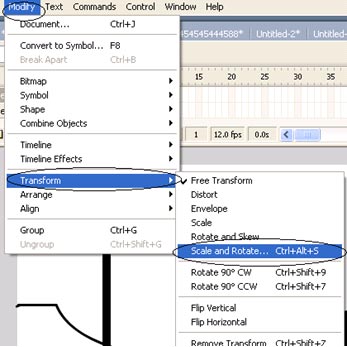
Figure 9
Step 10. In the dialog box that appears enter 120 for Rotate and then click Ok (see Figure 10).
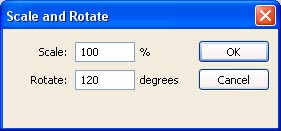
Figure 10
Step 11. Repeat steps 6 to 10 to get the left wing pin, with a rotation angle of -120. The result will be as shown in Figure 11.
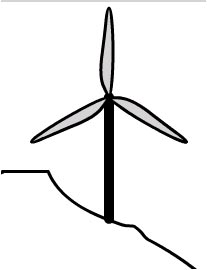
Figure 11
Step 12. Click on Frame 1 of Layer 2 to select all 3 wings, right click and choose Convert to Symbol . (see Figure 12)
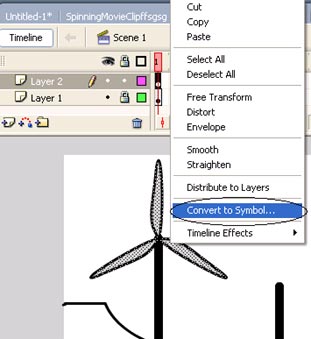
Figure 12
Step 13. In the dialog that appears, select Movie Clip , then click OK (see Figure 13).
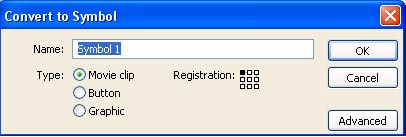
Figure 13
Step 14. Right-click on the newly created Movie Clip and select Free Transform (see Figure 14).
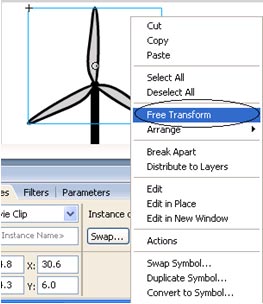
Figure 14
Step 15. Drag the center back to the intersection of the 3 wings (see Figure 15)
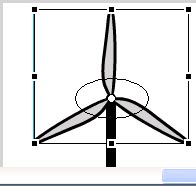
Figure 15
Step 16. On the Timeline, right-click Frame 15 and select Insert KeyFrame (see Figure 16).
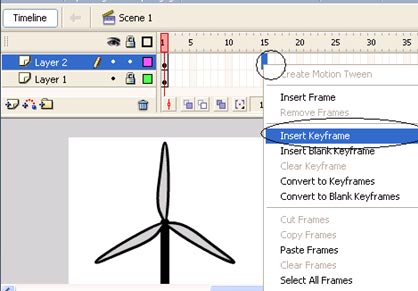
Figure 16
Step 17. Right click on any location between Frame 1 and Frame 15 and select Create Motion Tween (see Figure 17).
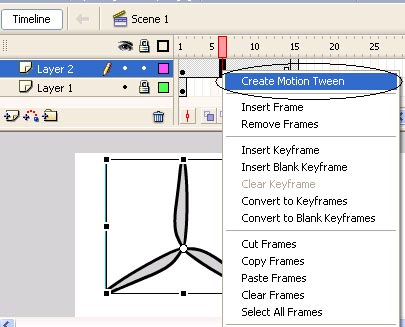
Figure 17
Step 18. In the Rotate section of the Properties panel select CW (or CCW ) (see Figure 18).
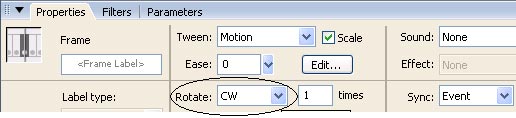
Figure 18
Step 19. Right-click on Frame 15 of Layer 1 and select Insert Frame (see Figure 19).
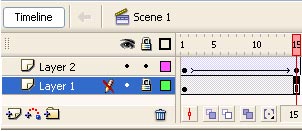
Figure 19
Step 20. Create a new layer (see Figure 20).
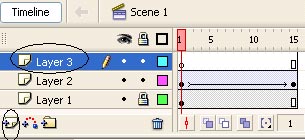
Figure 20
Step 21. Click Frame 1 of Layer 2 to select pinwheel, press Ctrl-C to create a copy on the clipboard (see Figure 21).
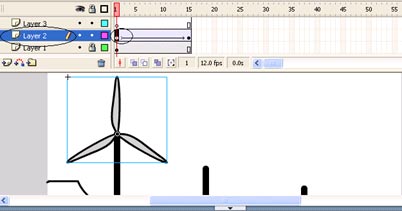
Figure 21
Step 22. Click on Frame 1 of Layer 3, press Ctrl-V to paste (Paste) the pin copied in the previous step, move it to the second column (you can also adjust it a bit bigger) ( see Figure 22)
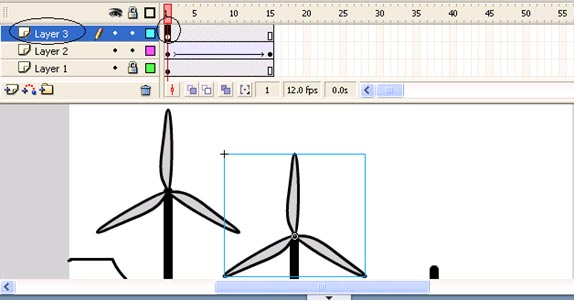
Figure 22
Step 23. Right click on Frame 15 of Layer 3, select Insert keyFrame (see Figure 23).
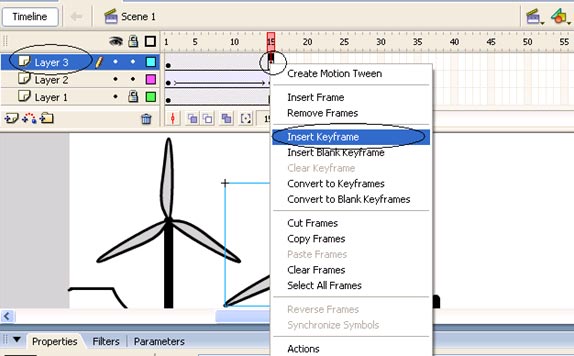
Figure 23
Step 24. Right-click anywhere between Frame 1 and Frame 15 of Layer 3, select Create Motion Tween (see Figure 24).
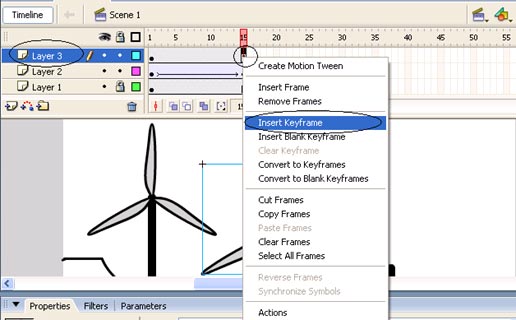
Figure 24
Step 25. In the Rotate section of the Properties panel select CW (see Figure 25).

Figure 25
Step 26. Do the same to get the 3rd snap
Step 27. Press Enter + Ctrl to check the result.
Download the sample file !
Le Thanh Hai
thanhhaikg@gmail.com
Was this article helpful?
Your feedback helps us improve.
Related Articles
 Macromedia Flash - Effects of lighting on photos3 minutes read
 Macromedia Flash - An attractive photo appearance effect4 minutes read
 Macromedia Flash - Falling text effect2 minutes read
 Macromedia Flash - Photo effects with sound6 minutes read
 Macromedia Flash - Complete Flash banner design3 minutes read
 Macromedia Flash: Create effects for nature photos3 minutes read
Reader Comments 0
Sign in with email or Google to join the discussion.