MS Access - Lesson 9: Data management
Allow data to be displayed flexibly and according to your requirements. In this article, we introduce some basic ways to manage data for databases.
TipsMake.com - Let the data display in a flexible and correct way according to your requirements. In this article, we introduce some basic ways to manage data for databases.
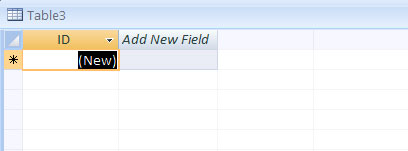
Add records to the table
To add a new record to the table:
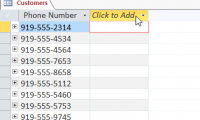
- Open the table in Datasheet View mode
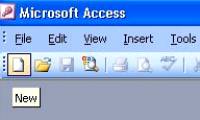
- Click on the box (New)
- Enter the new record
Find and Replace data
To find data:
- Click the Find button on the Home tab.
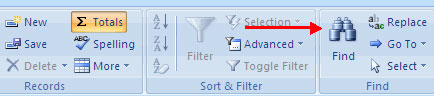
To find and replace data:
- Click the Replace button on the Home tab.

When you search and replace data, there are a number of options in the Find dialog box that can be used:

Items Find What Type the data you want to find List in the Look In Use section to specify a table or column to search for data List in the Match section Helps you limit the search in a field or the beginning of a field List in the Search section Helps you determine the direction to search for the Match Case check box Use this check box to specify a search in uppercase or lowercase. Totals
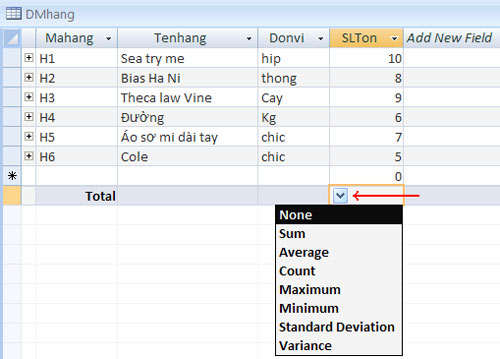
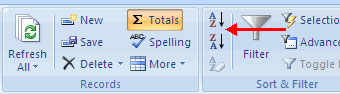
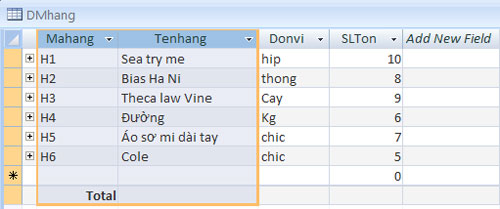
The Totals button gives you an extra line to add to the database. Total can be sum (total), average (average), a count ( minimum ), minimum (maximum), maximum ( maximum ), or variance (different). To set a Total line:
- Click the Totals button on the Home tab
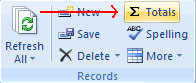 - Click the down arrow of the cell where you want to place a Totals
- Select the appropriate Totals.
 Arrange the logs
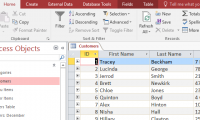
You can arrange the records in the datasheet according to one column or two consecutive columns. To sort the records by a column:
- Select the school you want to arrange
- Click the Sort Ascending or Sort Descending button .
To sort two columns:
- Move columns so that they are close together
- Select columns to sort by pressing Shift and clicking on columns
- Click the Sort Ascending or Sort Descending button.
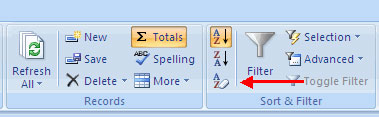
 To remove the sort:
- Click the Clear Soft button
 Filter (filter)
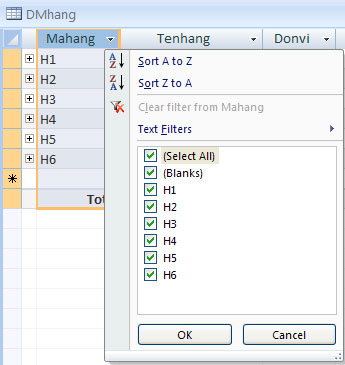
You can filter the logs to display them as desired. To filter by a column:
- Open the database in Datasheet View mode
- Click the down arrow in the field name
- Select the appropriate filtering criteria
- Click OK .
 To remove Filter:
- Click the Filter button on the field tag
- Click Clear Filter
- Click OK .

Was this article helpful?
Your feedback helps us improve.
Related Articles
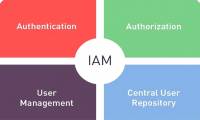 The future of Access and Identity Management (IAM), a field that is extremely important on the Internet5 minutes read
 Work with data in Access 20169 minutes read
 MS Access 2003 - Lesson 5: Chapter 2: Access Learning in 1 hour6 minutes read
 MS Access - Lesson 6: Managing tables1 minutes read
 Edit tables in Access 20168 minutes read
 Steps to export Microsoft Access data to Word documents5 minutes read
Reader Comments 0
Sign in with email or Google to join the discussion.