Instructions for using the Screenshot Tool in Microsoft Word 2013
It can be said that Microsoft Word 2013 added a lot of useful features to users, and one of them is the feature of publishing blog posts that has also been introduced to readers beforehand. And today will show you how to use the Screenshot Tool in Word 2013..
It can be said that Microsoft Word 2013 added a lot of useful features to users, and one of them is the feature of publishing blog posts that has also been introduced to readers beforehand. And today will show you how to use the Screenshot Tool in Word 2013.
This tool has a function to help users quickly capture the screen is working and automatically insert into the location that you have previously selected on Word 2013. How to use? Please refer to the following article:
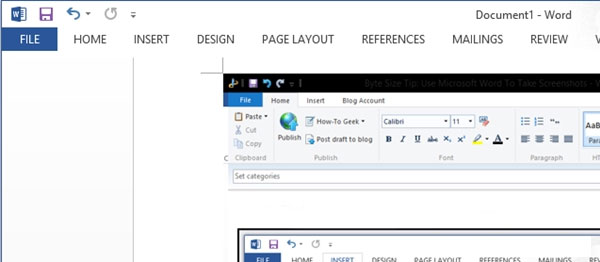
First, proceed to call up the Word 2013 application, and then click the "INSERT" tab and double-click the "Screenshot" button to automatically take a picture of the entire computer screen, and click Once again let the tool show a thumbnail of the screenshot just taken just now.

Click on this image and it will be automatically inserted into the editor below.
If you want to choose the location of the capture yourself, you can choose the "Screen Clipping" command .

And do it yourself.

Images will also be automatically inserted into the edit box.
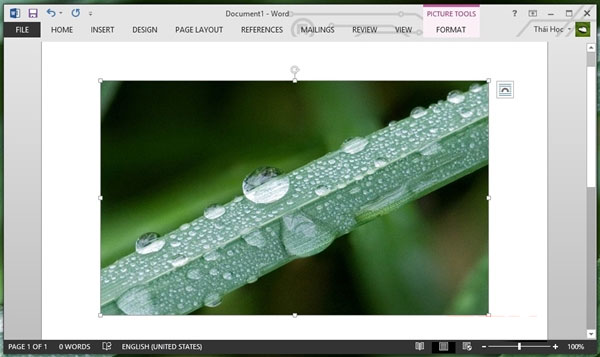
That's it, now you can edit the Screenshot image that has just been inserted into the document as you like.
