Word 2013 Complete Guide (Part 10): Bullets, Numbering, Multilevel list in Microsoft Word
Please refer to the article Word 2013 Complete Guide (Part 10): Bullets, Numbering, Multilevel list in Microsoft Word below!.
- Word 2013 Complete Guide (Part 7): Text printing operations
- Word 2013 Complete Guide (Part 8): Using Indents and Tabs
- Word 2013 Complete Tutorial (Part 9): Use Line and Paragraph Spacing
List of symbol types ( Bullets ) and numbering list (Numbering ) are used in documents to sort, list and emphasize text. In the Word 2013 full-text tutorial - Part 10 , you'll learn how to use existing bullet symbols, insert new bullet and number, select bullet symbols and format multi-level lists.
- BULLETS : Mark the beginning of the paragraph.
- NUMBERING : Automatic serial number.
- MULTILEVEL LIST : Multi-level list.
Please refer to video list format format (Bullet and Numbering) in Word 2013:
A. Create list of symbol types (bullet)
1. Highlight the text you want to format as a list.

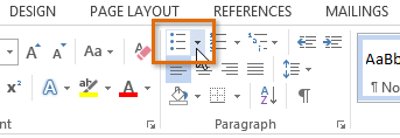
2. On the Home tab, click the drop-down arrow next to the Bullets command. A bullet style menu will appear.
3. Move the cursor over the different bullet styles. The draft of that bullet type will appear in the text. Then, select the type of bullet you want to use.

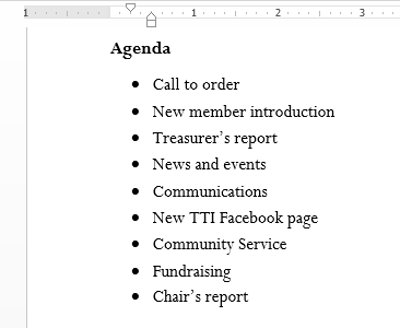
4. The text will be formatted as a list with the beginning of the paragraph.
Optional list of bullet symbol types
- To remove numbers or bullet bullet marks from the list, select the list and click the Bulleted or Numbered list command.
- When editing the list, you can press Enter to start a new line and the new line will automatically have bullet or number. At the end of the list, press Enter twice to return to the normal format.
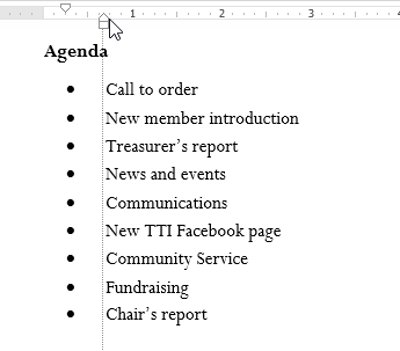
- Drag the indentation mark on the ruler, you can customize the indent of the list and the distance between the letter with the bullet or number.
B. Create a numeric list (Numbering)
When you need to set up text with a numeric list, Word provides a few number options. You can format your list with Roman numbers, letters or numbers.
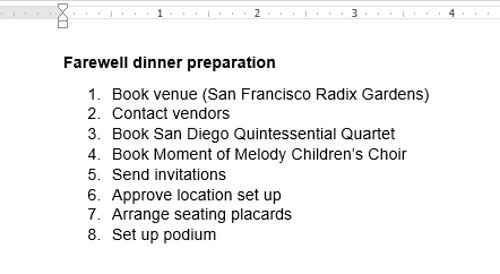
1. Select the text you want to format according to the numeric list.

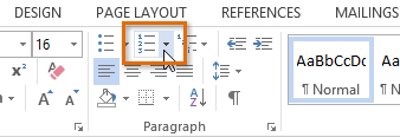
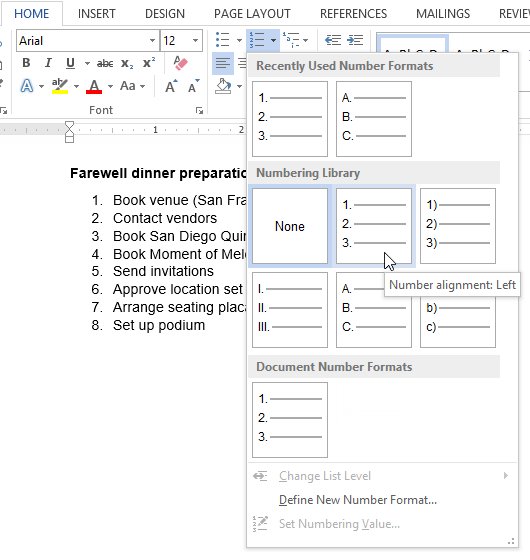
2. On the Home tab, click the drop-down arrow of Numbering command. The list of numeric types will appear.
3. Move the cursor over each different number type. The text will change according to the corresponding list style. Select the type you want to use.
4. Text will be formatted as a number list.
Restart the numbered list
If you want to re-number the number in a list, Word has the Restart at 1 option . Here, you can apply numbers or letters lists.
1. Right-click the list item that you want to retype the number, then select Restart at 1 from the menu that appears.
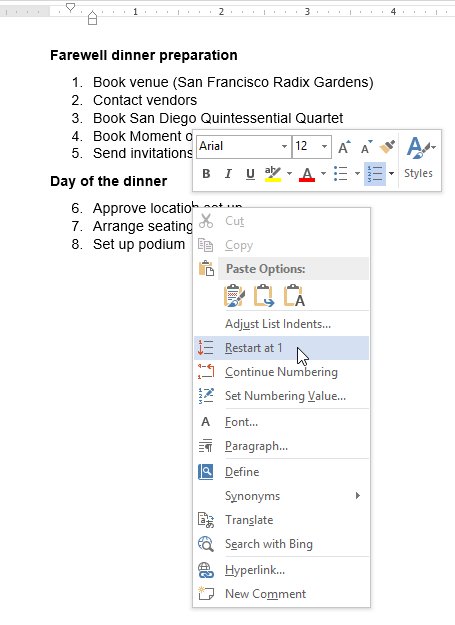
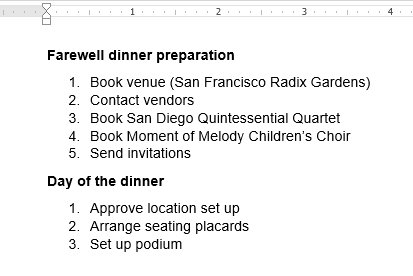
2. This list will be renumbered.
C. Customize Bullet
Create a bullet interface in the list that helps you emphasize the fixed and personalized items list. Word 2013 allows you to format the bullet in a variety of ways, such as using different symbols, colors or uploading images as bullet.
I. Use a symbol like bullet:
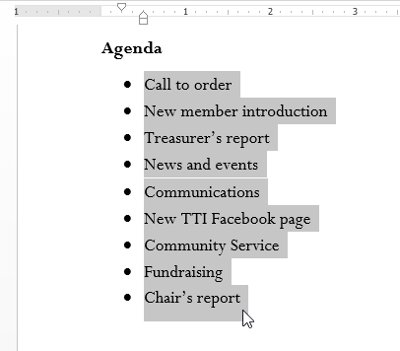
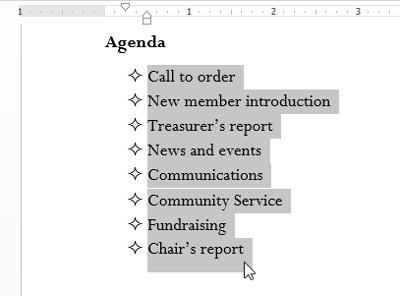
1. Select an existing list that you want to format.
2. On the Home tab, click the arrow pointing down next to the Bullets command. Select Define New Bullet from the drop-down menu.

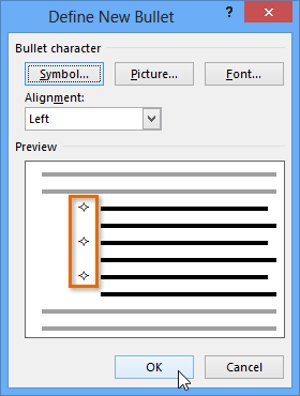
3. The Define New Bullet window will appear. Click the Symbol button .

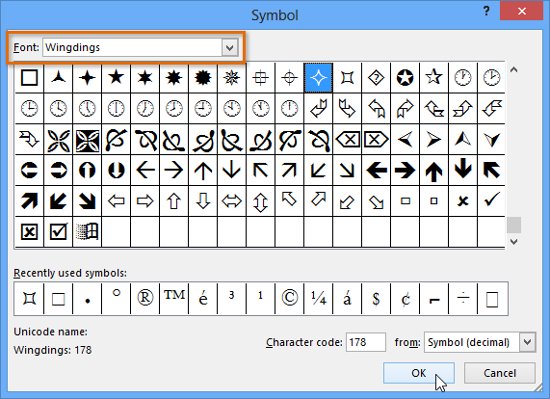
4. The Symbol dialog box will appear.
5. Click the Font drop-down box and select a font. Wingdings and Symbol fonts are a good choice because they have many useful symbols.
6. Select the desired icon, then press OK .
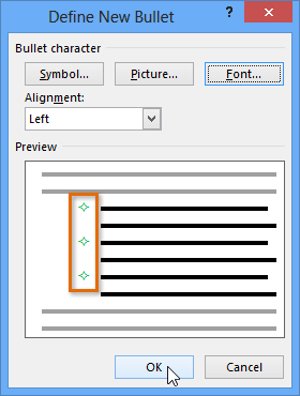
7. The symbol will appear in the Preview section of the Define New Bullet dialog box. Then select OK.
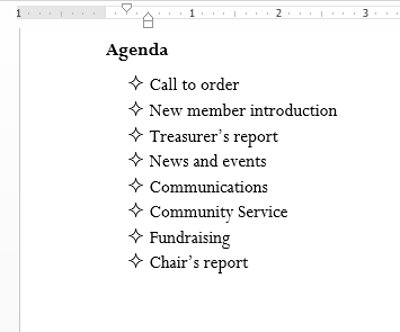
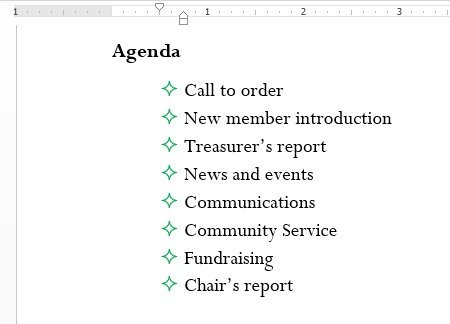
8. The bullet line will appear in the list.
II. Change the Bullet color
1. Select an existing list that you want to format.
2. Click the down arrow next to the Bullets command on the Home tab. Select Define New Bullet from the drop-down menu.

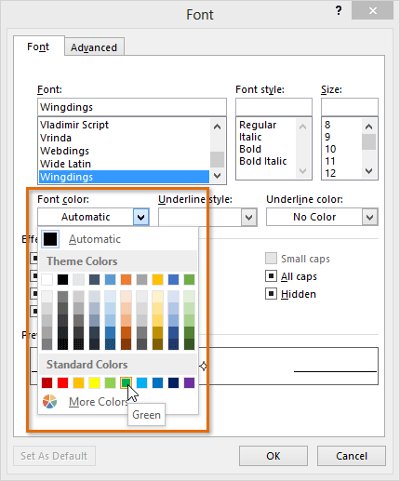
3. The Define New Bullet dialog box will appear. Click the Font button.

4. The Font dialog box will appear. Click the Font Color drop-down box. A font color menu will appear.
5. Select the desired color and click OK .
6. The bullet color will appear in the Preview section of the Define New Bullet dialog box. Click OK .
7. The bullet color will change in the list.
III. Use the image as a bullet:
1. Select an existing list that you want to format.

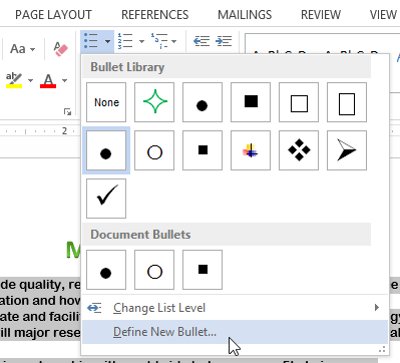
2. On the Home tab, click the drop-down arrow next to the Bullets command. Choose Define New Bullet . from the drop down menu.
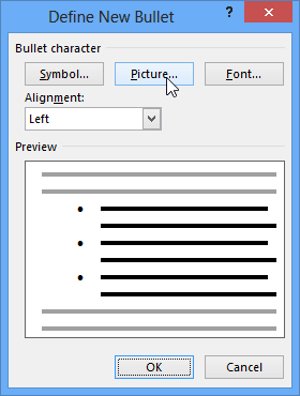
3. The Define New Bullet dialog box will appear. Click the Picture button.
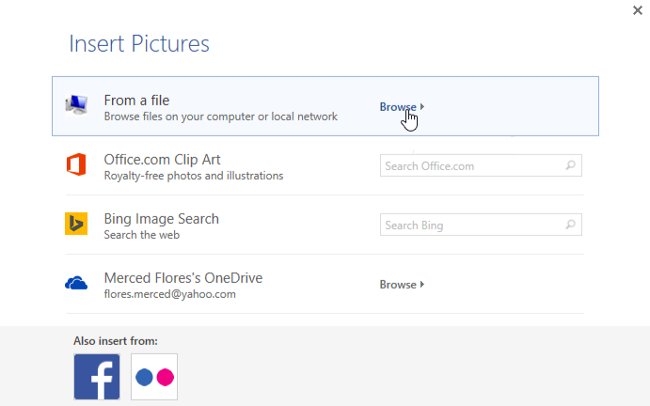
4. The Insert Pictures dialog box will appear. From here, you can locate image files stored on your computer or in OneDrive ( formerly known as SkyDrive ) or you can use search fields to search for images online.
5. In the example below, we click Browse to locate an image stored on the computer.
6. The Insert Picture dialog box will appear. Locate and select the desired image file, then click Insert.

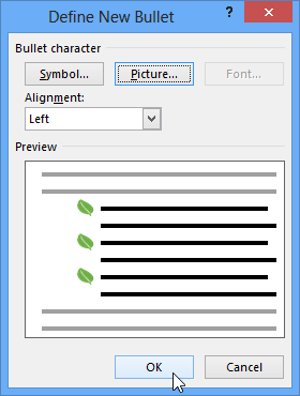
7. The image will appear in the Preview section of the Define New Bullet dialog box. Click OK .
8. The image will appear in the list.

- Not all images will function as well as a bullet. In general, it's best to use a simple graphic with a white background ( or transparent ). This ensures the bullet will have a recognizable shape.
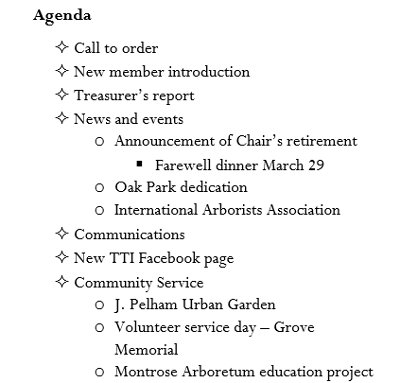
D. Multi-level list (Multilevel list)
Multi-level list allows you to create lists with many different levels. Any numbered and symbolic list can become a multi-level list using the Tab key.
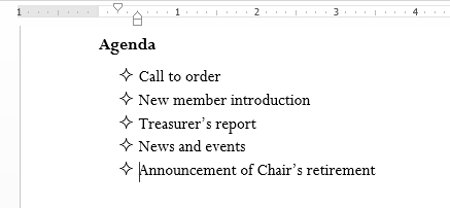
I. Create a multi-level list:
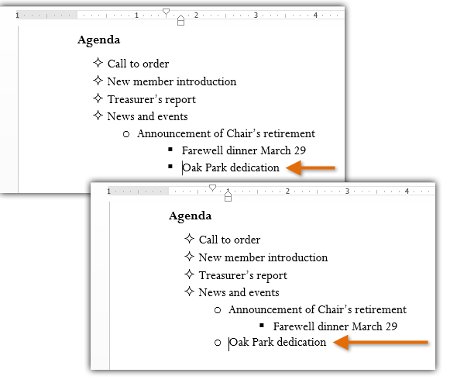
1. Place the insertion point at the beginning of the line you want to move.
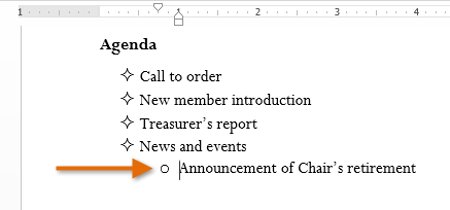
2. Press the Tab key to increase the indentation level of the line. The line will move to the right.
II. Increase or decrease indent:
You can set list level settings by increasing or decreasing the indent size. There are several ways to adjust the indentation level as follows:
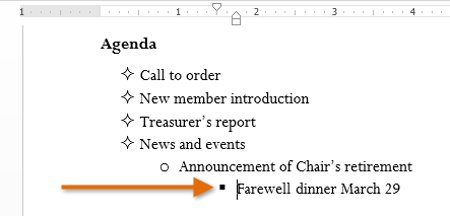
- To increase indentation more than one level, place the insertion point at the beginning of the line, then press the Tab button until the desired position is reached.
- To reduce the indent level , place the insertion point at the beginning of the line, then hold down the Shift button and press Tab .
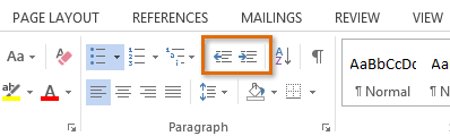
In addition, you can increase or decrease the indentation levels of text by placing the insertion point anywhere in the line and then clicking the Increase or Decrease indent command.
When formatting a multi-level list, Word will use the default bullet style. To change the style of a multi-level list, select the list , then click the Multilevel list command on the Home tab.

See also: Word 2013: Instructions for using Microsoft and OneDrive accounts
Having fun!