Instructions to reduce photo size on Windows 11
Starting from Windows 11 build 26120.4151, Microsoft has added a new feature that allows users to perform photo resizing directly on the system..
Starting from Windows 11 build 26120.4151, Microsoft has added a new feature that allows users to reduce image size directly on the system without using a support tool to compress images as before. However, you will need the support of the ViVeTool tool to enable the image size reduction feature available on Windows. Below are instructions for reducing image size on Windows 11.
How to reduce photo size on Windows 11
Step 1:
First, users need to install ViVeTool on their computer. Then, open ViVeTool using Windows Terminal application and run the command below as administrator to turn on and restart your computer.
vivetool /enable /id:55390938Step 2:
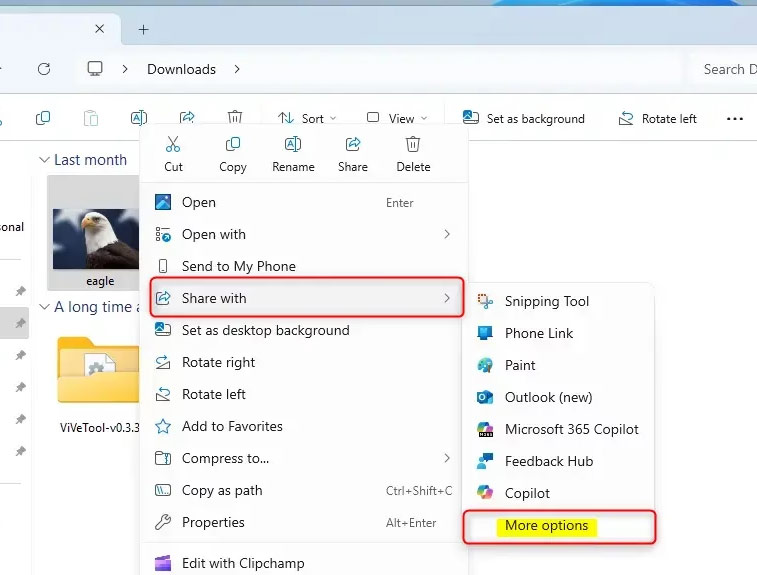
After restarting the computer, the user right-clicks on the image they want to share and then selects Share with from the menu. The next menu appears, we select More options to expand the options.
Step 3:
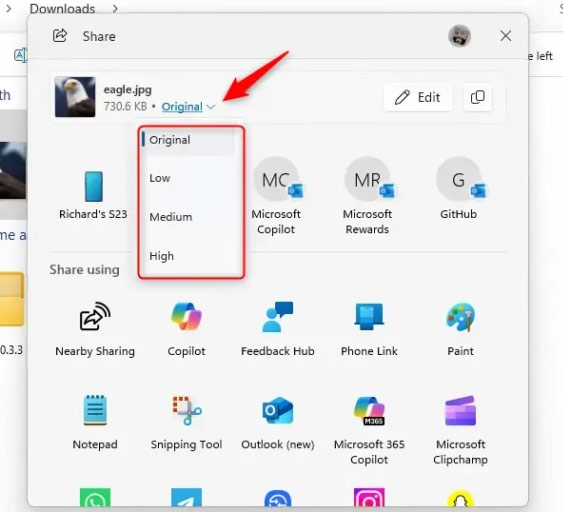
Now we will see the image sharing interface, in the capacity section, click on Original and then select the image quality you want to compress to perform.