How to Use the Skitch for Windows Desktop Program
Have you ever needed or wanted to markup a file you've created as a file on your computer or saved from another device to your computer? Well, with Skitch you can mark it up. This article can explain how to create that properly marked up...
Table of Contents
Part 1 of 3:
Creating a New Screenshot or File
-
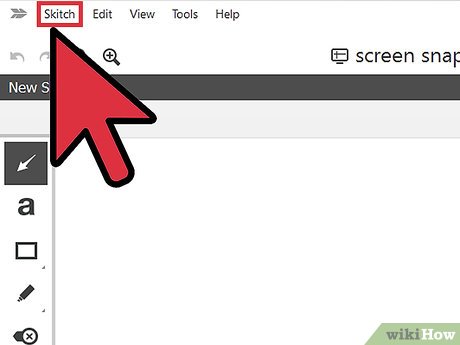 Open the File menu at the top of the Skitch program.
 -
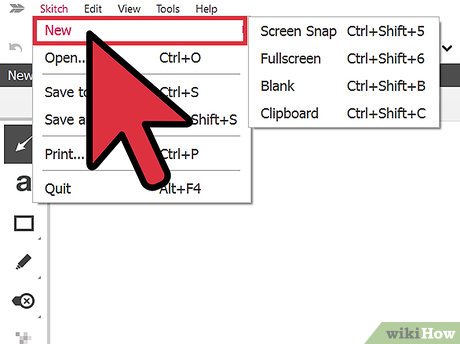 Select the New option.
 -
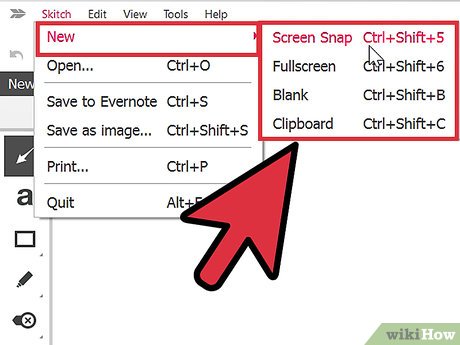 Select the option that corresponds the type of file you'd like to create.
- Screen Snap is for creating a screenshot, which is actually a copy of a portion of the screen.
- Full Screen will take a screenshot of the entire screen.
- Blank will create a file that is completely white and will allow you to draw and annotate all over the screen.
-
 Use the Open Command from the File menu, to allow you to open a picture file (jpeg) or one of the many other types.
Part 2 of 3:
Using the Tools
-
 Look for the toolbar containing all the tools you can use to annotate your file on the very right side of the program.
 -
 Draw neat-looking arrowheads that point to an object with the Arrow tool. This tool is that arrow-looking tool.
- Click the tool from the toolbar.
- Locate the place where you'd like your arrow to begin.
- Drag the arrowhead where you'd like the point to point.
-
 Write on the canvas with the Text tool. The text tool is the little letter a that is located on the screen's tools.
- Click anywhere on the screen and begin typing.
- Click anywhere else on the screen, when you are finished, or click another annotation tool, or save your file.
-
 Draw nice-looking shapes on the picture, using the Shape tool. This will include rectangles, rounded rectangles, ellipses and lines.
- Click the rectangle icon on the toolbar.
- Find the proper type of shape you'd like to use. Click to select the exact tool you'll need.
- Drag the shape around the portion of the picture, as you did similar to the Arrow tool.
-
 Highlight or draw on the picture with the Pen tool, which is a "free-form" tool.
- Click the area of the picture and drag to shade in the area you want shaded.
- Release your mouse button to stop highlighting or free-form draw on the picture.
- If you'd rather make the highlighting a little brighter, release the mouse button, and re-highlight the same area again.
-
 Use the Stamp tool to create placemarks on such things like maps or things where text could denote "This person is here," or even "look here!" There are multiple types and colors of Stamps available. The differences between them show inside the circular end-cap to the end of the marker.
 -
 Clean up unwanted text you'd rather not display from the picture or screenshot with the Pixelate tool.
 -
 Clean up an unwanted area of the picture with the "Crop and Resize tool". This can be found on almost the bottom of the toolbar.
- Drag the tool's selected region over the region you'd like to highlight to save.
- Click the "Apply" button in the bottom right corner of the screen to Save the file crop.
-
 Click the color palette icon, to change the color. You can choose between red, orange, yellow, green, blue, violet/pink, white or black.
Part 3 of 3:
Saving your work
-
 Select the File menu from the top of the screen.
 -
 Select the "Save to Evernote" option to save your annotated picture into a notebook Evernote will create called "Skitch notes" that will allow you to view these new notes from any place you have access to Evernote.
 -
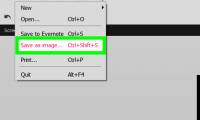
 Select the "Save as image" to Save your file as it's own separate file, once it's done being annotated.
 -
 Select the "Print" command, to print the annotated image out using your printer.
Was this article helpful?
Your feedback helps us improve.
Related Articles
 How to Enhance Instructional Images Using Skitch3 minutes read
 How to cover personal information of photos on the phone4 minutes read
 Skitch - The best free photo making software5 minutes read
 How to Install the Volume Control Program to Your Windows XP Desktop2 minutes read
 How to open a file or an application on a virtual Windows 10 Desktop?5 minutes read
 How to Run a Program on Command Prompt6 minutes read
Reader Comments 0
Sign in with email or Google to join the discussion.