How to Make an Animation Using Project Dogwaffle 1.2
Part 1 of 3:
Preparing to Animate
-
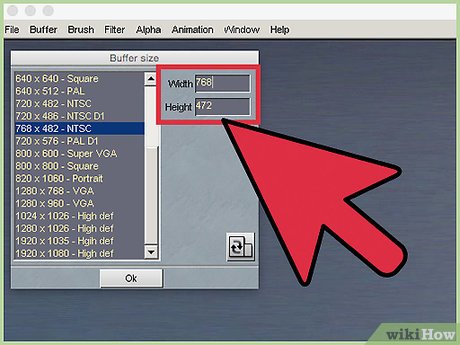
 Open up a new file. Go to File >> New. Pick a good size for the image you have planned. This image is 768 * 472.
- Note that all of the options you can see can be switched very easily. For example, you can switch 768 * 472 to 472 * 768 with the flick (or press) of a button.
-
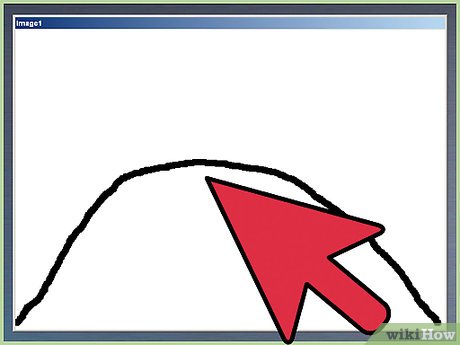
 Visualize an arch going across your image. This is the direction that your circle/ball will go.
 -
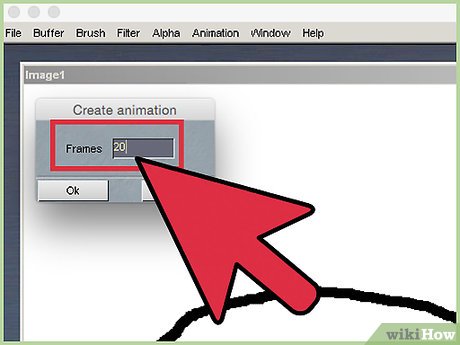
 Before starting your project, you want to be sure that you are ready to create the animation. Go to Animation >> Create… Then select the number of frames. Unless you want to get fancy, 15 or 20 frames should be enough.
 -
 Open your Swap mix panel. To do that, go to Window >> Swap mixing panel...
 -
 Be sure that the Swap mixing box is marked and set the Swap mixing mode to Tracing paper. If you look at the Tool panel, the box on the very right should have a gold triangle at the corner, shown here.
Part 2 of 3:
Creating Your Frames
-
 Select the brush that you want. Right click on the brush icon and select a medium sized brush from Simple >> Medium.
- If you have a 3 button mouse, pressing the center mouse button on your image will bring up the same options.
-
 In the lower left hand of your screen, draw a circle. At this scale, the circle is about 1.5 inches in diameter. It doesn't have to be a circle. It can be anything you want, like a smiley face, but a circle is a really good subject for beginners.
 -
 Press ⇧ Shift+J. This copies your work from the main image buffer and then and moves it over to the swap buffer. They should look the same at this point.
 -
 Press your right cursor key. This advances the frame and you are now in frame 1.
 -
 Draw another circle to the right and slightly above the original circle. Be sure that it is smaller than the first one, as well. If you know your physics, you can even make it the appropriate shape; e.g. elongating in some places, flattening in others.
 -
 Continue this process until your arch is complete. The circle will be the smallest at the peak of the arch and then it gets larger again.
 -
 Save your work by going to Animation >> Save…
Part 3 of 3:
Making Adjustments
-
 Determine which frame is the actual end of your animation. Here, it is 17 which makes 18 frames (0-17).
 -
 Play your animation. If you want to change the speed, press the FPS (Frames per Second) key and make any adjustments that you would like.
 -
 Go to Animation >> Save sequence… This saves all of the frames in their own image. Just give it a helpful name and save. It will save the files with the added numbers, such as this:_0000. So a New File would be 'New File_0000', 'New File_0001', etc.
Share by
David Pac
Update 05 March 2020


