How to add Screen Snip to Windows 10 right-click menu
Screen Snip is a screen capture tool for Windows 10 in Build 17661. And to quickly use Screen Snip, we can bring Screen Snip to the right-click menu..
There are many different ways to take screenshots of Windows screens. And from Windows 10 Build 17661 (Windows 10 Redstone 5), the manufacturer has added a screen capture tool, Screen Snip and Screen Sketch to edit photos. Screen Snip can be accessed from Action Center or press Win + Shift + S key combination. However, we can use Screen Snip quickly via right-click menu on Windows 10.
- How to create Screen Snip shortcut in Windows 10
- How to use Screen Snip, a new screen capture feature on Windows 10
- How to take screenshots of Windows 10 using Windows Ink Workspace
How to add Screen Snip to the right-click menu
Step 1:
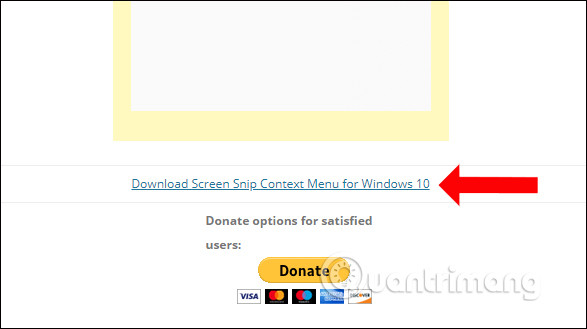
First, visit the link below to download the registry file to your computer.
- https://winaero.com/download.php?view.2143
Step 2:
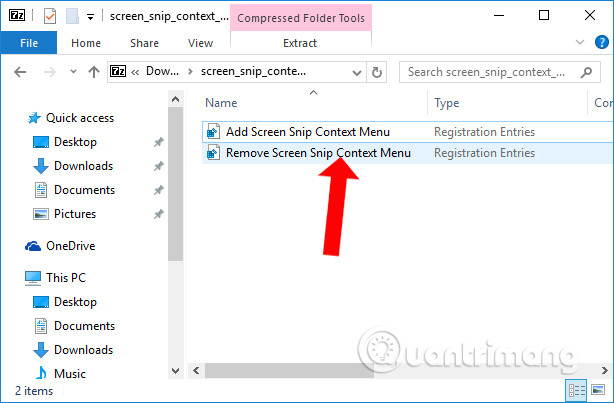
Then extract the downloaded file and get the 2 registry files as shown below. To add Screen Snip to the right-click menu on your computer, click the Add Screen Snip Context Menu.reg file .

Step 3:
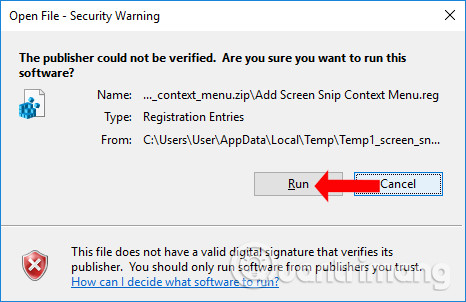
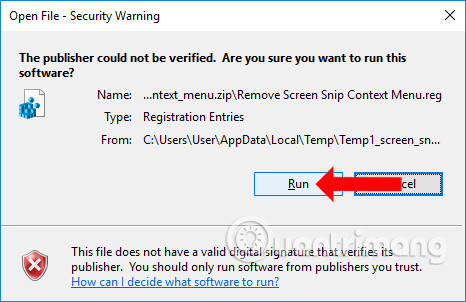
When the Security Warning interface appears, click Run to agree to run this registry file on your computer.
Step 4:
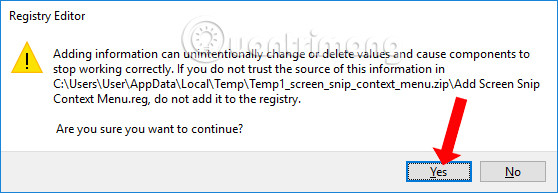
We will then receive a notification about the change when adding this registry file, click Yes to continue.
When we receive the success message from the Registry Editor interface as shown below, we have successfully added the registry file.
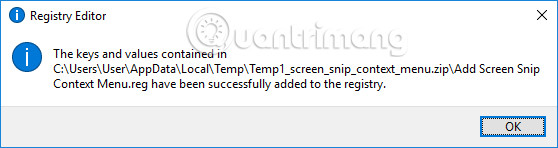
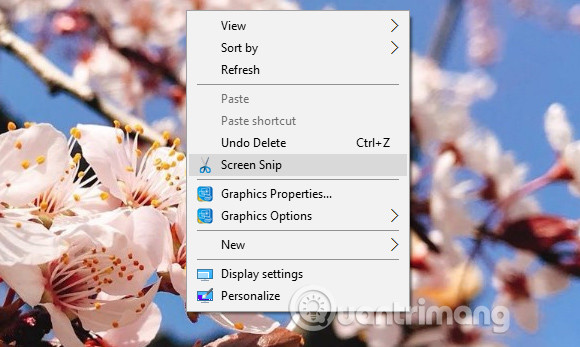
Now you try to right click on the screen of the computer screen and you will see the option Screen Snip takes a screenshot.
Step 5:
To remove the Screen Snip option in the right-click menu, click the registry file Remove Screen Snip Context Menu.reg in the unzipped folder.
Then also perform the installation operations as above.
The right-click menu interface on Windows 10 will revert to the same way and there is no such Screen Snip option available.

With a simple tip, you can take screenshots of Windows 10 quickly, using the Screen Snip option in the right-click menu. Note that this method only applies to computers from Windows 10 Build 17661 and above, when provided with Screen Snip tool.
See more:
- Instructions for filming and taking game screen shots in Windows 10
- 6 ways to open virtual keyboard on Windows 10
- To take a photo of a web page using the "multi-function" Marker
I wish you all success!