
How to Use Screen Sharing in OS X Leopard
Part 1 of 4:
Enabling Screen Sharing
-
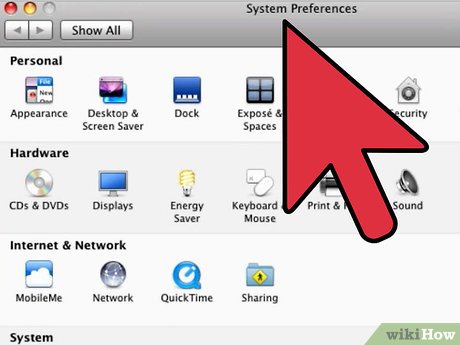 Click on "System Preferences."
 -
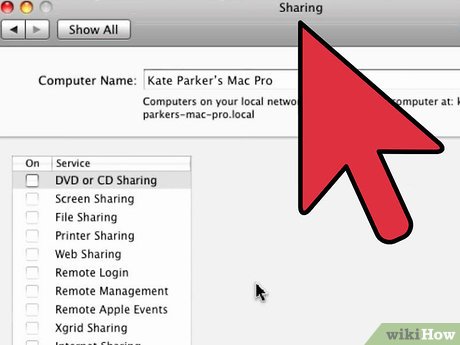 Open the "Sharing" pane. You can find this in the 'Internet and Network' section.
- At the top of this window, you can also assign your computer a name so the person searching for your screen won't have a difficult time locating you.
- Tick the check box next to 'Screen Sharing." This can be found on the left-hand side of the screen
Part 2 of 4:
Adjusting Your Privacy Settings
- Click on Computer Settings.
- Enable password. Enter a password you would like to use when screen sharing.
- Click on Okay.
Part 3 of 4:
Adding Screen Sharing Contacts
- Click on the plus (+) icon.
- Locate the people you want to host a screen-sharing session with.
- Add people. Click on the person's name to add him/her.
- Most people might have iPhones or iPads with them, so if you want to enable screen sharing with them, you will have to set the option to 'All users.'
Part 4 of 4:
Sharing Your Screen
- Connect to the network. In order to successfully share computer screens, you and the person whom you are about to share screens with should be connected to the same network (wired or wireless).
- Click on 'All.' Once you and the person you're sharing with are connected, click on 'All' on the left-hand side of your computer screen. Several options will pop up on your right-hand side.
- Start sharing your screen. Click on 'Share Screen' from the list.
- If you had enabled a password, enter it once prompted.
Update 04 March 2020
You should read it
- How to share a Mac screen with Messages
- Top 5 screen sharing applications between two Android devices
- How to Share a Mac Screen
- How to share a screen between 2 Macs
- How to share a screen shot video directly on CtrlV.tv
- How to Set Up Internet Connection Sharing for Windows XP
- How to share computer screen via Skype?
- How to View Shared Folders on Windows
- How to check what computer is sharing data
- How to show and display screen of Windows Phone on computer
- Working with Windows: Screen sharing
- How to use Screen Share Party to create screen sharing groups
Maybe you are interested
TEMPORARY TABLE temporary table in SQL Should a table drill be used? Advise to buy family projectors to watch movies, football extremely well What kind of drilling machine is best? Standing up for a job plaque, the homeless guy received an invitation from Google and hundreds of other companies Top job search website, the most prestigious recruitment website today