How to use Photoshop CS5 - Part 5: Photo editing
This article TipsMake.com will introduce briefly some basic photo editing techniques and learn how to improve a family photo.
Table of Contents
Photoshop named 'Photoshop' is its reason, as it is a specialized photo editing program. This article TipsMake.com will introduce briefly some basic photo editing techniques and learn how to improve a family photo.
The article is in the tutorial series of TipsMake.com using Photoshop CS5, please do not ignore other articles.

1. Crop the image for a more beautiful view:
Normally when taking a digital photo, the result will be a picture with a slightly wide view, a thin view that obscures the focus of the image. One of the first things to do with the image is the 'test' crop crop cropping tool.
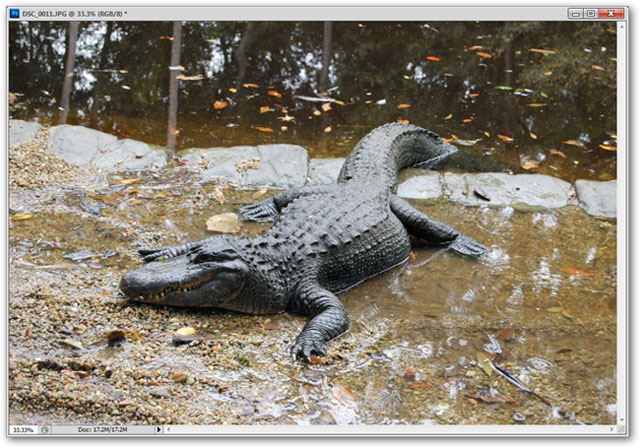
Press C to select the Crop tool. Use the mouse to click and drag to create a rectangular frame inside the image (if you need to crop the image in a square, hold Shift while clicking the mouse)

With the rectangular frame drawn, you can move, resize it to be more accurate before pressing Enter to crop the image.

You can undo the operation with the Ctrl + Z key (repeatedly undo, press Ctrl + Alt + Z) and repeat the operation without cropping.

2. Adjust the contrast with the Levels tool:
Photos that lack light can make your image gloomy or dark with unknown details. Brightness and contrast adjustment tools are a reasonable option in this case, the best tool to use is usually Levels.
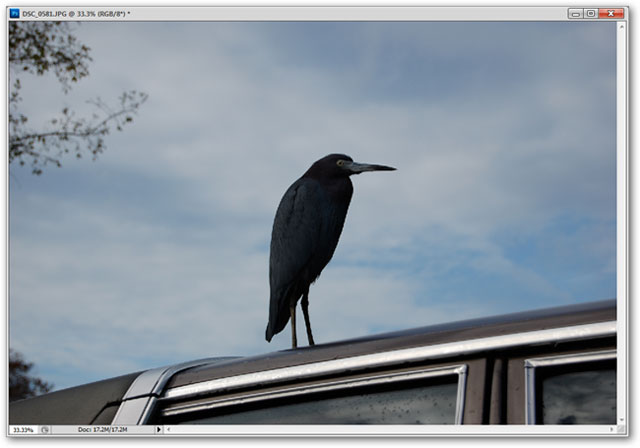
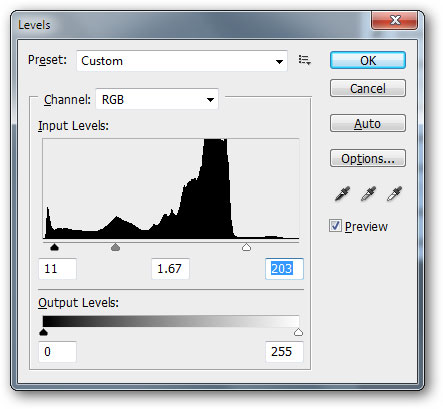
Open the photo you want to edit, press Ctrl + L to open the Levels dialog. By default, it looks like the image below.

Three slider buttons represent the Shadows , Midtones and Highlights sections of the image. By correcting themselves as shown in the illustration above, the light area is enlarged, the Midtone point is pulled closer towards the shadows to widen the distance between the Midtone and Highlights sections, making the photo brighter naturally.
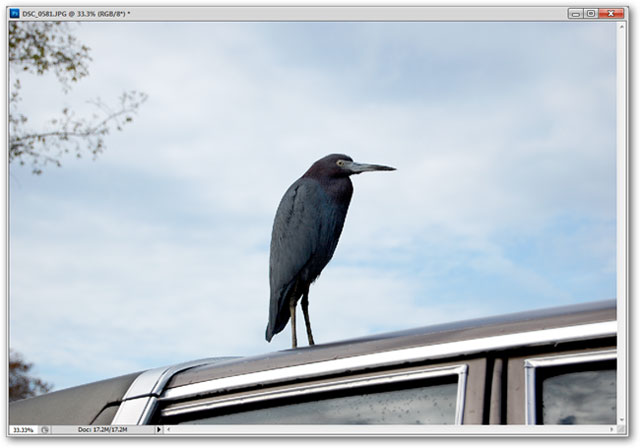
Click OK to close the edit mode. Immediately you will see the details of the picture look brighter, the sky below the picture is no longer gloomy, gloomy like the original photo. It may have to be edited several times, so the picture looks bright and natural.
3. Adjust the color slightly:
One of the biggest problems with photos taken in the home is too much color, which makes the viewers confused. Here is a simple way to reduce the color of a photo, with this example being reduced to yellow.
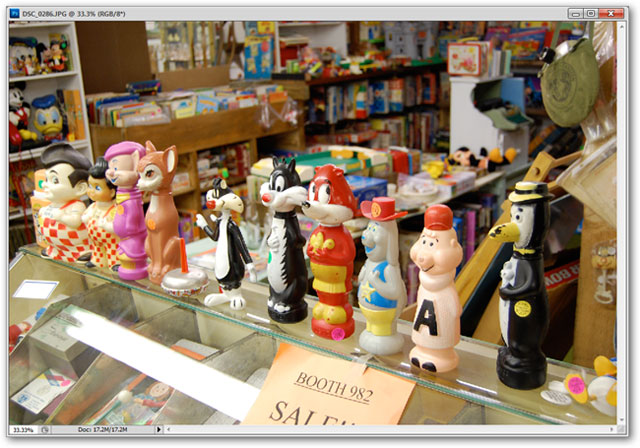
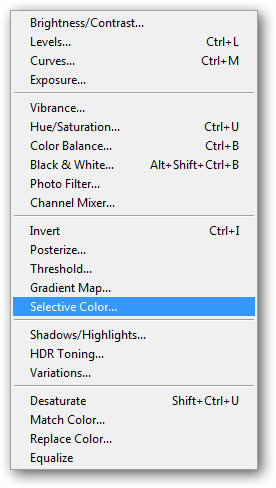
Go to Image > Adjustments > Selective Color
Selective Color is a tool that allows you to adjust images through key colors. They are: Red (Red), Green (Green) and Blue (Blue) are the basic colors of light; Blue (Cyan), Purple (Magenta), Yellow (Yellow) and Black (Black) colors are the correction colors for printing; Also White and Neutral (Neutrals).
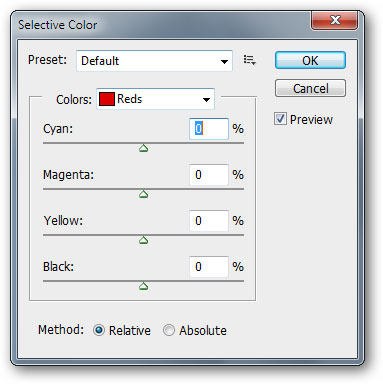
In our example image, it is a bit yellow, so in this case, select 'Yellows' from the Color drop-down menu. You can use the sliders to adjust the colors to best suit.

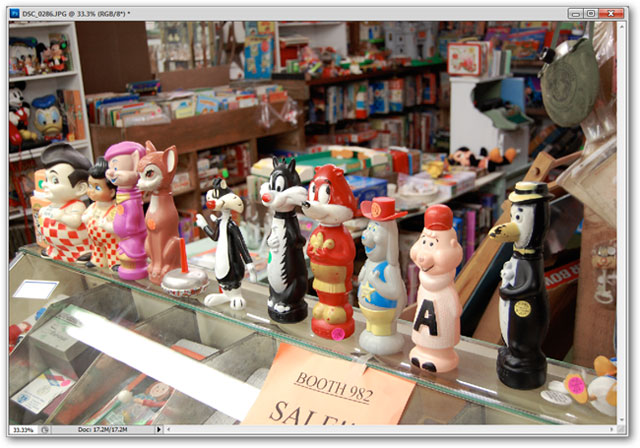
Compared to the original image, the photo's current lighting system looks more natural, the original image seems a bit too yellow.
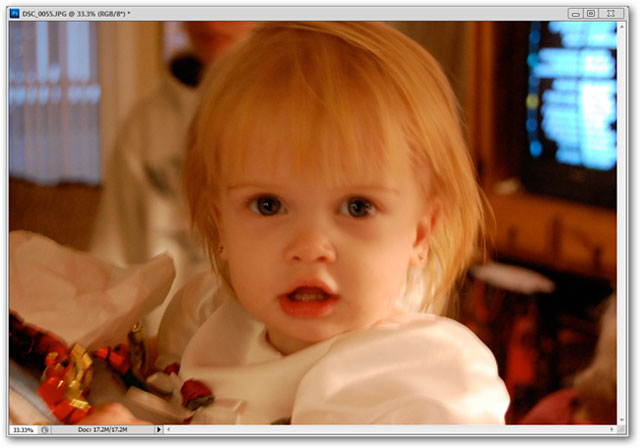
4. Sharpen blurry images without damaging colors:
Sometimes indoor lighting can bring a warm and fanciful effect to your photos. However, the fanciful 'too' lends the fuzzy features on the photo. There are many filters on Photoshop that can sharpen images but distort colors or distort images. With the following steps, you will be able to sharpen the image but still keep the original warm color intact.
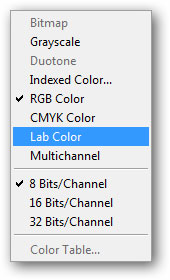
Lab color is a color space like RGB and CMYK. It is not most commonly used in the professional photography world, often used more with digital artwork files.
To convert the image into Lab color mode, go to Image > Mode > Lab Color
Changing the image to Lab color will bring about a change in color mode but you won't be able to see it with the naked eye.

Switch to the Channels panel next to Layers. If not found, you can turn it on by going to Window > Channels menu.

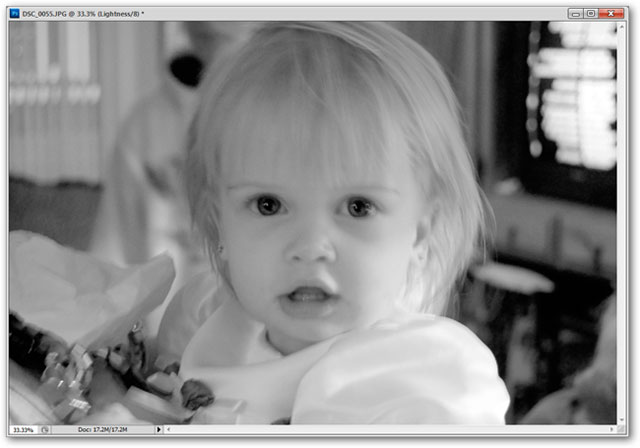
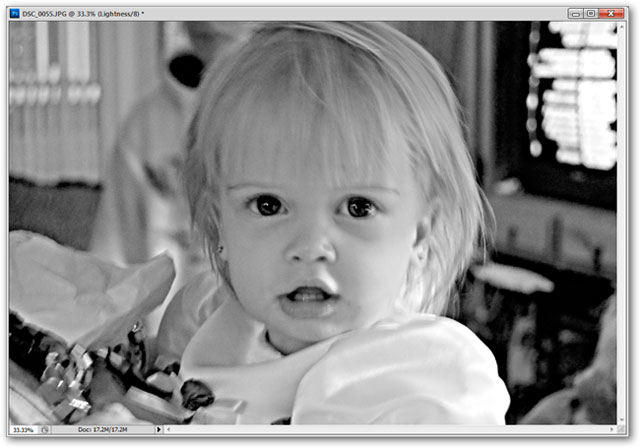
Select Channel Lightness , you will see a colorless version of the image as shown

If the image you do not see the Lighness channel or your image is not colorless, repeat the above actions.
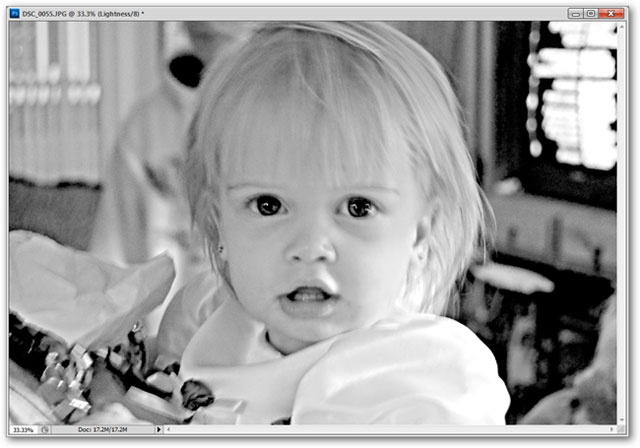
Go to Filters > Sharpen > Unsharp Mask . The Unsharp Mask can increase contrast and sharpen image strokes. Adjust the values so that the image does not create sharpness to retain the natural look of the image.
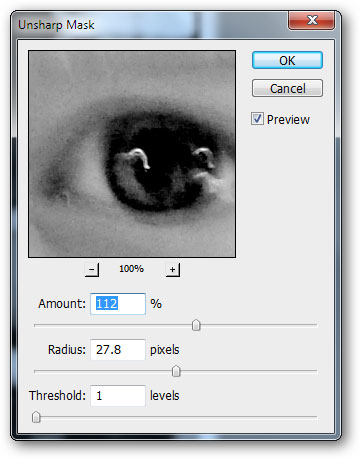
Normally, the Unsharp Mask filter can create a lot of dark space, so to make the image more natural, you need to adjust the Level to reduce the roughness of the dark spots.
Press Ctrl + L to open the Level tool. Adjust the Midtones and Highlights (similar to the example at the beginning of the article) to reduce the dark spots created from the Unsharp Mask filter
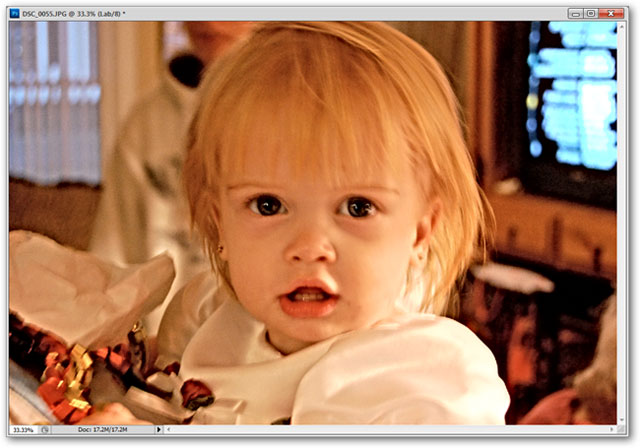
Finally, move the image back to RGB color mode: Image > Mode > RGB . Whether the final result has been consistent with your wishes, if not, you can repeat the above steps to adjust accordingly. When saving the image, remember not to overwrite the original image because it may be 'ugly' after editing your original image.
Next article: How to use Photoshop CS5 - Part 6: Digital art
Previous lesson: How to use Photoshop CS5 - Part 4: Basic menus
See also: Free online Photoshop
Good luck!
Was this article helpful?
Your feedback helps us improve.
Related Articles
 Instructions for using Photoshop CS5 to edit photos in full set4 minutes read
 Advantages of using Photoshop in ChatGPT for photo editing.6 minutes read
 49 smart Photoshop tips you need to know (Part 1)12 minutes read
 GIMP or Photoshop is the right tool for you?8 minutes read
 How to delete a person from a photo in Photoshop2 minutes read
 TOP best AI photo editing tools9 minutes read
Reader Comments 0
Sign in with email or Google to join the discussion.