How to use Photoshop CS5 - Part 6: Digital art
For art-reading readers, Photoshop offers quite a number of options for digital drawing. Whether your drawing is a craft or simply wants to draw for fun, or to study, Photoshop's drawing tools are also very useful..
For art-reading readers, Photoshop offers quite a number of options for digital drawing. Whether your drawing is a "profession" or simply wants to draw for fun, or to study, Photoshop's drawing tools are also very useful.

If you always want to become a digital artist, but have never spent a lot of time to learn Photoshop, this tutorial will help you get started quickly and easily.
1. Start with the Brush tool:

Brush (shortcut is B) is Photoshop's most important tool. It may be the most complicated tool compared to the tools in the program and often new people use 'job' less often. There are a variety of options on the Brush panel, you will have to familiarize yourself with the art drawings on this panel. If the Brush panel is not found, go to Window > Brush to open the control panel.

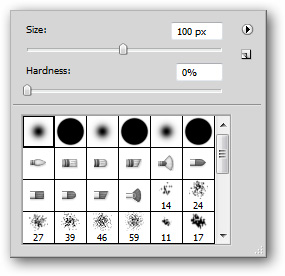
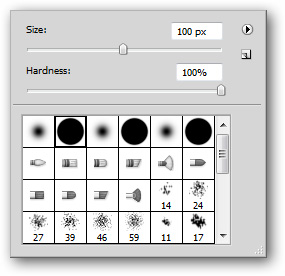
CS5 allows more selections of Brush tools in the options panel on the screen. Here you can adjust opacity, size and other options .

You will see many other options for the Brush tool by right-clicking on the workspace. For the purpose of this tutorial, we will avoid using complex brushes in the first image, and mainly use the options panel from the right-click menu (above image).
Need a Graphics Tablet?

Although it is not absolutely necessary for people with digital graphics, the USB Graphics Tablet helps enhance your Photoshop experience a lot. However, these devices are not cheap, some brands cost only $ 100-200 but there are also up to $ 2,000.
Many of the best brush features cannot be used without a tablet. With this device, you can paint smoother with a pen - a way of drawing that you can't express with a mouse.
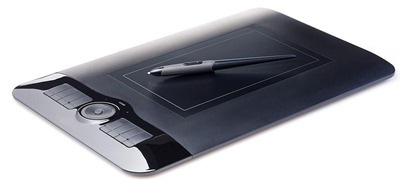
WACOM is a popular graphic tablet device but they are not only produced by one company. The tablet in the picture above is Waltop's Venus Waltop company - Taiwan.
Buying or not buying a tablet depends on your needs. If you think that it will take a lot of use from it to work effectively, investing $ 100-300 for this device is a must.
2. How to use the Brush Tool:
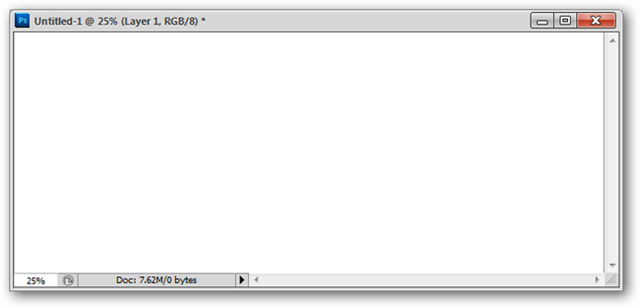
Press Ctrl + Shift + N to create a new file. Follow each step according to the instructions below to get a better understanding of how to use the available brush tools.
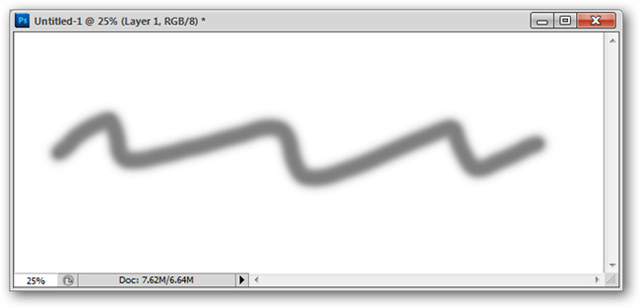
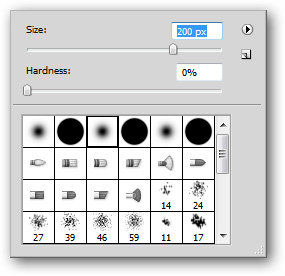
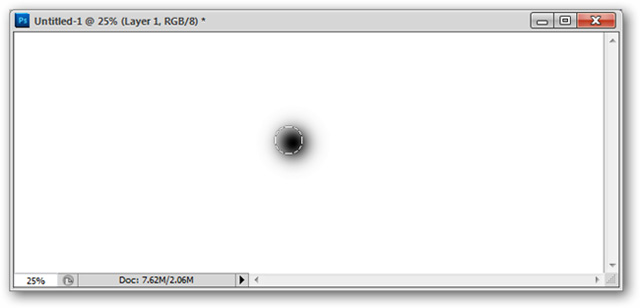
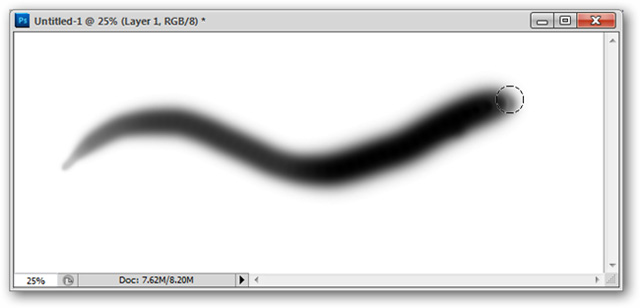
This is a basic setup to understand how the Brush works. Right-click to open the context menu and select the first ' Soft Round ' brush. You can adjust the size of the drawing with the top slider (Size)
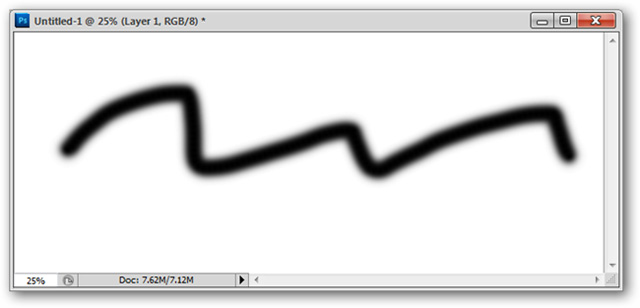
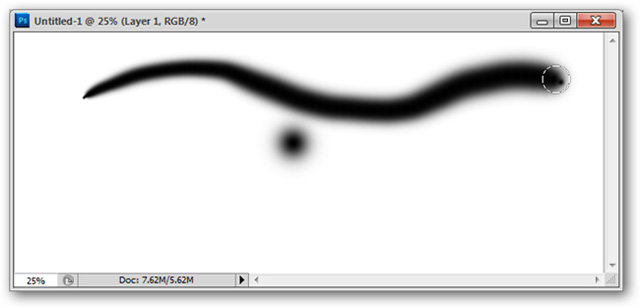
A black stroke will be drawn to the background that looks similar to this
Go to the options panel above the framework and set the Opacity to 50%.

Still click and drag the mouse to draw a stroke on the working screen, the following line is the same color but fainter than the first stroke.
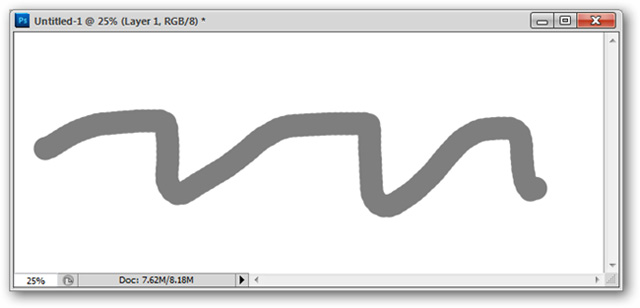
Right-click on the desktop to open the context menu again, this time choose the second option ' Hard Round '
Still setting the Opacity as the previous setting, the outlined line will have 'more hardness' than the first brush type. Customize each component on the options bar to experience different changes.

Similar to the Opacity is the Flow setting. Return the Opacity setting to 100% and set Flow to 50 %.

You will immediately see different lines.
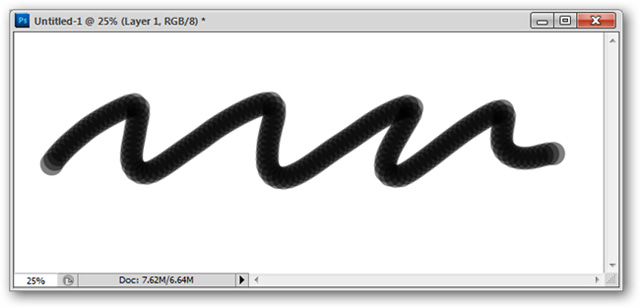
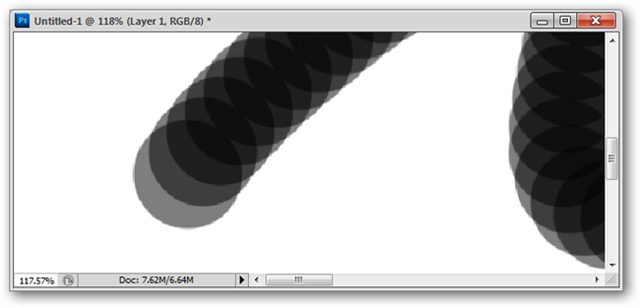
Enlarge the image we will see what the difference is in the drawing. With Opacity, the stroke is smoother and Flow creates continuous images of the drawing (circle). This difference sometimes makes users feel confused.
' Airbrush Mode ' is a rather confusing option. Nearly every recent version of Photoshop has this Airbrush icon in the options panel. Click it so we can learn the difference.

This option will create a drawing that has a wider 'softness'

3. Draw more real feelings with the Tablet:
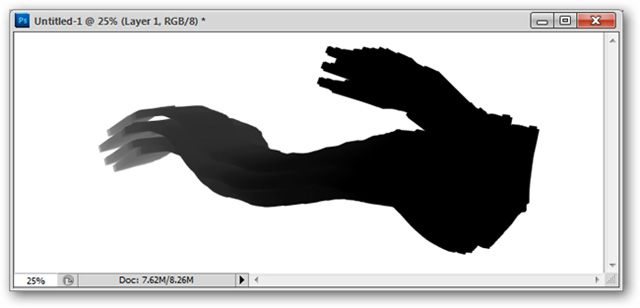
Still using the selected brush, try on the graphic album and select the option on the far right of ' Tablet pressure controls size '

A drawing with a drawing starts very small and the blur is less and gradually grows.
There is another option, ' Tablet pressure controls opacity ' that will similarly change the opacity of the brush from lighter to darker.

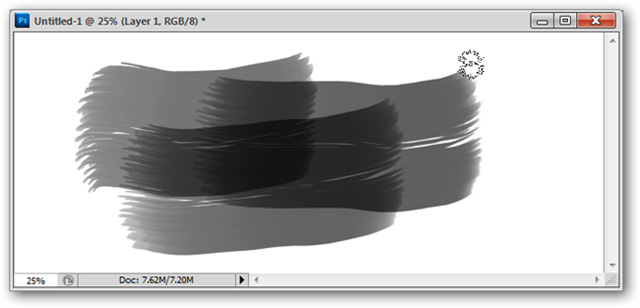
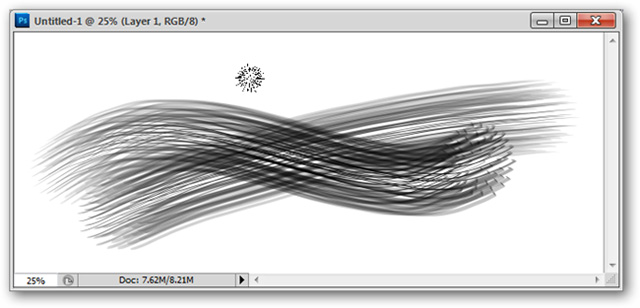
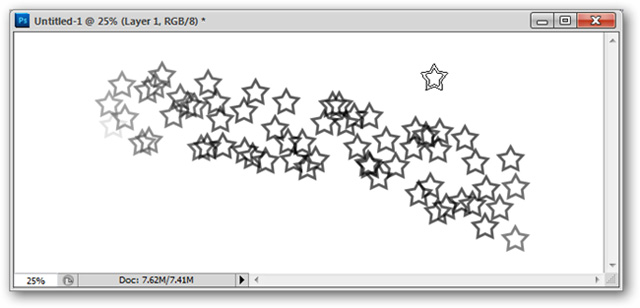
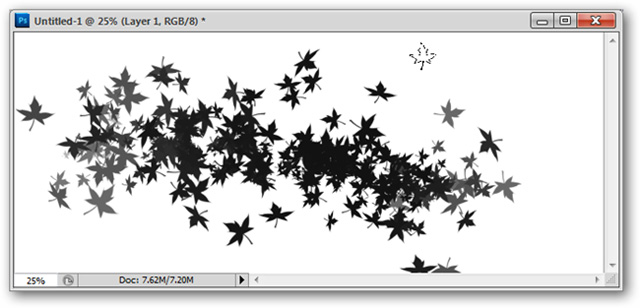
Below is the application of the first line in the Brush palette with the setting of the faintness of the brush in many interesting ways.
And other strokes
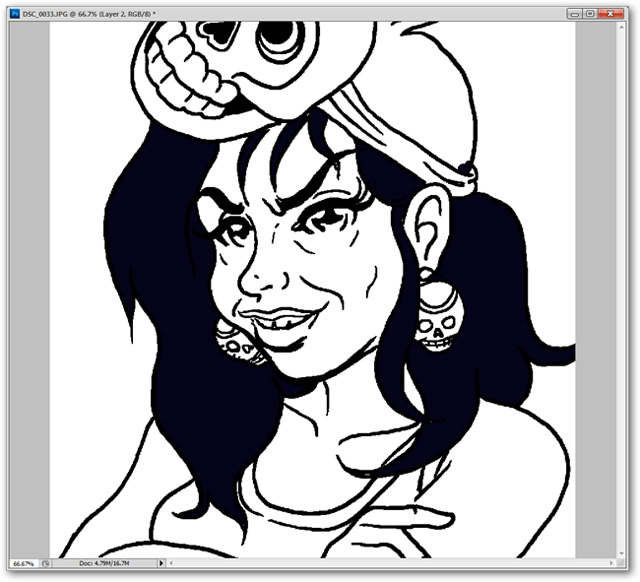
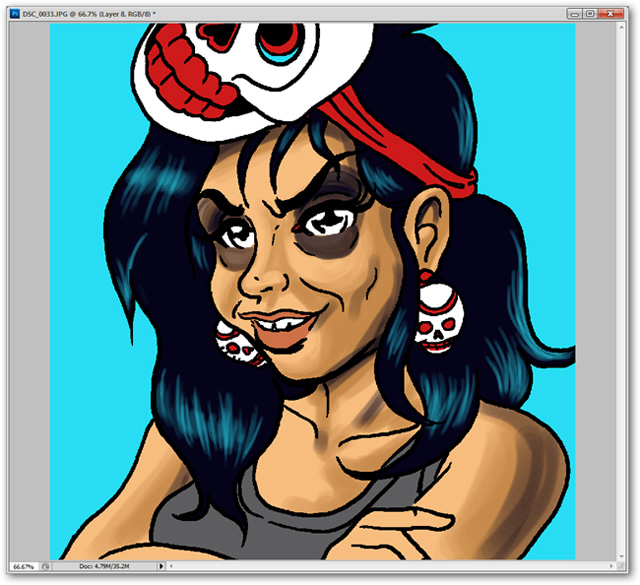
4. Digital painting with a brush:
Instead of scanning a hand-drawn photo, you can take a photo and use the brush tools to repaint the image so that it looks like a normal drawing with ink.
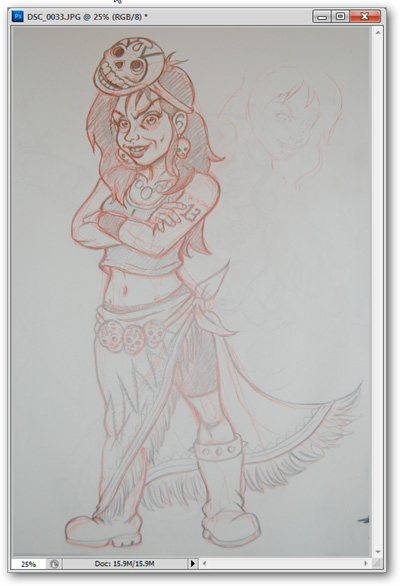
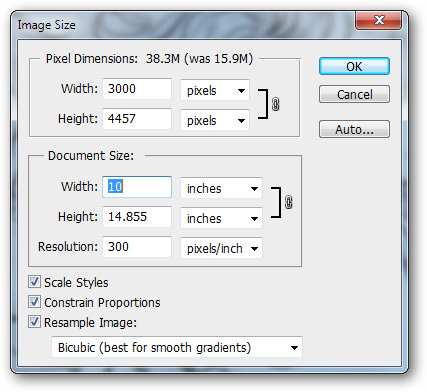
You should work at the best print resolution. Once you have created the image, you can go to Image > Image Size to resize it.
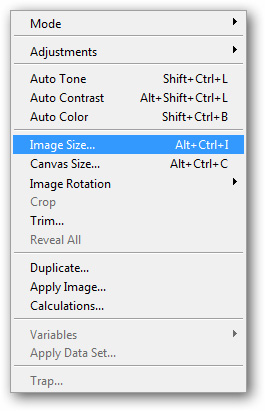
300 pixels / inch is a fairly standard print resolution. Expanding this image to 10 inches creates a 3,000 pixel wide image, with this size you can draw any suitable image.
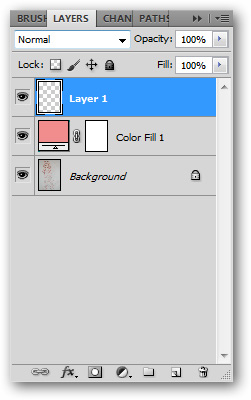
Create an adjustment layer above the image layer. Customize any color or photo light that is best suited.
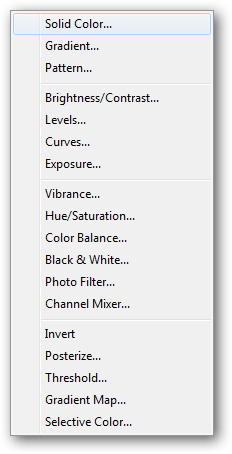
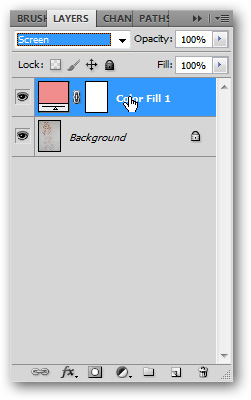
In this example we will let the light color be pink, change the Blending Mode to the option of Blend Mode to Screen .
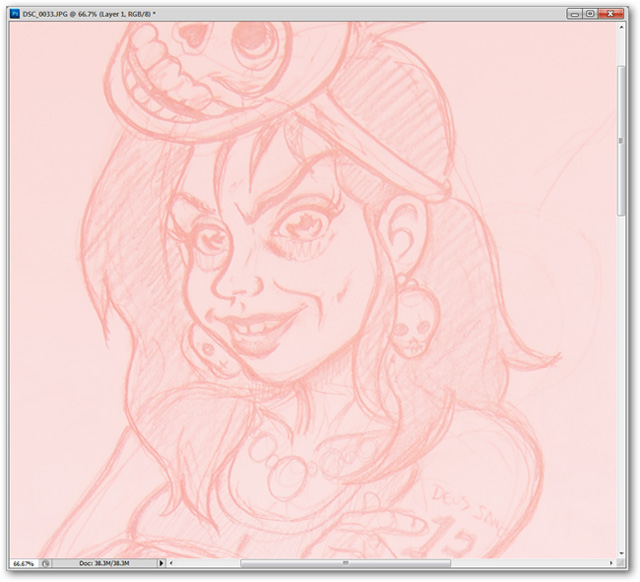
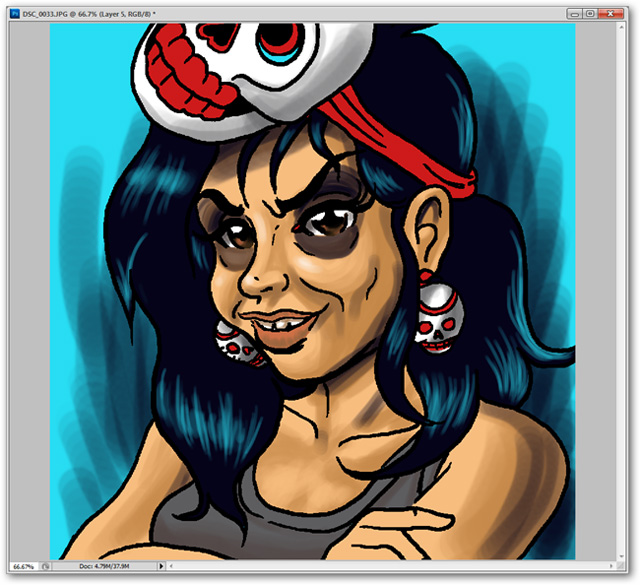
Create a new layer to start drawing a digital image layer.
Select the Brush or Pencil tool to redraw the image
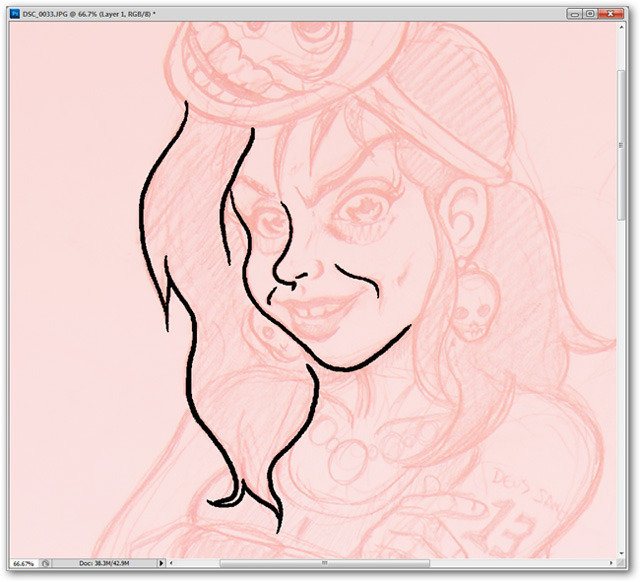
If you have a tablet, this drawing is quick and easy.
A single brush size will easily draw the frame of lines with different thickness.
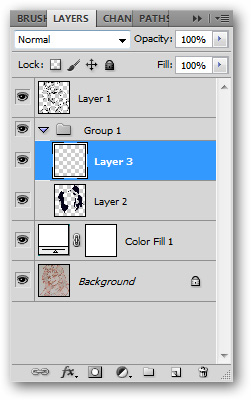
To add color to the image, you should create a new layer ( Ctrl + Shift + N ) and then create a group for it. Make sure the color layer is below the original stroke.
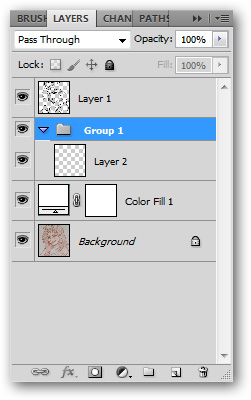
The Fill component in combination with the brush tool will quickly color an image area.
If you use fill color on multiple layers, you will want to check ' All Layers ' on the right side of the options.

Add new classes for each new color or work only on a single layer - it depends on your preference.
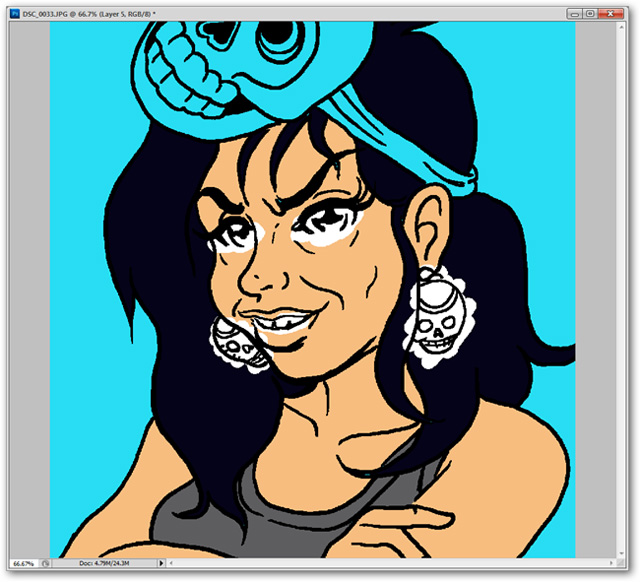
Working with independent color layers makes it easier to edit with extra color borders


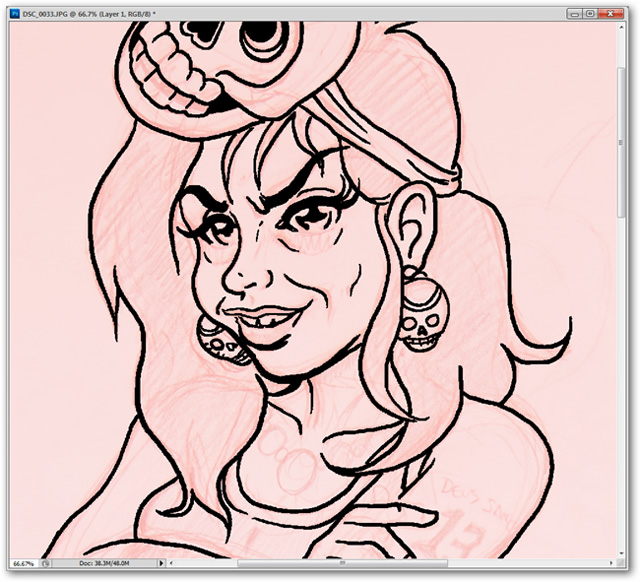
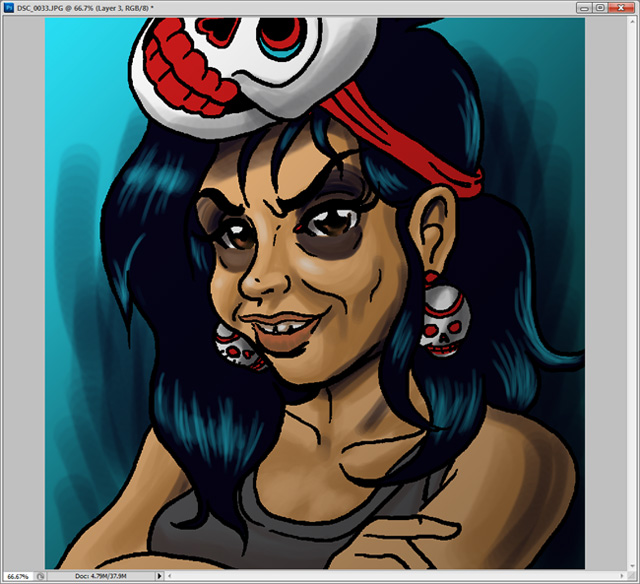
With a completely flat image without shadow layers, the image still lacks the 'real' level. Reduce the Flow section and set the normal Opacity, you can 'hit the shadow' part of the image.
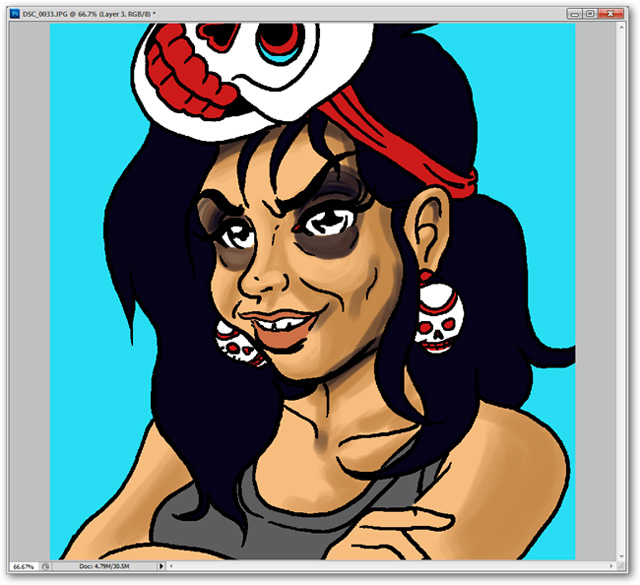
While the picture above is done with a mouse on a normal computer, the picture below is drawn only in the period of 20 ':
Just point out some more bright points that your painting will be really perfect.
Next lesson: How to use Photoshop CS5 - Part 7: Design and present with the Type Character Panel
Previous article: How to use Photoshop CS5 - Part 5: Photo editing