How to use Photoshop CS5 - Part 19: Create an Out of bound image
In the next article of the tutorial series on Photoshop, we will present some basic steps to create the effect of out-of-bound photos.
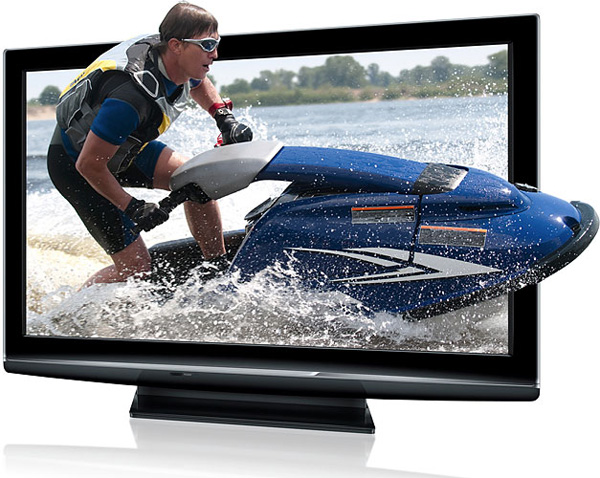
Specifically, from the two original photos, we will create an image of a sports athlete trying to "cross" off the screen of the TV.
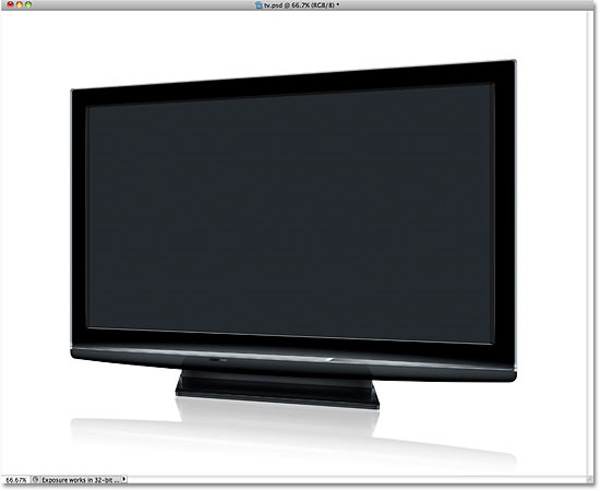
To prepare, you need to find the sample image with the right size ratio, first the external display image (here is the TV), and inside is the main object we will manipulate and focus effects on it. First, we will open the image of the TV:
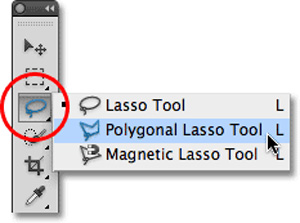
Handling the edges of this device is very simple and easy, because just select straight lines with Photoshop's Polygonal Lasso tool:
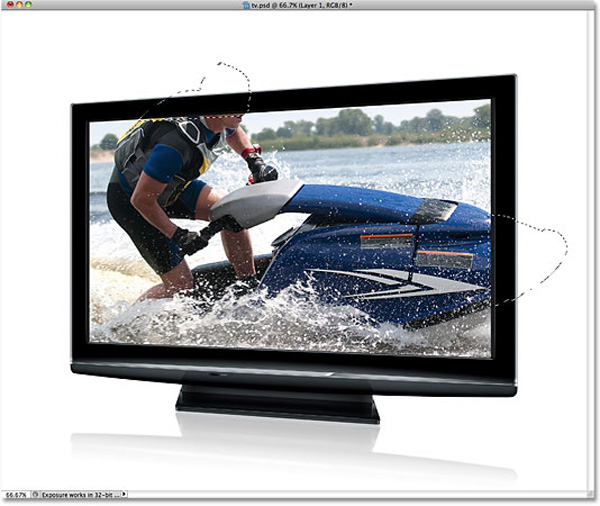
And choose the 4 corresponding corners as follows:

Next, open the photo that will appear inside this TV:

Then press Ctrl + A (Windows) or Command + A (Mac) to select the entire image, and press Ctrl + C (Windows) or Command + C (Mac) to copy the entire selection. Go back to the image containing the external display object (here is the TV) and choose Edit from the menu bar> Paste Special> Paste Into:

If you are using Photoshop CS4 or earlier versions, just select Edit> Paste Into , the result will be as follows:

When looking at the Layer panel, we will see that Photoshop has added a new layer next to the image that appears above the Background Layer. Also, Photoshop used an external selection layer to initialize the Layer Mask for the image, and that's why we only see details inside the Tv even though the actual size of the image is larger than the one. Many TVs:

Hold down the Shift button and click on the Layer Mask layer as shown below:

This process will temporarily turn off the Layer Mask layer and the TV will be hidden behind:

Next, change the Opacity parameter from 100% to 60%:

And then, two images will mix together as follows:

Then press Ctrl + T (Windows) or Command + T (Mac) to use the Free Transform feature to resize it to match the ratio of the TV:

Next, use your familiar tools ( Lasso Tool, Pen Tool .) to select the area of the image outside the edge of the TV. For example, here, we will make the athlete's head and the surf boat 'stick' out:

Then, hold down the Shift button and click Layer Mask again, change the Opacity to 100% the same:

And the display of the TV will return to the same:
Next, we will proceed to add the above created selection to this Layer Mask layer, select the next Layer Mask layer:

Select the Edit> Fill menu :

The Fill dialog box displays, changing the Use to White option :

Click OK to apply changes and close this window. Then press Ctrl + D (Windows) or Command + D (Mac) to remove the selection:

Then, merge these two layers, and we will have the final image as follows:

Good luck!
Was this article helpful?
Your feedback helps us improve.
Related Articles
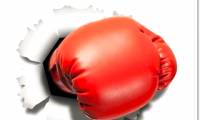 How to use Photoshop CS5 - Part 20: Create images of fists through the screen10 minutes read
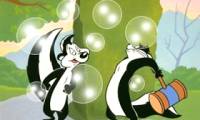 How to use Photoshop CS5 - Part 28: Create bubbles in the image7 minutes read
 How to use Photoshop CS6 (Part 6): Create abstract geometric blocks10 minutes read
 How to create a snowman in Photoshop2 minutes read
 How to use Photoshop CS5 - Part 29: Create a zoom effect in a photo5 minutes read
 How to create texture in Photoshop CC9 minutes read
Reader Comments 0
Sign in with email or Google to join the discussion.