How to use Photoshop CS5 - Part 20: Create images of fists through the screen
In the following tutorial, we will consult and learn how to create a photo with a fist through the screen, quite similar to the process of creating Out of bound ...
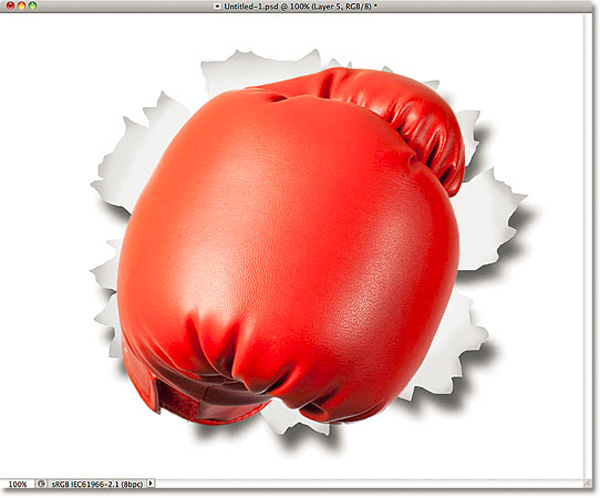
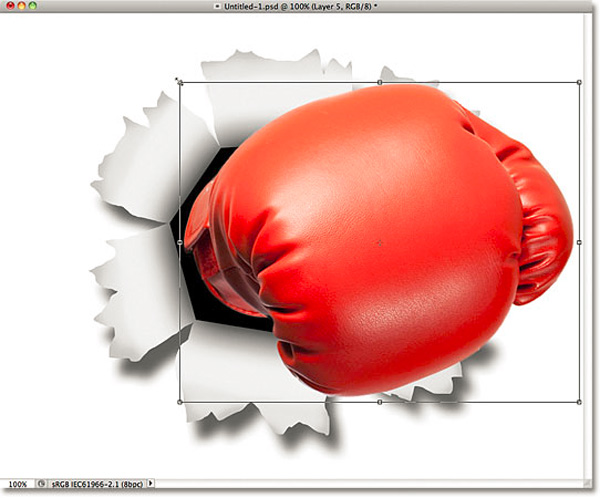
In the following tutorial, we will consult and learn how to create a photo with a fist through the screen, quite similar to the Out of bound image creation process . After finishing, you will get the following work:

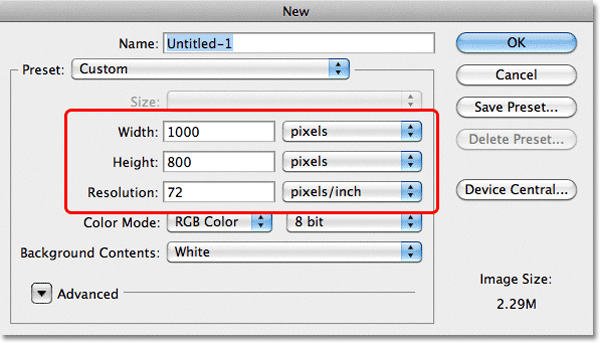
First, create a new document with dimensions of 1000 x 800 px , resolution 72 pixels / inch:
Then, add a new Layer by clicking the New Layer icon at the bottom of the control panel:
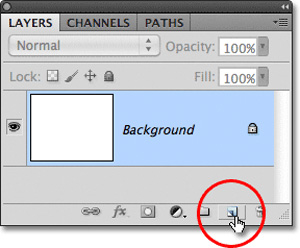
The new layer will appear on the Background with the name of Layer 1:

Next, select the Polygonal Lasso Tool:

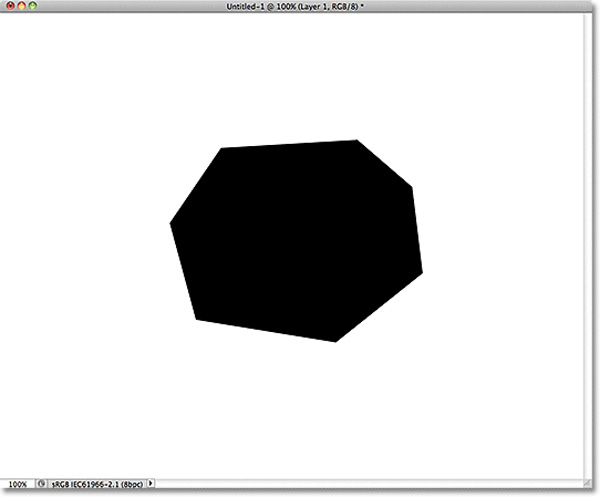
Then, draw any polygon in the middle of the image - this will be our fist "squeezed out" from the space behind. You can draw any image, but it's best to look like this:

Next, we will proceed to fill this selection, click the Edit> Fill menu :
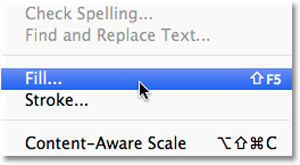
The Photoshop Fill dialog box will display, change the Use option to Black :

Click OK , and we will have the following picture:
Press Ctrl + D (Windows) or Command + D (Mac) to remove the selection. Continue, hold Ctrl (Windows) or Command (Mac) and select the New Layer icon below the control panel:
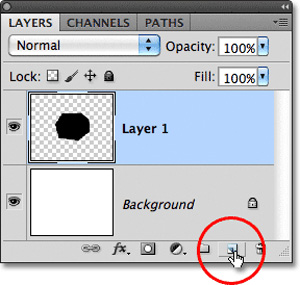
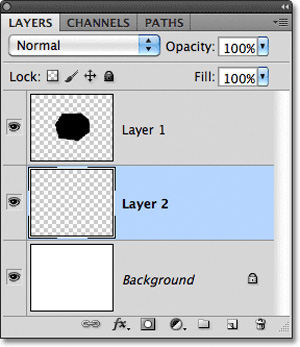
Normally, Photoshop will add a new Layer directly right above the selected Layer, but when we hold down the Ctrl (Windows) or Command (Mac) keys and select New Layer , Photoshop will create a new layer below the currently selected Layer:
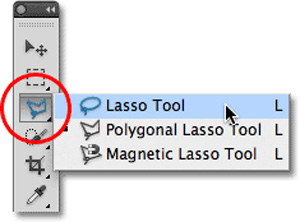
Next, select the Lasso Tool:
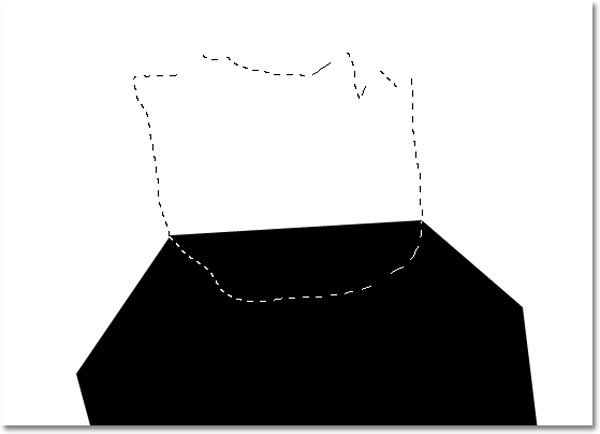
Then we will draw the first image of the torn piece of paper. You need to be careful in this step, because every torn piece has a certain shape and shadow, if you have many polygons on the other side, here we will have to create each one. torn pieces. Preliminary sketch:
When completing the first piece, hold down the Shift key and continue drawing the next piece:
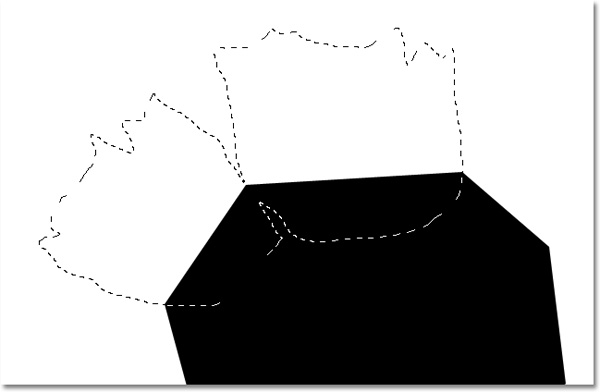
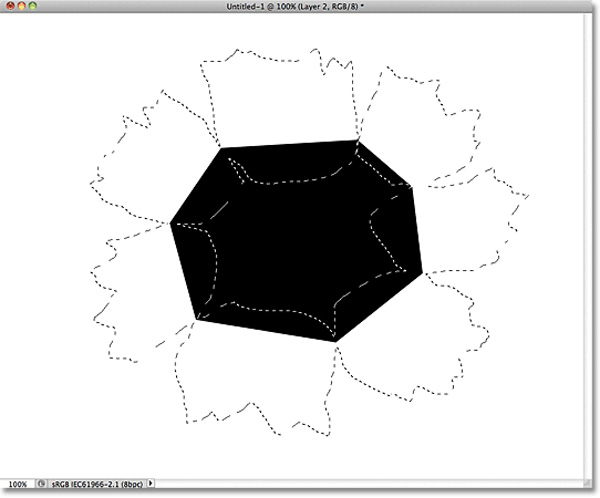
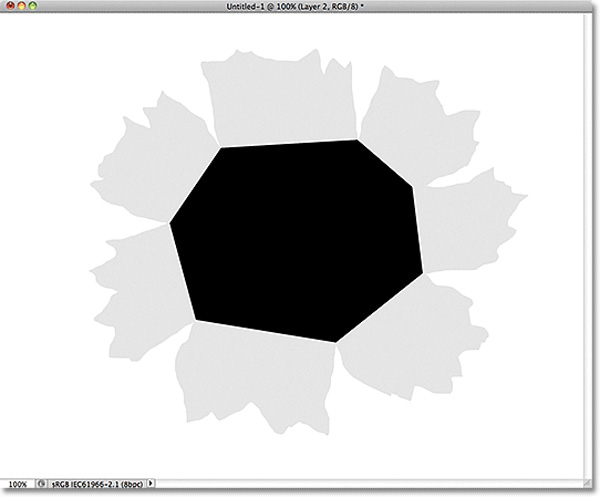
And this is the result after this process:
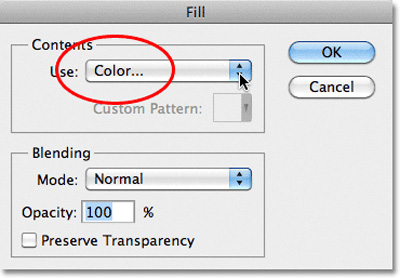
To continue, select the Edit> Fill menu, change the Fill option to Color :
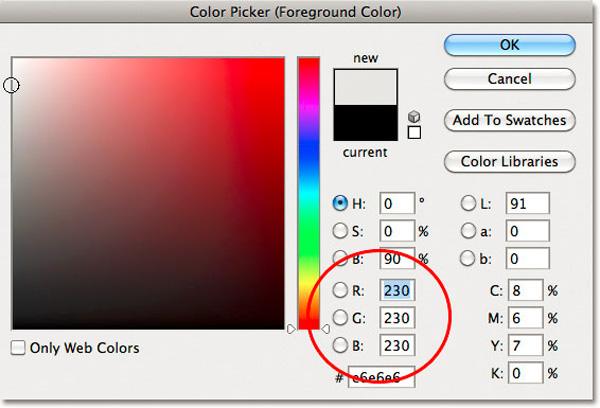
The Color Picker panel displays, and we need to select the appropriate color, as the example here is light gray. Specific parameters are as follows: R 230, G 230, B 230 :
Click OK to apply the change. Then press Ctrl + D (Windows) or Command + D (Mac) to delete the selection:
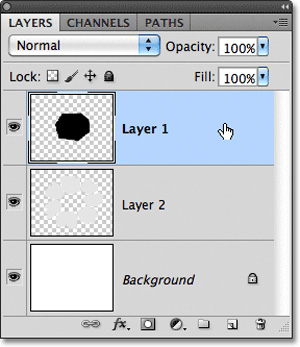
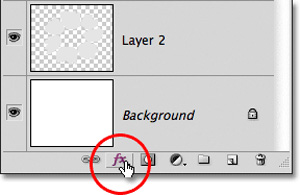
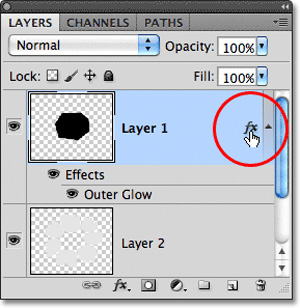
In the next steps, we will in turn create the shadow effect for these torn pieces of paper. First, choose Layer 1 :
Select the Layer Styles icon below:
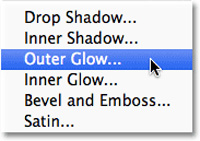
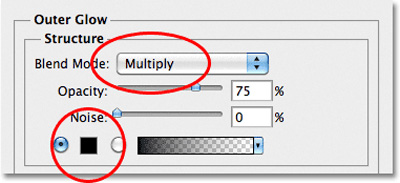
Select the Outer Glow in the displayed list:
The Photoshop Layer Style control panel displays, change the Blend Mode from Screen to Multiply , and the color under the Noise box to black:
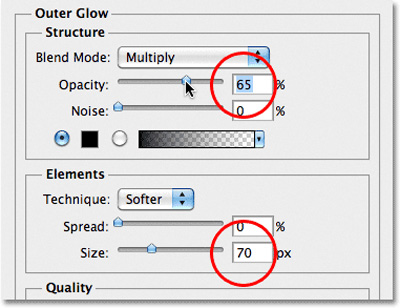
Click OK to apply the change and close the Color Picker window but keep the external Layer Style . Continue to adjust the parameters here like Opacity and Size to bring the best effect:
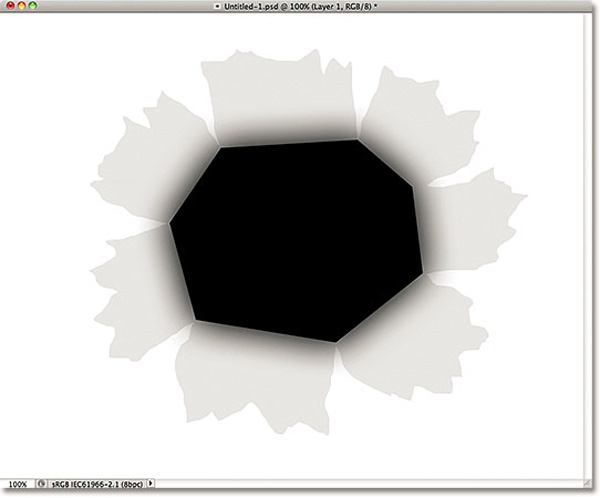
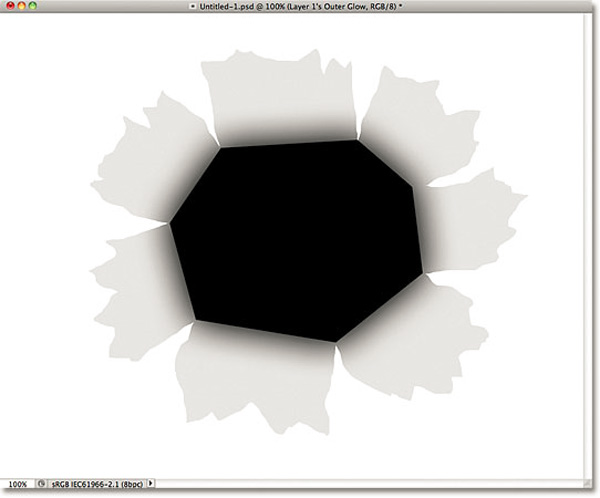
Click OK to close this Layer Style dialog box, and the image of the torn paper will look like this:
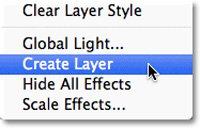
When it comes to this step, we will have to solve a little problem with the shadow effect that not only appears with the center piece of paper but also with the white border on the outside. But here, we just need to apply this effect to the main piece of paper. And to fix it, you need to convert the Layer Style layer into the corresponding separate layers. It sounds complicated, but actually quite simple, right-click ( Windows ) + click or Control + click (Mac ) directly on the Layer Effect layer as shown below:
Select Create Layer from the menu displayed:
Photoshop will automatically convert the Layer Style into a new layer called Layer 1's Outer Glow just below Layer 1:
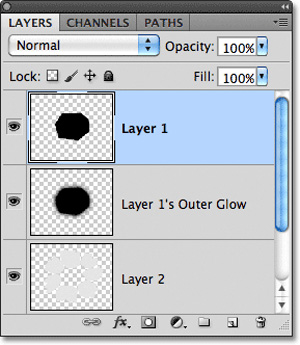
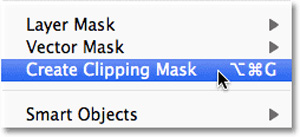
Next, use Clipping Mask to apply the effect to the layer just below:
The system will display as follows:
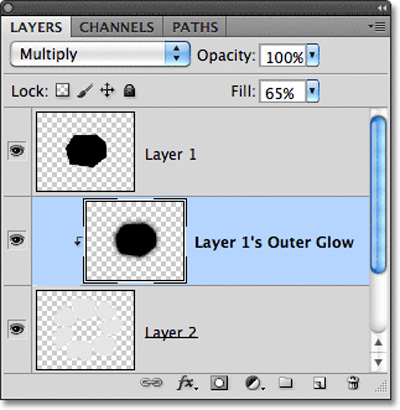
And in the frame, we will see the shadow effect only appear around the main object:
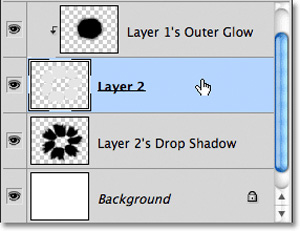
Next choose Layer 2 :

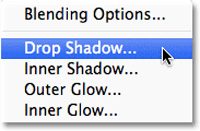
Click the Layer Styles icon at the bottom and select Drop Shadow to create a shadow effect:
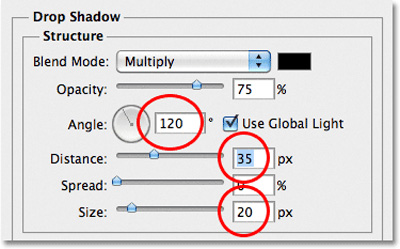
Display Layer Style dialog box, here you adjust the specifications as follows:
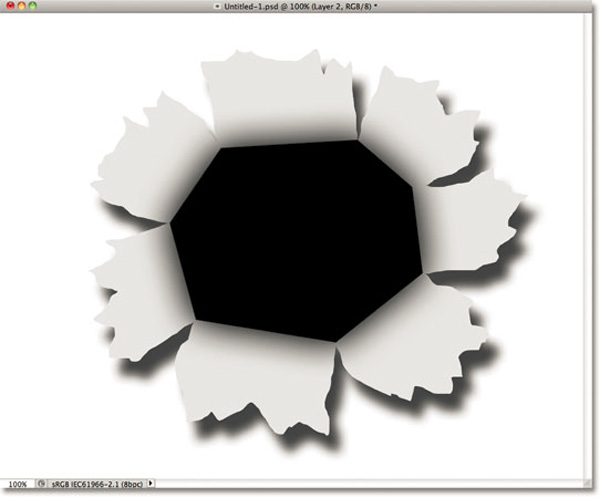
Click OK , and we will get the result as shown below:
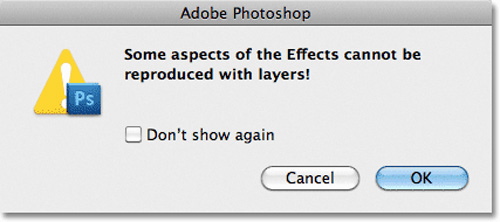
Similar to when we manipulated the Outer Glow Layer Style layer , convert this shadow effect layer into a normal layer. Right-click (Windows) or Control (Mac) and select the effect layer, as shown below:

Select the Create Layer option from the menu that appears, and in some cases Photoshop will announce that some of the effects are not fully applied to the selected Layer . Click OK :
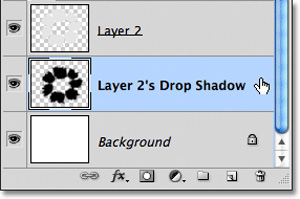
In the Layer panel, we will have to add Layer 2's Drop Shadow layer just below Layer 2:

Select the layer you just created Layer 2's Drop Shadow:
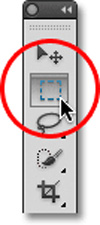
To bring a natural look to the image, we need to 'decorate' a little more using the Rectangular Marquee Tool:
And draw a quadrilateral around the whole image as follows:

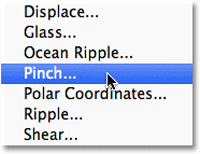
Use menu Filter> Distort> Pinch:
This effect will 'push' the balls towards the center of the image, while distorting the details here:
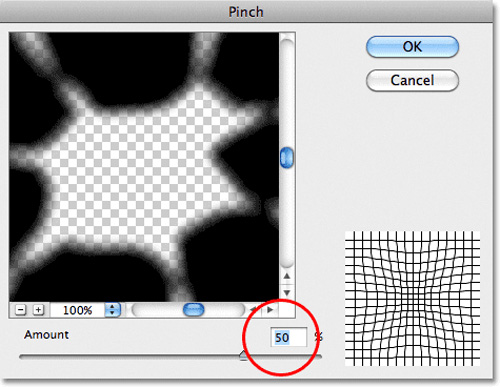
Click OK to apply changes and close this Pinch window. Our results will look like this:

Press Ctrl + D (Windows) or Command + D (Mac) to remove the selection
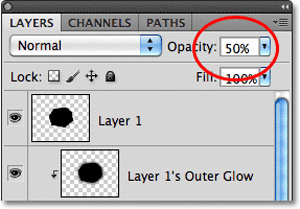
To reduce the 'density' of this shadow effect, we need to change the Opacity parameter, which you can choose between 80 - 85% is appropriate. Here we leave 82%:
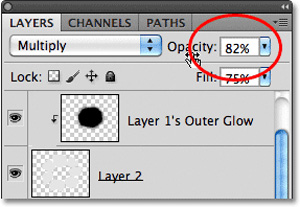
After applying changes:

Next, we will proceed to layer 2:
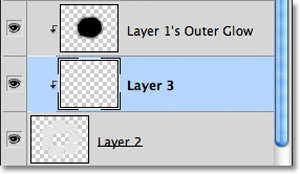
Create a new layer above this Layer 2 :

Since the Layer Outer Glow is applied to Layer 2, Photoshop will automatically create a new Layer in the same way:
Next, select the Brush Tool:
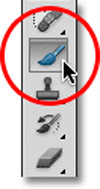
When we reach this step, we will color the areas of the outer edges of the paper. Press D to switch the Foreground and Background colors to default:

With the brush tool selected, paint the edges around the edges of the paper as follows:
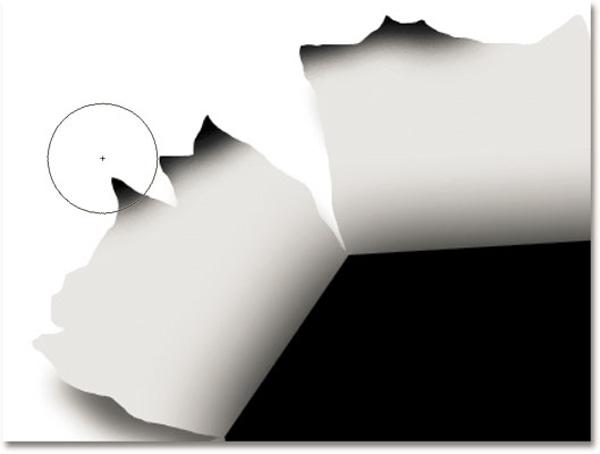
Continuing with all the paper sticking out, there is no need to worry if the color is too bold because we can correct it later:
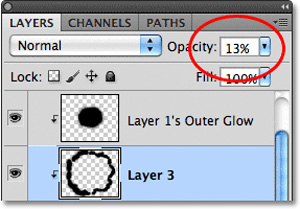
Then, reduce the opacity of this layer to the minimum possible, here we leave 13%:
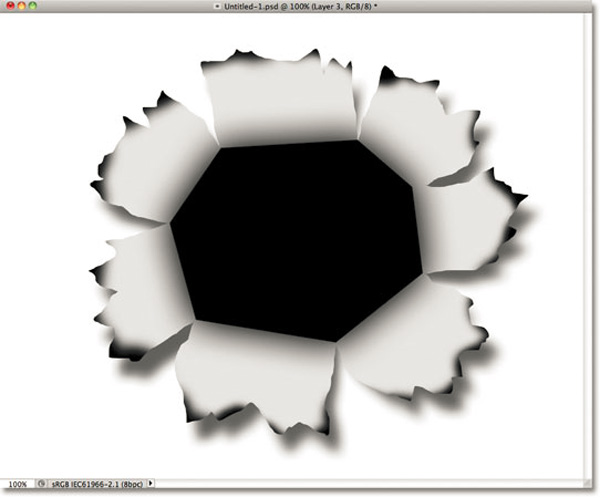
Our results will look like this:
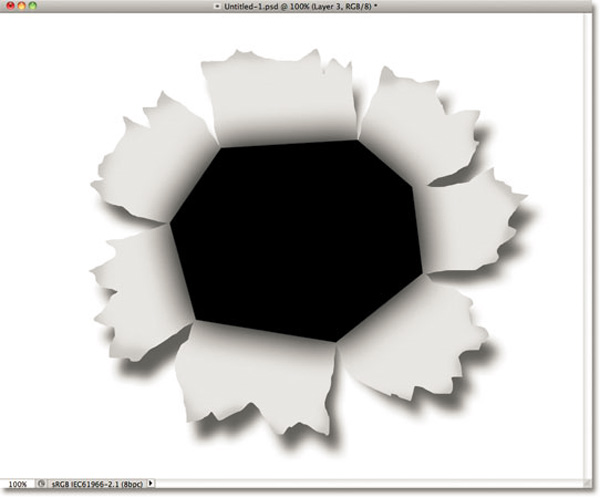
To complete the whole process, we will have to create a new layer again. Select the New Layer icon at the bottom and we'll have Layer 4 :
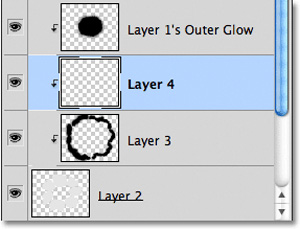
Press X to change Foreground and Background colors together, set the Foreground to white. Continue using the brush to color around the middle part of the image, as shown below:
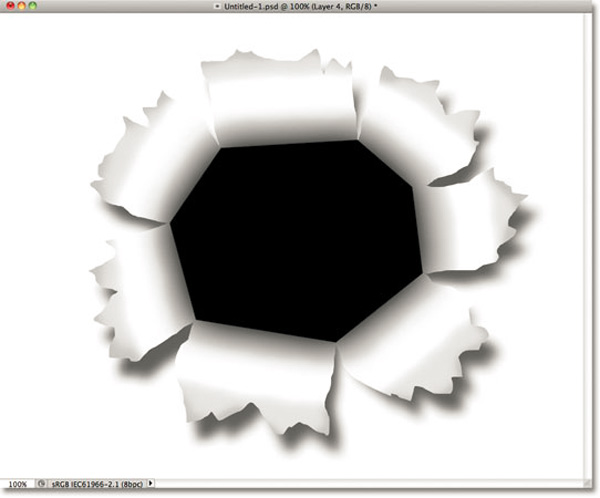
Change this layer 's Opacity to 50%:
Results after applying the effect:
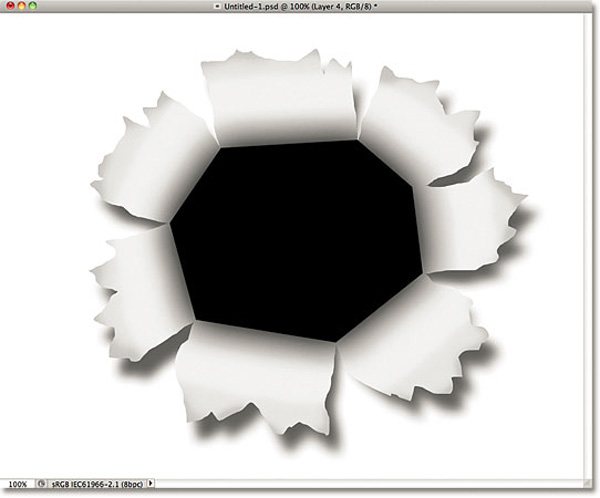
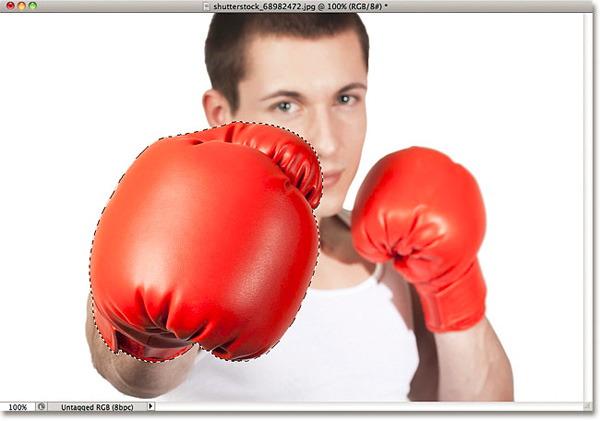
Basically, we have completed the necessary background of the work. Next, you need to find a fist-shaped photo, for example, in this test:

Use the appropriate tool (( Lasso Tool, Quick Selection Tool, Pen Tool . ) to cut the area of the fist:
Then copy this selection to the paper photo:
Our temporary result will look like the image below:
Next, press Ctrl + T (Windows) or Command + T (Mac) to use Photoshop's Free Transform feature, then rotate so that it matches the original pattern frame (hold Shift to not change the click ratio ruler):
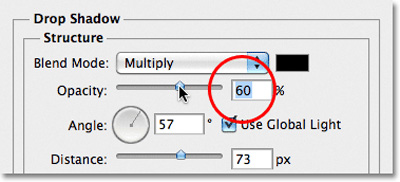
Select the Layer Styles icon at the bottom of the control panel and choose the Drop Shadow effect from the list. Change the Angle and Distance parameters in the Layer Style panel so that it is appropriate and creative:
Continue, change the Opacity in Drop Shadow to 60%:
Click OK to apply the change and close this Layer Style window:

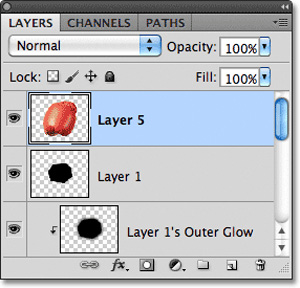
Select the Layer Mask icon at the bottom:
A thumbnail layer will appear next to the selected Layer :
After that, select the Brush Tool and the Foreground color is black to create a shadow around the original part of the fist:
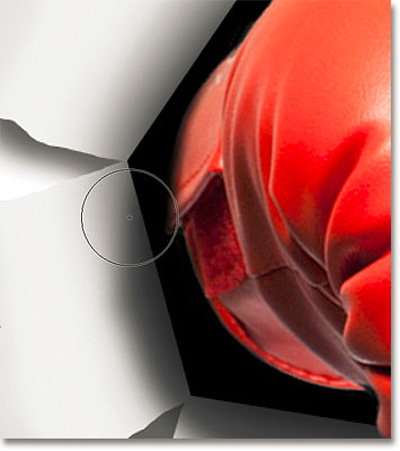
Compared to your specific details, create shadows around the fist accordingly and naturally, for example in this test:

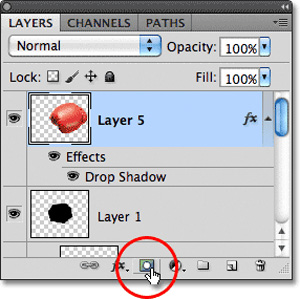
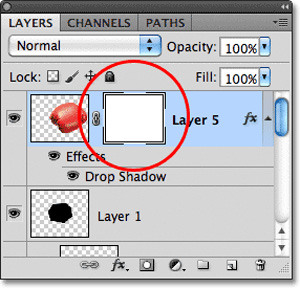
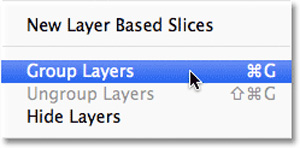
The last thing is to merge all the layers (containing patterns and effects) into a single layer. Select the Layer at the top (here is Layer 5), hold down Shift and select Layer 2's Drop Shadow :

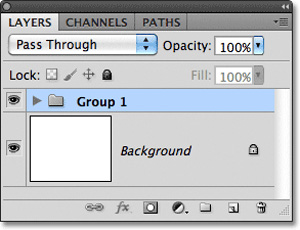
Then press Ctrl + G (Windows) or Command + G (Mac) to create Group :
And we will have Group 1, right above the Background layer:
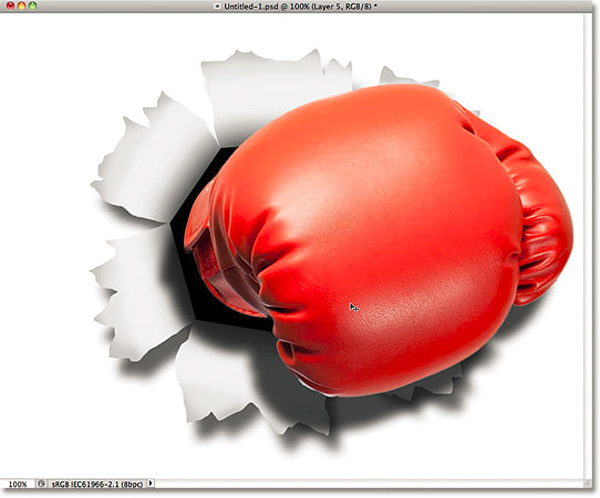
If you want to change the angle of the entire internal object, simply press the V key with Group 1, the entire image section including the effect will change according to the direction of the mouse movement:

Good luck!
Was this article helpful?
Your feedback helps us improve.
Related Articles
 Tutorial for creating 3D photo effects in Photoshop (Part 1)5 minutes read
 How to use Photoshop CS6 (Part 2): Create fashion collage images23 minutes read
 How to create PNG and JPG images using Photoshop2 minutes read
 How to create GIF animations in Photoshop5 minutes read
 How to create a snowman in Photoshop2 minutes read
 How to create SVG from PNG or JPG in Photoshop3 minutes read
Reader Comments 0
Sign in with email or Google to join the discussion.