How to use Photoshop CS5 - Part 27: Create a Motion effect on any object
In the next installment of the tutorial series in Photoshop, we will present some basic operations to create Motion based on multiple layers of objects, along with Blend modes and custom Opacity. ...
TipsMake.com - In the next part of the tutorial series on Photoshop, we will present some basic operations to create Motion based on multiple layers of the object, along with Blend mode and Custom Opacity.
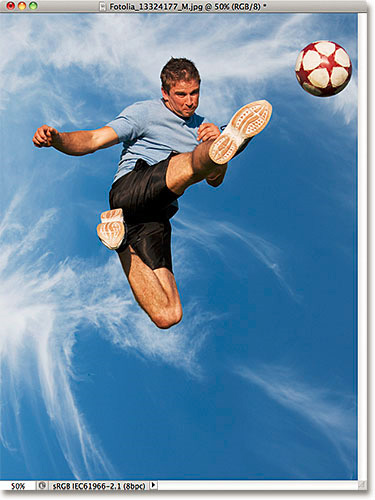
Photo source: Fotolia
And this is the final result after you've successfully completed the tutorial:

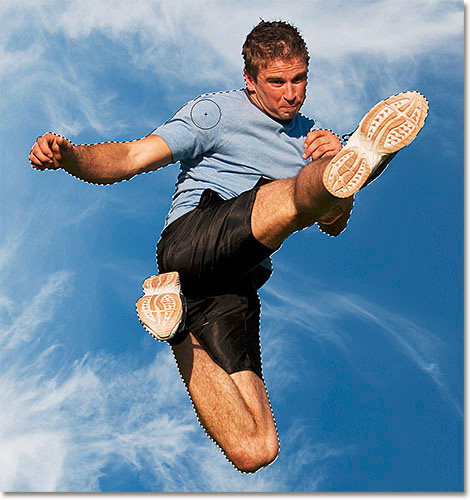
The first thing to do is to select the main object to apply in the image using tools such as Lasso Tool, Quick Selection Tool, Pen Tool . In this example, we use the Quick Selection Tool. from the main control panel:
Select the Quick Selection Tool and hover to select parts of the main object (here is the athlete image). Depending on each photo, textures and colors, use the tool as appropriate and as accurately as possible:
Then, select the Layer menu > New> Layer via Copy , or press the shortcut Ctrl + J (Windows) / Command + J (Mac):

If you look at the image, we will see nothing else, but Photoshop has created a new copy of the currently selected object on a layer, and automatically renames it to Layer 1 above the original Layer:

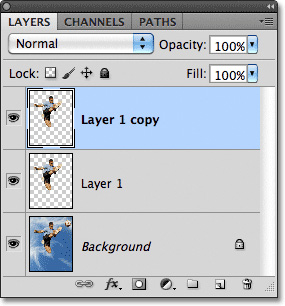
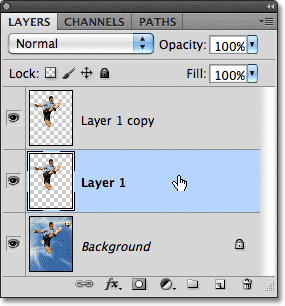
Then continue to create a new copy layer with the same operation. At this point, we will have 2 copy layers as shown below:
To continue, we choose Layer 1:
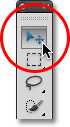
Use the Move Tool or press the shortcut V:
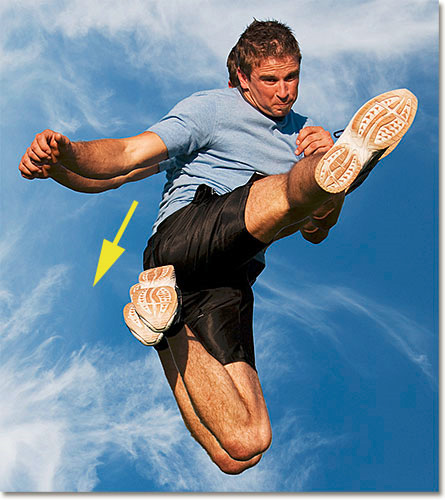
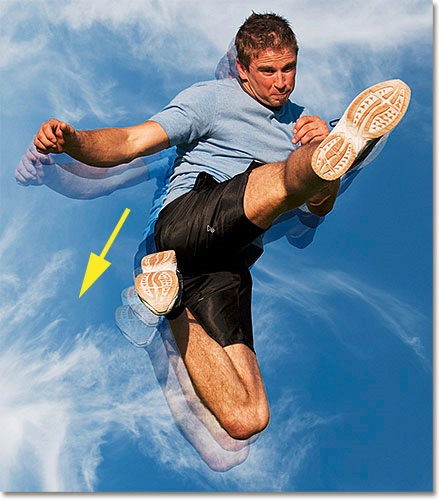
Then, move the main object in the direction of creating the Motion effect. Specific example as shown below:
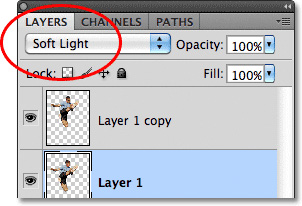
Change the Blend Mode to the Layer window from Normal to Soft Light:
As a result, we will have a blurry image of the main object as follows:

Still select Move Tool , press and hold Alt (Windows) or Option (Mac) , then click on the inside of the image and move in the same direction with a little further distance:
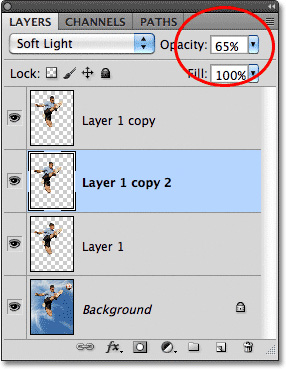
After looking at the Layer panel, we will see 3 copy layers of the main object displayed. The next thing to do is to change the Opacity of these layers accordingly (about 65% ):
Next result at this step:

Depending on your photos and specific needs, repeat the above actions until you get the best results possible. And note that the Opacity of the following layers must always be smaller than the previous layer:

And this is the result of us in this test:
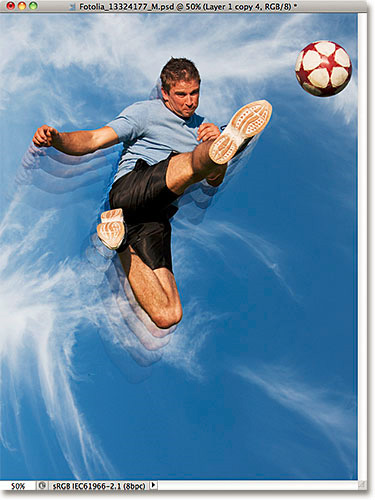
Very simple and easy, with just a few basic steps, we have created a desired work with a quite strange effect and high efficiency. Good luck!
Was this article helpful?
Your feedback helps us improve.
Related Articles
 How to use Photoshop CS5 - Part 14: Create motion effects5 minutes read
 How to create whirlpool effect on Photoshop4 minutes read
 How to use Photoshop CS5 - Part 29: Create a zoom effect in a photo5 minutes read
 How to use Photoshop CS6 (Part 4): Create a fading effect9 minutes read
 How to use Photoshop CS5 - Part 21: Create water ripple effect in photos6 minutes read
 Learn how to create a fade effect with Photoshop CS69 minutes read
Reader Comments 0
Sign in with email or Google to join the discussion.