Table of Contents
This guide explains how to turn on 2 Windows in Photoshop to Collate Images, with clear steps, practical tips, and important checks before you begin.
Instructions to turn on 2 windows in Photoshop
Step 1:
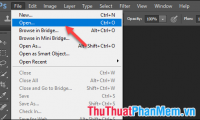
We open the image to edit in Photoshop as usual. Then click on the Windows tab, select Arrange and then go to New Window for. image name .

Step 2:
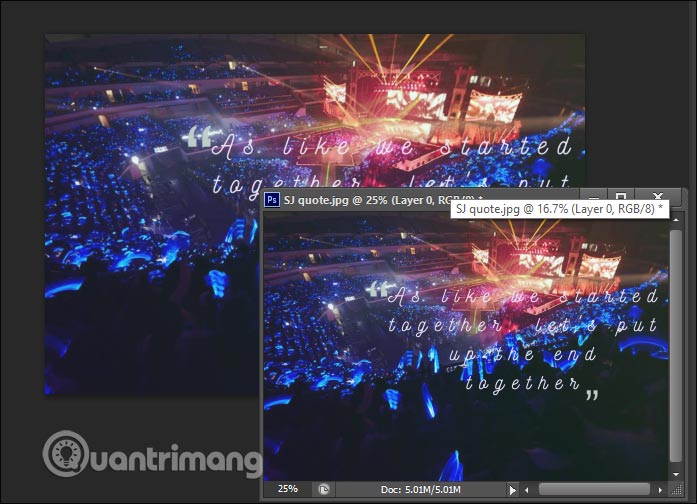
Now add a new image window pane , drag the window pane away from the current image interface. Immediately display 2 image windows as below. We can maximize or minimize the window as usual. Any editing changes on this new window will be applied right on the original window, or vice versa.
So you will easily compare and contrast images after editing.
Step 3:
In addition to moving the new window, we can also split the interface if desired. Click Window, then Arrange , click Up Horizontal to split the interface horizontally. If your image is horizontal, then this interface split well.
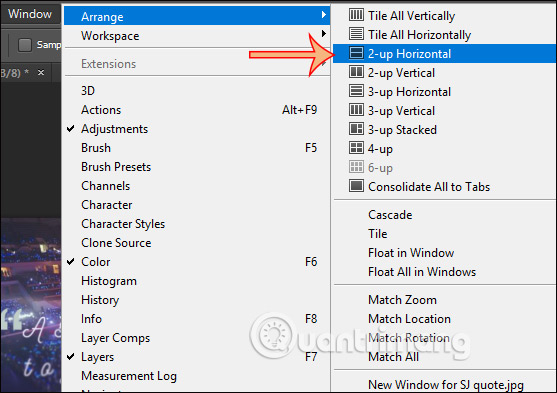
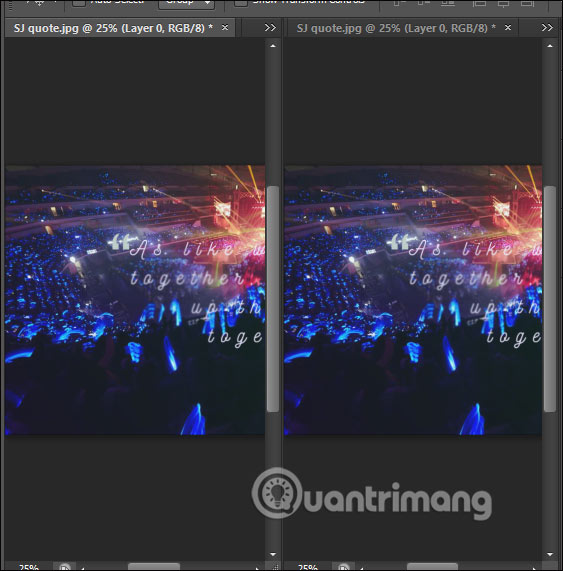
Result 2 images are separated horizontally as shown below.

To split the interface vertically if your image is vertical, click Up Vertical and the results shown as shown below.
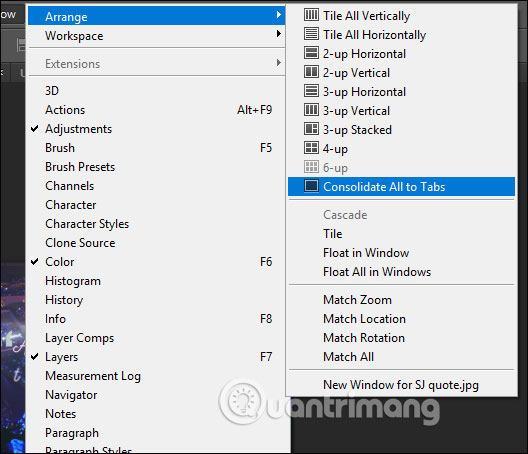
When you're done editing, want to bring Photoshop's interface to the tabbed interface, click Consolidate All to Tabs.
FAQ
What should I know about Turn on 2 Windows in Photoshop to Collate Images?
Focus on the key features, requirements, limitations, and practical use cases explained in this guide.
How do I get the best results with Turn on 2 Windows in Photoshop to Collate Images?
Follow the recommended steps, use current software or information, confirm compatibility, and review settings before major changes.
Are there any risks or limitations?
Potential limitations depend on compatibility, data quality, cost, privacy, support, and how the product or method is used.
Related Articles
 How to Turn an Image into a Pencil Sketch in Photoshop15 minutes read
 How to Resize Images Properly in Photoshop9 minutes read
 5 Easy Ways to Handle Low-Light Photos in Photoshop10 minutes read
 Steps to Save Photoshop Files as PDF3 minutes read
 Turn Photoshop Tools Into a Unique and Handy Physical3 minutes read
 How to Sharpen Images in Photoshop3 minutes read
Reader Comments 0
Sign in with email or Google to join the discussion.