How to Remove a Blank Page in Word
Method 1 of 2:
Removing Extra Paragraphs and Page Breaks
-
 Open the document in Word. In many cases, blank pages in a Word document result from extra added paragraphs or page breaks. To find out if this is what's causing you trouble, you should enable format markers in Word.
 -
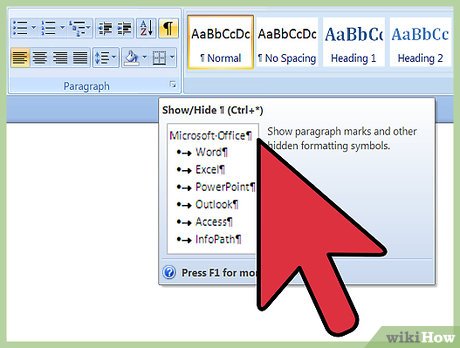
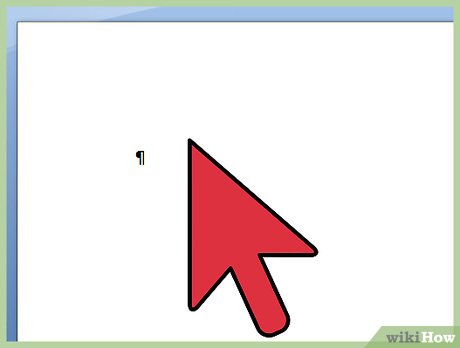
 Press Ctrl+⇧ Shift+8 (Windows) or ⌘ Cmd+8 (Mac). Now you will see paragraph markers (¶) at the beginning of each blank line, as well as at the end of existing paragraphs. You may also see lines that say 'Page Break.'[1]
 -
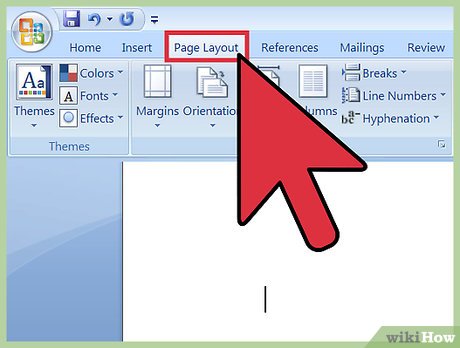
 Go to the blank page. If you see a ¶ or a line that says 'Page Break' on the blank page, you'll need to delete it.
 -
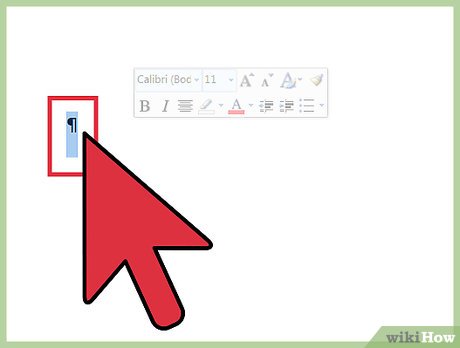
 Highlight the ¶ mark or Page Break with your mouse. If you see both (or more than one of each), highlight it all at once.
 -
 Hit the Delete key. This should delete all the ¶ marks and page breaks. You may need to hit Delete a few more times to delete the entire page.
- If there's a paragraph mark that you cannot delete, it's likely at the end of a table.[2] See Removing a Blank Page at the End of a Table.
-
 Turn off the paragraph marks. Now you can make those markers invisible again. Click the ¶ icon or use one of these keyboard shortcuts:
- Windows: Ctrl+⇧ Shift+8
- Mac: ⌘ Cmd+8
Method 2 of 2:
Removing a Blank Page at the End of a Table
-
 Open the document in Word. Undeletable blank pages can occur in documents that end with tables. The table's position requires Word to store the document's formatting data in an empty paragraph just beneath the table.[3] You can't delete this paragraph, but you can reduce it to remove the blank page.
- Try this method if you're using a Word template (e.g., resumes, charts, pamphlets), as these typically contain tables.
-
 Navigate to the Table Tools tab. If you don't see the tab at the top of the screen, click somewhere in the text just above the blank page and it should appear.
 -
 Click 'Layout' on the Table Tools tab. The table settings will appear in the top bar.
 -
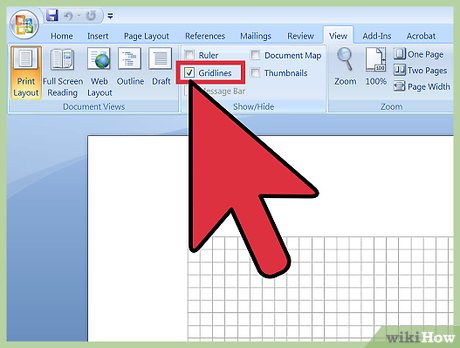
 Select 'View Gridlines.' Now you should see visible lines surrounding the text that comes just before the unwanted blank page.
 -
 Enable paragraph marks. This will make a bunch of paragraph symbols (¶) appear on your page. Here's how:[4]
- Windows: Ctrl+⇧ Shift+8
- Mac: ⌘ Cmd+8
-
 Select the ¶ just beneath the table. If you see more than one ¶, use your mouse to select them all.[5]
 -
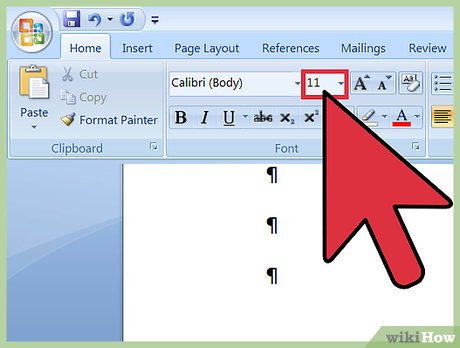
 Navigate to the Home tab. Now that the paragraph marker is selected, it's time to change its font size.
 -
 Click once inside the font size box. The box contains a number (e.g. 12), and is just beside the name of the font (e.g. Times New Roman).
 -
 Press 1 and then press ↵ Enter. This will reduce the size of the hidden paragraph so it doesn't require its own entire blank page. The blank page should disappear immediately.
 -
 Turn off the paragraph marks. Now you can make those markers invisible again. Click the ¶ icon or use one of these keyboard shortcuts:
- Windows: Ctrl+⇧ Shift+8
- Mac: ⌘ Cmd+8
Share by
Lesley Montoya
Update 05 March 2020
