Table of Contents
This guide provides a practical overview of Simple Way to Remove Page Breaks in Microsoft Word, including its main features, benefits, limitations, and important considerations.
For example, in this case, you can see that the text on page 2 cannot yet fill page 1 but it is still pushed down to page 2. That is, at the end of the paragraph of page 1 there will be page breaks. To move the paragraph on page 2 to page 1, we need to remove this page break.
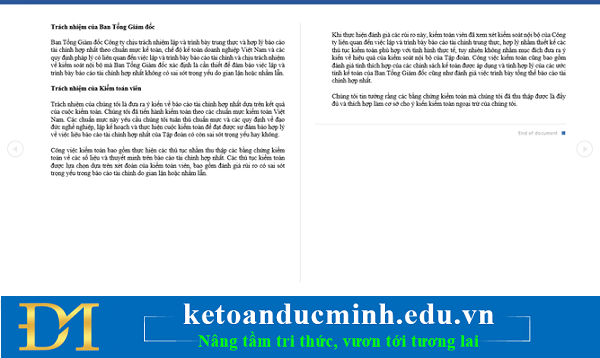
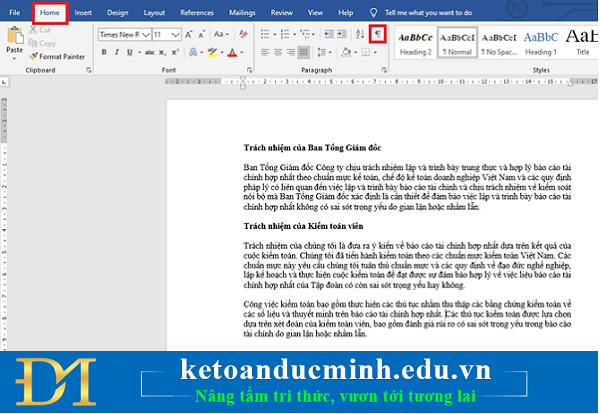
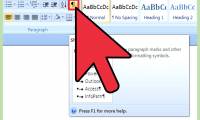
To remove page breaks, first you need to select the Home tab on the ribbon bar. Then click the ¶ icon to turn on Paragraph mode.
When this mode is turned on, you can see that your text page will have page breaks. These signs are only displayed as electronic signs. That means when you print the paper, it will disappear.
At the page break position, the page will be displayed as Page Break followed by dotted lines and the biểu symbol.
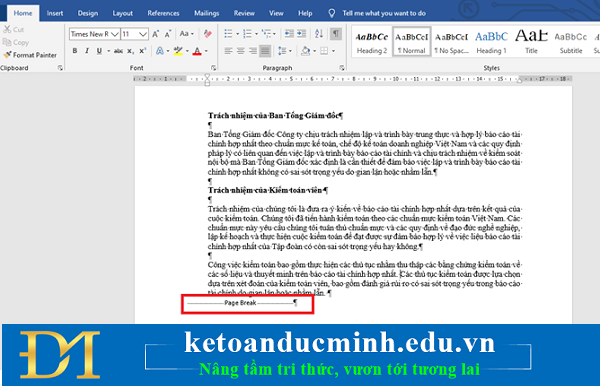
To remove this page break, simply highlight the entire Page Break section and then use the Backspace or Delete key on the keyboard to delete them. Just so the text on page 2 will be pulled onto page 1.

Once completed, you can turn off Paragraph mode by clicking the ¶ icon on the toolbar.

Thus, the above article has shown you how to remove page breaks in Microsoft Word. Hope the article will be helpful to you During working.
social share and social shareFAQ
What should I know about Simple Way to Remove Page Breaks in Microsoft Word?
Focus on the key features, requirements, limitations, and practical use cases explained in this guide.
How do I get the best results with Simple Way to Remove Page Breaks in Microsoft Word?
Follow the recommended steps, use current software or information, confirm compatibility, and review settings before major changes.
Are there any risks or limitations?
Potential limitations depend on compatibility, data quality, cost, privacy, support, and how the product or method is used.
Related Articles
 How to Remove Page Breaks in Word3 minutes read
 How to Page Breaks and Page Breaks in Word5 minutes read
 How to Break Pages, Split Sections in Word 20165 minutes read
 How to Remove a Blank Page in Word5 minutes read
 Word 2013 Full-Text Tutorial (Part 12): How to Break Pages7 minutes read
 How to Create Page Breaks and Page Breaks in Excel3 minutes read
Reader Comments 0
Sign in with email or Google to join the discussion.