How to Insert a Line in Word
This wikiHow teaches you how to create different kinds of lines in Microsoft Word on a Windows or Mac computer. Open Word. Click or double-click the Word app icon, which resembles a white 'W' on a dark-blue background.
Table of Contents
Method 1 of 3:
Drawing a Line on Windows
-
 Open Word. Click or double-click the Word app icon, which resembles a white "W" on a dark-blue background.
- If you want to draw a line in an existing Word document, you'll instead double-click the Word document to open it and skip the next step.
-
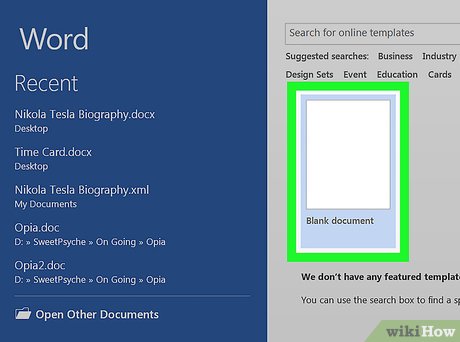 Click Blank document. It's in the upper-left side of the page.
 -
 Click the Insert tab. This tab is in the blue ribbon at the top of the Word window.
 -
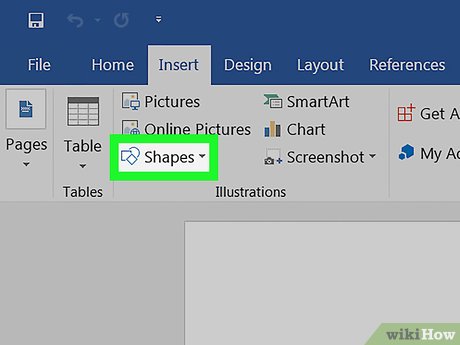 Click Shapes. It's in the Insert toolbar. A drop-down menu will appear.
 -
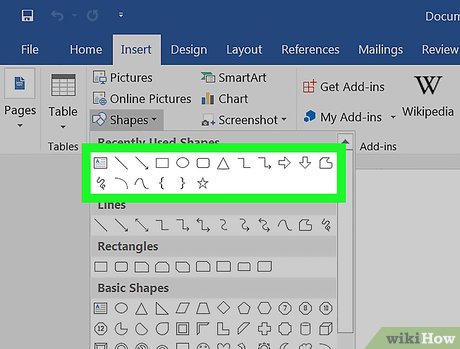 Select a line shape. In the "Lines" heading, click one of the line templates.
 -
 Draw your line. Click and drag across the place in which you want to insert the line in your Word document to do so.
- You can move your line by clicking and dragging it. You can also adjust the line's length and orientation by clicking and dragging one of the circles on the ends (or in the middle) of the line.
Method 2 of 3:
Drawing a Line on Mac
-
 Open Word. Click or double-click the Word app icon, which resembles a white "W" on a dark-blue background.
- If you want to draw a line in an existing Word document, you'll instead double-click the Word document to open it and skip the next step.
-
 Click Blank document. It's in the upper-left side of the page.
 -
 Click the Insert menu item. This menu button is at the top of your Mac's screen in the grey menu bar. A drop-down menu will appear.
 -
 Click Shape…. It's in the Insert drop-down menu. Doing so opens a pop-up window.
 -
 Click the drop-down box. This is at the top of the pop-out menu. Clicking it prompts a drop-down menu.
 -
 Click Lines and Connectors. It's in the drop-down menu.
 -
 Select a line template. Click one of the line options (e.g., a straight line) in the pop-up window.
 -
 Draw your line. Click and drag across the place in which you want to insert the line in your Word document to do so.
- You can move your line by clicking and dragging it. You can also adjust the line's length and orientation by clicking and dragging one of the circles on the ends (or in the middle) of the line.
Method 3 of 3:
Using Keyboard Shortcuts
-
 Understand how this works. You can use key combinations to create different variations on a plain, horizontal line that spans your Word document from margin to margin.
 -
 Open Word. Click or double-click the Word app icon, which resembles a white "W" on a dark-blue background.
- If you want to draw a line in an existing Word document, you'll instead double-click the Word document to open it and skip the next step.
-
 Click Blank document. It's in the upper-left side of the page.
 -
 Place your cursor where you want your line to appear. You'll need to be on a blank line, as this won't work if there is text before or after your cursor on the same line.
- You'll be creating a horizontal line that spans from one edge of your page to the other. The line will stop at your set margins.
-
 Type three dashes in a row. Use your dash key on the number row at the top of your keyboard, or on the numeric pad.
 -
 Press ↵ Enter to convert the dashes into a line. This will automatically create a solid line that will situate itself directly beneath the previous line of text.
- Note that the line does not occupy the space of a line of text, but instead exists between lines of text.
-
 Use different characters for different line styles. There are a variety of different lines that you can create by using characters other than the dash:[1]
- Type in *** and press ↵ Enter to create a dotted line.
- Type in ___ (three underscores) and press ↵ Enter to create a bolder solid line.
- Type in === and press ↵ Enter to create a double line.
- Type in ### and press ↵ Enter to create a three-stripe line with a bold center stripe.
- Type in ~~~ and press ↵ Enter to create a squiggly line.
-
 Move the line by entering text above it. You can prompt the line to move down by typing text above it and then pressing ↵ Enter.
- Deleting text above the line will prompt it to move upward.
Was this article helpful?
Your feedback helps us improve.
Related Articles
 How to Insert a Dotted Line in Word5 minutes read
 Create a quick dot (……………) line in Microsoft Word3 minutes read
 How to Insert a Dotted Line in Word5 minutes read
 How to insert a signature into Word 2010, 2013, 2016, 2019, 20205 minutes read
 How to create text wallpaper in Word5 minutes read
 How to adjust line spacing in Word 2016, 2019, 2010, 2007, and 20139 minutes read
Reader Comments 0
Sign in with email or Google to join the discussion.