How to reduce image size in Word 2007, 2010, 2013, 2016
Sometimes the image in the text is too big for the entire content, and you need to reduce the size of the image to match the layout of the full text. Size is relatively simple and easy..
Due to the need to use, during the text editor on Microsoft Word you need to insert images, to create a lively for the article. Previously, the Network Administrator once instructed you how to insert images into Word content, or insert images into slile, or insert images into Excel.
However, some cases of photos to insert are larger than full-layout, lose balance and are not nice. In addition, large images will make Word files increase in capacity, difficult to share via the network. The best solution is that you should reduce the image size, to fit the post content in Microsoft Word.
Step 1:
You open the Word file containing the image to reduce the size.
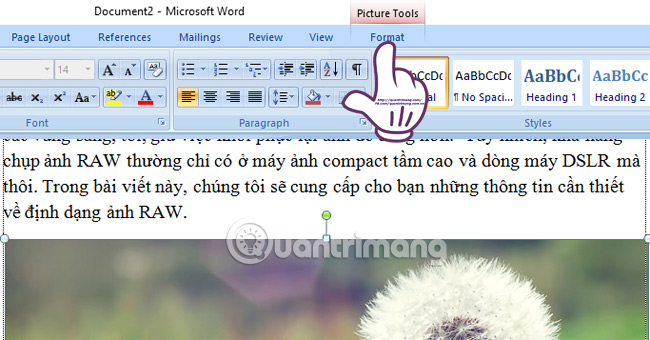
At the main interface, we click on the image we want to reduce , then click the Format item on the Ribbon .
Step 2:
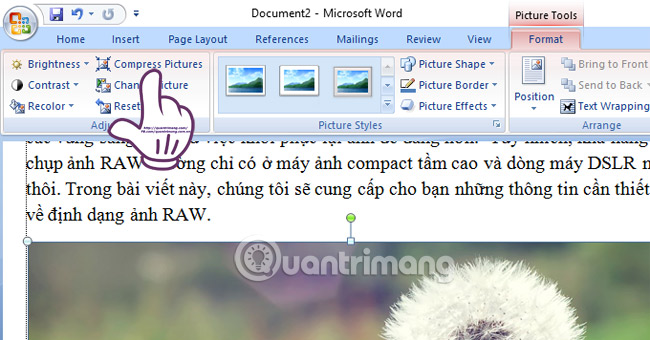
At the Format interface, click the Compress Picture button to reduce the size of the image.
Step 3:
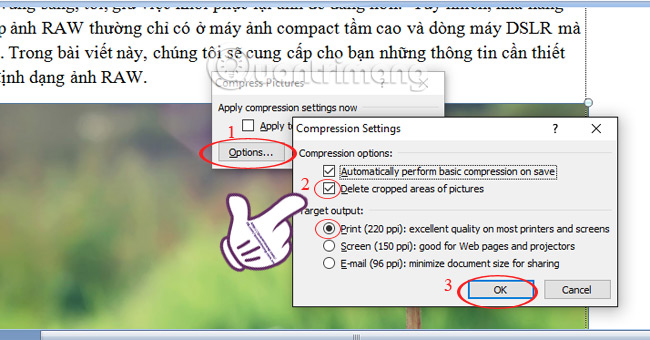
The Compress Pictures dialog box appears. Here, click the Options button. The next dialog box, Compression Settings, appears . We select the following 2 options :
- Delete cropped areas of pictures : Delete the cropping area.
- Print (220 ppi): excellent quality on most printers and screens : Special quality on most printers and monitors.
Click OK to save the settings.
Step 4:
Now you click on the image in the text content, bring the mouse pointer down to the corner of the image when a two-way white arrow appears , you can drag the image size arbitrarily.

Thus, the steps to resize images in the content of the Word document have been completed. We just need to change the settings on Word to be able to minimize and enlarge the image size to match the layout of Word documents.
Refer to the following articles:
- Create a quick dot (……………) line in Microsoft Word
- 8 tips or handling columns in Microsoft Word
- Instructions on how to create frames in Word 2007, 2010, 2013
I wish you all success!