How to Calibrate the Colors on a Mac
Part 1 of 2:
Starting the Color Calibration Tool
-
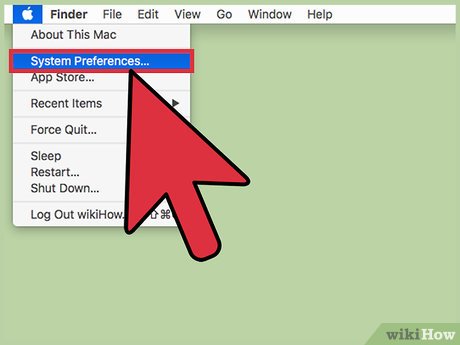
 Click the Apple menu. This can be found in the upper-left corner of the screen.
 -
 Click System Preferences.
 -
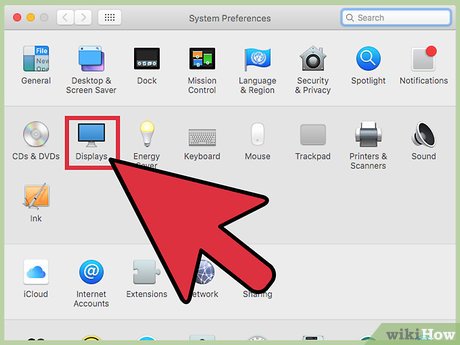
 Click the Displays option. If you don't see this, click the Show All button at the top of the screen.
 -
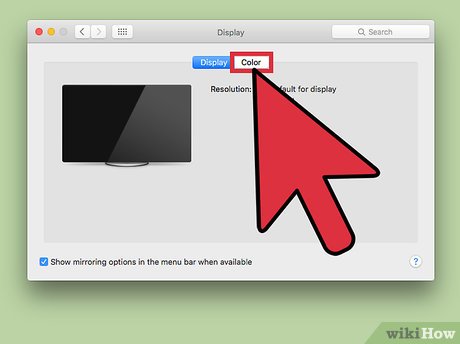
 Click the Color tab.
 -
 Hold the ⌥ Opt key.
 -
 Click the Calibrate button. Make sure you're holding ⌥ Opt when you click it.[1]
Part 2 of 2:
Calibrating Your Display
-
 Click Continue if Expert mode is enabled. THis box will only appear if you held ⌥ Opt when you clicked Calibrate.
 -
 Set your monitor's contrast to max. The process for this will vary depending on your display. You'll usually have buttons on the display that can open a menu. You may not be able to change the contrast on a MacBook.
 -
 Set your display's brightness to make the oval barely visible. The edge of the oval over the two gray patches should be barely visible.
- Brightness can typically be controlled with the F1 and F2 keys.
-
 Click Continue.
 -
 Click and drag the Native Gamma sliders. Use the slider on the left to match the brightness of the apple with the background lines. Use the slider on the right to make the colors match as close as possible.
 -
 Click Continue.
 -
 Continue the Native Gamma process. You'll go through five windows with the same instructions but different shades of the Apple logo. Use the left and right sliders to match the brightness and color each time.[2]
 -
 Click and drag the Target Gamma slider. Unless you specifically are targeting a different gamma profile, it's recommended that you set the slider to 2.2. This is the target gamma used by both Mac and Windows, so colors in images will be more accurate between the two systems.
 -
 Click and drag the Target White Point slider. In most cases, you'll want to use either your native white point by checking the box, or set the slider to D65.
 -
 Check the box to allow others to use the profile. If you want other users on the computer to be able to access the profile you created, check the box on the Administrator options screen.
 -
 Type a name for the profile. This will help you identify it in the list of available profiles.
 -
 Click Done to set the profile. The newly-created profile will be your display's default color profile for your account.
Share by
Lesley Montoya
Update 04 March 2020


