How to Add a Check Mark to a Word Document
Method 1 of 4:
Using Word on Windows
-
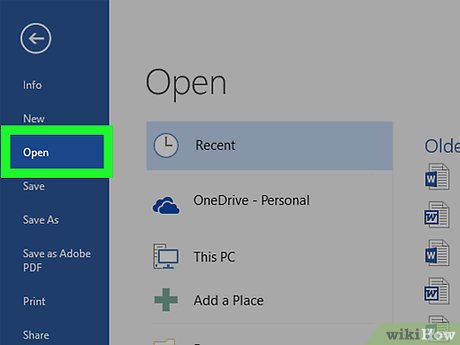
 Open your Microsoft Word document. Double-click the Word document into which you want to insert a checkmark.
- If you want to create a new document, instead double-click the Word app icon, then click Blank document on the main page.
-
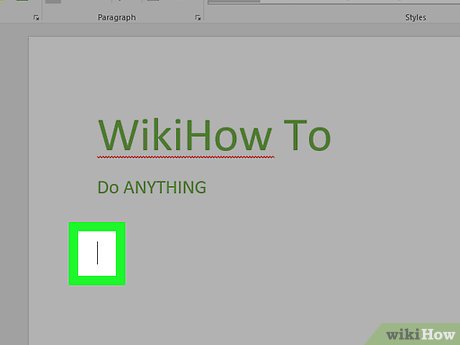
 Select a place to insert the checkmark. Scroll to the point where you want to insert your checkmark, then click it. You should see a blinking cursor appear there.
 -
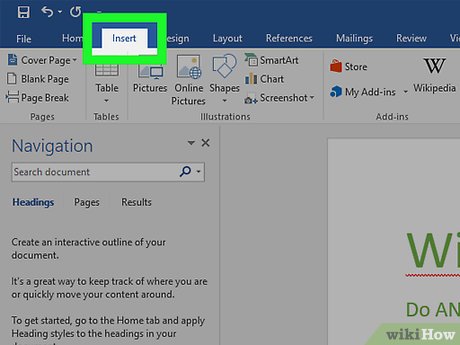
 Click the Insert tab. It's in the blue ribbon that's at the top of the Word window.
 -
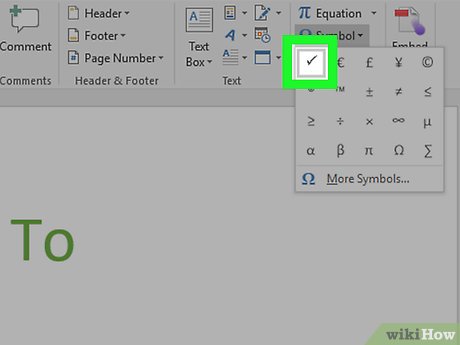
 Click Symbol. It's the Omega symbol (Ω) in the far-right side of the Insert toolbar. A drop-down menu will appear.
 -
 Click the "Checkmark" icon ✓. You'll usually find it in the Symbols drop-down menu. Doing so will insert the checkmark into your Word document in the space in which your mouse's cursor is located.
 -
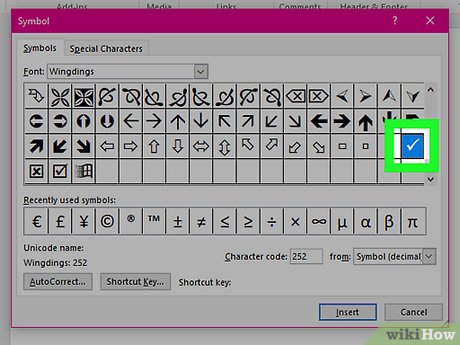
 Find the checkmark icon if it isn't in the drop-down menu. If you can't find the checkmark icon in the Symbol drop-down menu, do the following:
- Click More Symbols...
- Click the "Font" text field.
- Type in wingdings 2 and press ↵ Enter
- Scroll down until you find the checkmark, then click it.
- Click Insert
Method 2 of 4:
Using Word on Mac
-
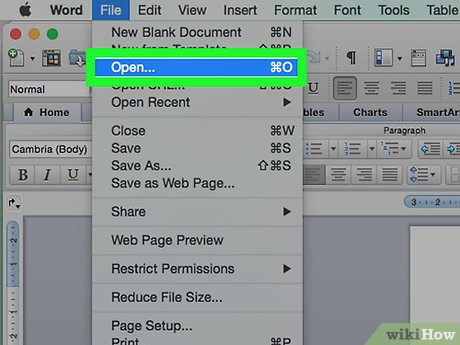
 Open your Microsoft Word document. Double-click the Word document into which you want to insert a checkmark.
- If you want to create a new document, instead select the Word app icon from your Applications folder, click File, and click the New Document option.
-
 Select a place to insert the checkmark. Scroll to the point where you want to insert your checkmark, then click it. You should see a blinking cursor appear there.
 -
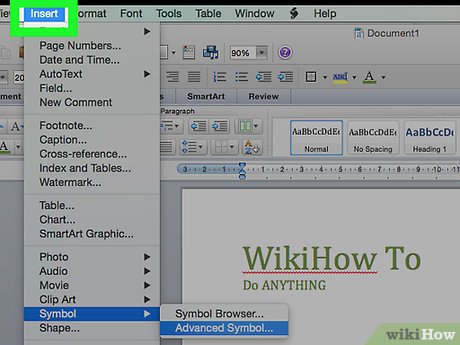
 Click the Insert menu item. It's at the top of your Mac's screen. A drop-down menu will appear.
- The Insert menu item is different than the Insert tab that's at the top of the Word window.
-
 Click Advanced Symbol. You'll find this option in the drop-down menu. Doing so opens the Symbols window.[1]
 -
 Click the Symbols tab. It's at the top of the Symbols window.
 -
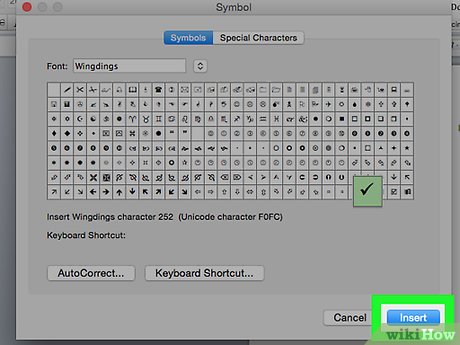
 Click the "Checkmark" icon ✓. Scroll through the available symbols until you find the checkmark, then click it.
- If you can't find the checkmark icon, click the "Font" drop-down menu, scroll down and select Wingdings 2, and then search for the checkmark.
-
 Click Insert. It's at the bottom of the window. Doing so will insert the checkmark into your Word document in the space in which your cursor is located.
Method 3 of 4:
Using the Character Map on Windows
-
 Open Start. Click the Windows logo in the bottom-left corner of the screen. The Start menu will open.
-
 Type in character map. Doing so will search your computer for the Character Map program.
 -
 Click Character Map. It's at the top of the Start menu. The Character Map window will open.
 -
 Click the "Font" drop-down box. You'll find this at the top of the Character Map window.
 -
 Scroll down and click Wingdings 2. It's in the "Font" drop-down menu, though you'll likely need to scroll all the way to the bottom to find it.
 -
 Select the checkmark icon. Click the checkmark ✓ in the third row of symbols, then click Select at the bottom of the Character Map window.
 -
 Click Copy. It's at the bottom of the Character Map window. This will copy the checkmark icon.
 -
 Open your Microsoft Word document. Double-click the Word document into which you want to insert a checkmark.
- If you want to create a new document, instead double-click the Word app icon, then click Blank document on the main page.
-
 Select a place to insert the checkmark. Scroll to the point where you want to insert your checkmark, then click it. You should see a blinking cursor appear there.
 -
 Paste in the symbol. Press Ctrl+V to do so. You should see the checkmark appear in your Microsoft Word document.
Method 4 of 4:
Using the Symbols Menu on Mac
-
 Open your Microsoft Word document. Double-click the Word document into which you want to insert a checkmark.
- If you want to create a new document, instead select the Word app icon from your Applications folder, click File, and click the New Document option.
-
 Select a place to insert the checkmark. Scroll to the point where you want to insert your checkmark, then click it. You should see a blinking cursor appear there.
 -
 Click Edit. This menu item is at the top of the screen. A drop-down menu will appear.
 -
 Click Emoji & Symbols. You'll find this option at the bottom of the Edit drop-down menu. Doing so opens the Character Viewer window.
 -
 Click the Bullets/Stars tab. It's on the left side of the Character Viewer window.[2]
- You may first have to click the "Expand" icon, which is a box-shaped icon in the top-right corner of the window.
-
 Find the checkmark symbol. You'll find several different checkmark symbols in the middle of the window.
 -
 Double-click the checkmark symbol. Doing so will insert it into the Word document at the cursor's position.
Share by
Lesley Montoya
Update 05 March 2020

