When you insert images into Word but the image position is not in accordance with your requirements and purposes. You do not know how to move an image in Word to insert the image into the desired position. So please refer to the following article to know how to move photos, change the image position in Word.

Here are instructions on how to move photos, change the image position in Word, invite you to follow.
Method 1: Move the image in Word
Move images directly by clicking on the image, the mouse cursor appears 4-way arrow as shown below.

Keep pressing the image and drag the image to the position you want and release the mouse pointer, the image will be moved.

Method 2: Change the image position by aligning aligns for the image
If the image appears on the line you want but you want to align the image to the left side of the page, to the middle of the page or to the right of the page, use the align feature: align left (

); centered (

); right (

).

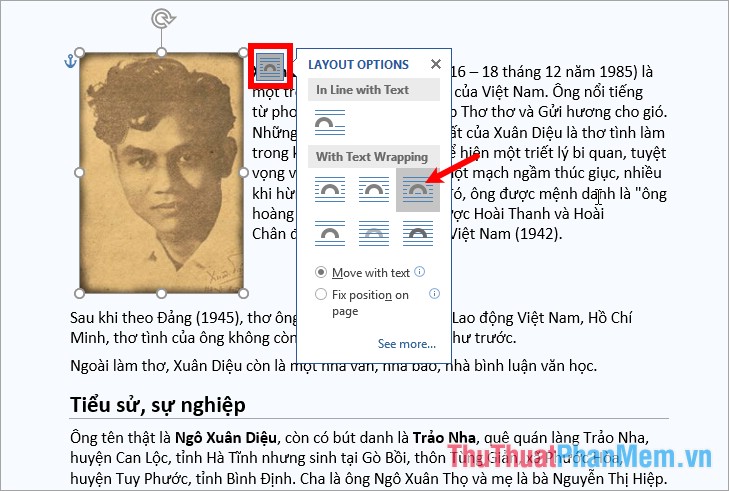
Method 3: Change the image position using the Layout (Wrap text) feature
Use this method if you want to select the attribute of wrapping text around the image, to use this feature, select the image and choose the Layout Options icon , you will see the default is In Line with Text (image) line up independently of the text). You can change this by selecting one of the icons in With Text Wrapping depending on your purpose.
Or you can choose the image, then choose Format -> Wrap text -> select the appropriate option.
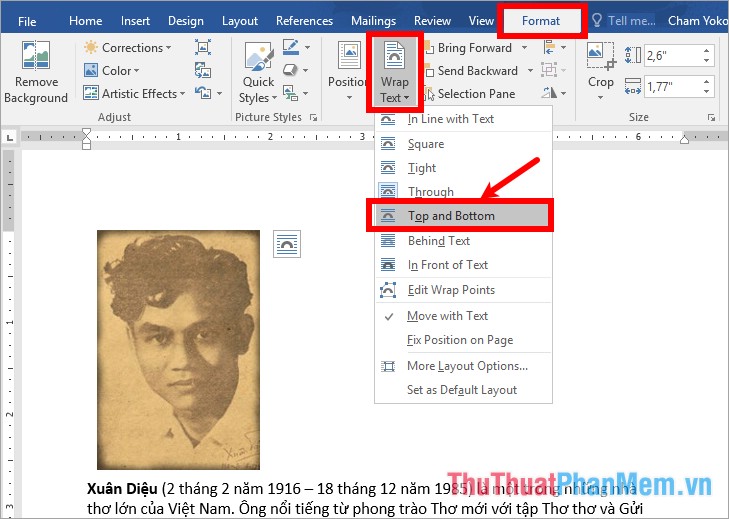
For example: If you want the text to appear on the image, then do the following:
Select image -> Layout icon -> Behind Text.

The image will be covered by the background color, select (highlight) the text to display on the image, then select the Home tab -> select the Shading icon -> select No color to not fill the background for the word.
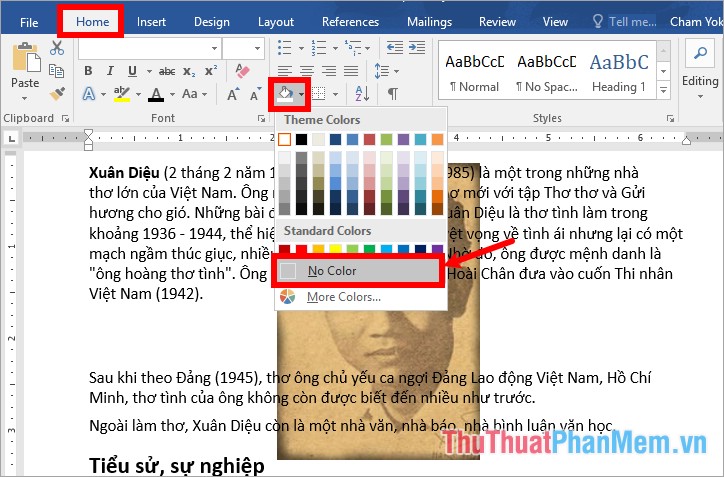
So the text will appear on the image as shown below.

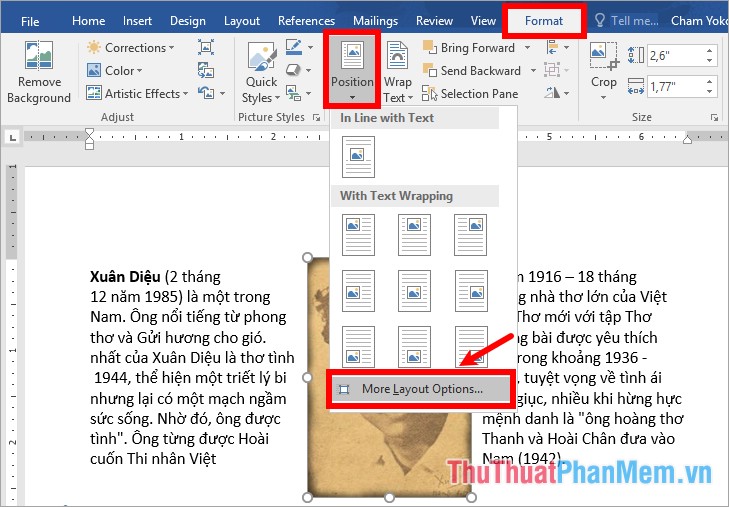
Method 4: Change the image position using the Position feature
Use Position if you want to change the image position in a Word page, to change the image position you choose the image, next select the Format tab -> Position -> select the position on the page you want to transfer the image come.
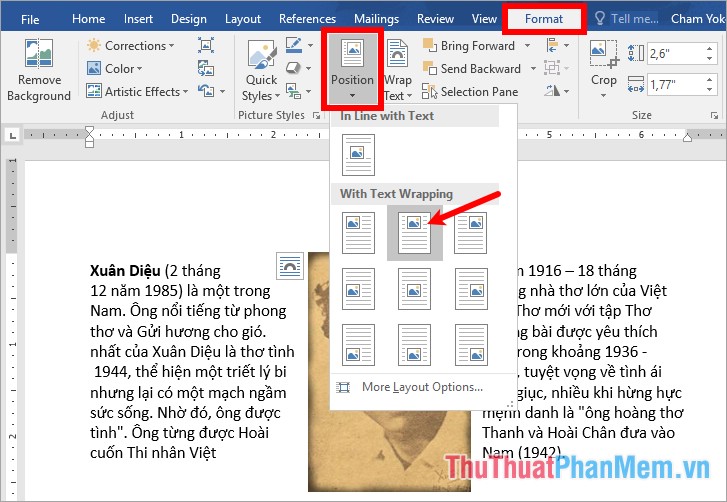
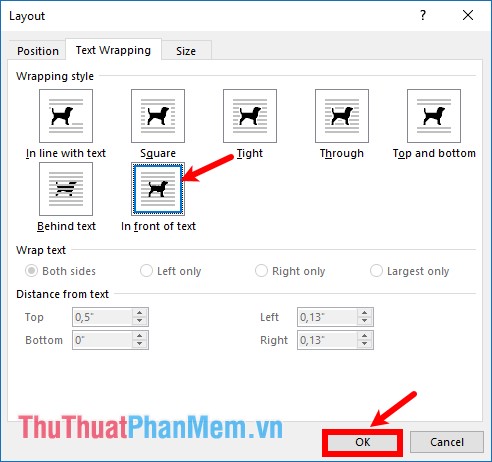
Also you select Format -> Position -> More Layout Options to open the Layout window .
In the Layout dialog box , on the Position tab , Text Wrapping you can adjust many different options and click OK to set the location for the image.
Above the article has shared with you the ways to move photos, change the image position in Word. Hope through the article you can easily adjust, move photos after inserting images into Word accordingly. Good luck!


 Instructions on how to use AI models to create images in Civitai
 Guide to inserting images under text in PowerPoint - Changing image position
 Transform any text and image into a coloring page.
 Instructions for combining photos using Google Flow
 How to create AI images on Microsoft AI Playground
 Top free AI image creation tools in 2026: Ultimate graphics solutions that cost nothing.