How to create a black and white image in Word is very simple
However, many people who do not know how to use photo editing software can change black and white photos right on Word with simple and quick steps. The following article will guide you to change black and white photos on Word.
Instructions for creating black and white images on Word
Step 1:
First, you insert the image into Word as usual. Or open a document with an image that you want to convert to black and white.

Step 2:
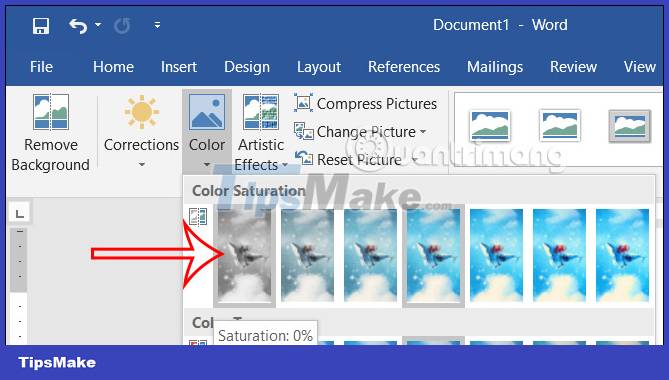
Next, we click on the image that needs to be converted to black and white and then look down at the Adjust image editing section, we click on the Color item to change the color of the image.

Step 3:
In the list of invitation colors to apply to the image, click the black and white style as shown below with 0% color saturation.

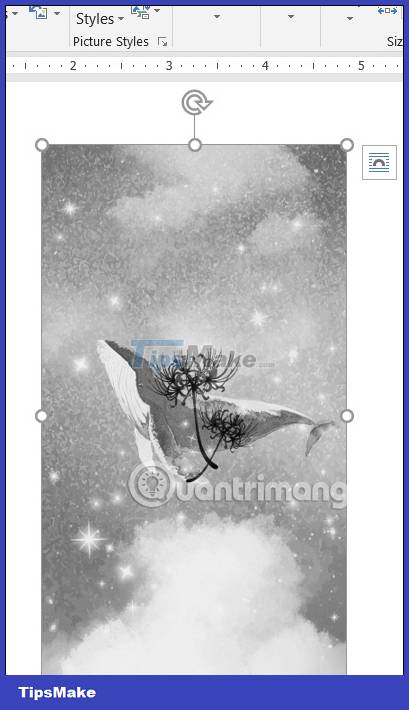
As a result, we get a black and white image as shown below.

Step 4:
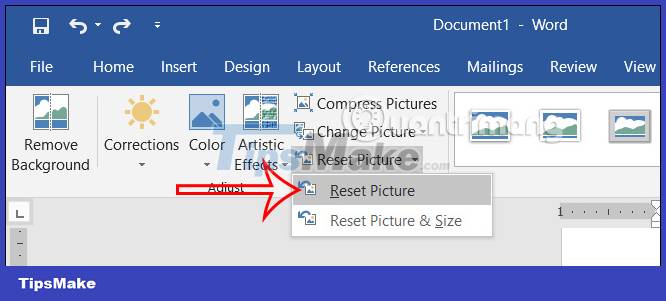
In case you want to return to the original image with the same color as the original, we click on the newly changed black and white image and then select Reset Picture in the displayed list. The resulting image has returned to the original color.

Step 5:
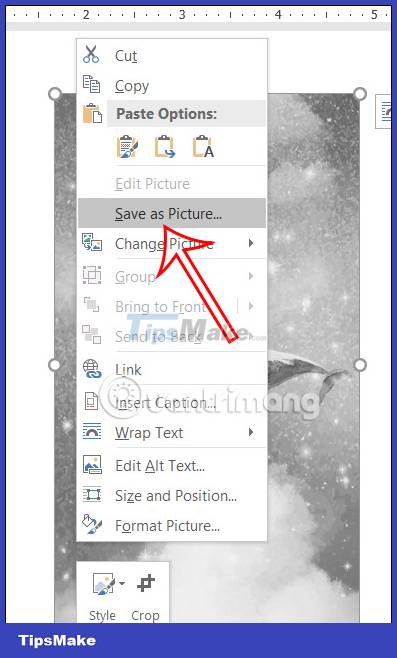
If you want to save a black and white image in Word, right-click the image and select Save as Picture to save the image . You enter a name for the image and select the folder to save the image and then click Save as usual.

You should read it
- ★ Make artistic black and white photos with PhotoScape
- ★ [HOW TO FIX ERRORS] Word has a black background with white text SUPER SIMPLE
- ★ How to view Word documents with black and white background in Inverse mode in Word 2013
- ★ How to open Word documents black background
- ★ How to edit photos in Word is extremely useful that you should know