How to map network drives in Windows 10
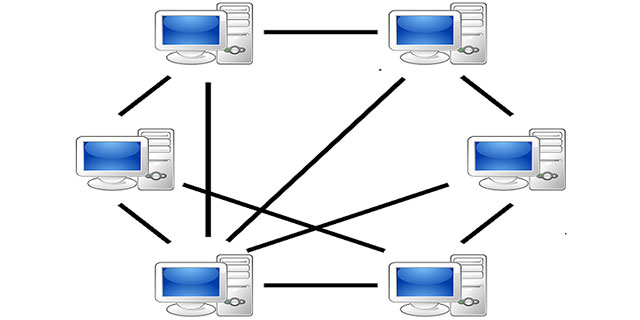
Accessing files from a local hard drive on the system is one of the easiest things you can do on your computer.But what if you want to access files on the hard drive of other systems?This can be done by mapping the network drive, of course, a bit more complicated than accessing files from the local hard drive.
The location mapping process implies that you can create a shortcut to a shared drive or folder on your network.After successful mapping, the mapped network drive will display under This PC in File Explorer on your system.

You can map the network drive using File Explorer or from the control panel.Here's how to proceed.
- How to create a new User on Windows 10 using Computer Management and Control Panel
Map network drives in Windows 10
- Turn on Network Discovery function
- Map network drives in Windows 10 using File Explorer
- Map network drives in Windows 10 with Command Prompt
- summary
Turn on Network Discovery function
Before proceeding to map the network drive, we need to enable Network Discovery so that the system can detect other computers that are active in the network.
Step 1: Access the Settings app and navigate to Network & Internet -> Sharing Options.
Step 2: In the Network Discovery section, select the Turn on network discovery option.

Step 3: Click Save Changes to save the changes.
Map network drives in Windows 10 using File Explorer
The next steps below will help you map the network drive in Windows 10 with File Explorer.
- 9 ways to enable File Explorer in Windows 10
Step 1 : Access File Explorer and then click This PC item on the right pane.

Step 2 : Select the computer tab and in the top menu, click on Map network drive and then click Map network drive.

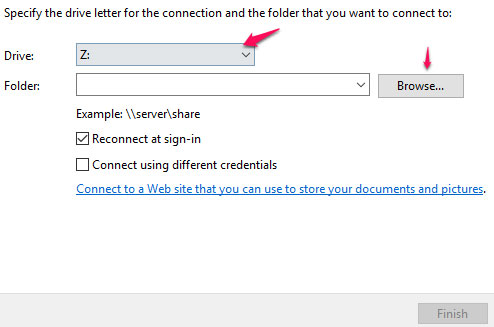
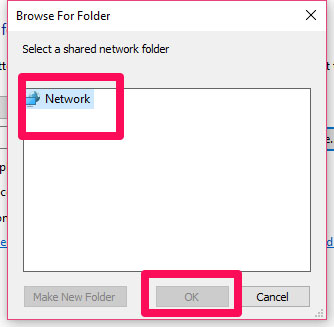
Step 3 : From the drop-down list, select the folder drive. Click Browse . Other computers must be on the network and have the Public folder sharing option turned on before it is displayed in the list.

Step 4: In the new window that appears, locate the folder you want to map and click the OK button.

Step 5: Once you are sure of your options, click the Finish button to complete the operation. Now you will be able to reconnect to this folder whenever necessary. You can also use another account to access this folder. Note that on the network drive map window, you can choose between reconnecting when logging in or connecting with different login information.
When done, users will see a new disk partition icon inside This PC, and can access the content inside the shared folder.If you want to disconnect from the network drive , just right-click and select the Disconect option.
Map network drives in Windows 10 with Command Prompt
Regarding how to use the Command Prompt to map network drives in Windows 10, we have a separate article that guides each step in detail.You can refer to the article 'How to map a network drive with Command Prompt in Windows' to understand how to proceed.
summary
Mapping the network drive in Windows 10 is really a basic task, easy to implement but very convenient when you want to share files on your network.How do you feel about these methods?Leave a comment for us in the comment section below.Hope the information in the post useful to you!
See more:
- This is how to reset network settings on Windows 10 with just one click
- How to fix the Night Light mode of Windows 10
- How to view the application's energy usage with Task Manager on Windows 10
- Run untrusted .exe files: Use Windows Sandbox