How to Set up a Network Drive
This wikiHow teaches you how to set up a network drive on a Windows or Mac computer. A network drive is a shared folder that's used by two or more computers on the same network. Make sure that your computers share a network. Each computer....
Method 1 of 2:
On Windows
-
 Make sure that your computers share a network. Each computer on which you want to use the network drive must be on the same Internet network for the network drive to appear on any computer other than the one on which you create it.
 -
 Enable network discovery. If your computer isn't set to discover other computers on the network, you'll need to enable network discovery. To do so:
- Open Start

- Type in control panel
- Click Control Panel
- Click Network and Sharing Center (you may first have to click the Network and Internet heading).
- Click Change advanced sharing settings in the upper-left side.
- Check the "Turn on network discovery" box.
- Check the "Turn on file and printer sharing" box.
- Click Save changes at the bottom of the window.
- Open Start
-
 Open Start. Click the Windows logo in the bottom-left corner of the screen.
-
 Open File Explorer. Click the folder-shaped icon in the lower-left side of the window.
-
 Click This PC. It's on the left side of the File Explorer window. This will open the This PC window.
 -
 Click the Computer tab. You'll find this option in the upper-left side of the window. A toolbar will appear near the top of the window.
 -
 Click the Map network drive icon. This option is in the "Network" section of the toolbar. Make sure that you click the icon resembling a flash drive and not the Map network drive text here.[1]
 -
 Select a drive letter. Click the "Drive" drop-down box, then click a letter in the drop-down menu. This will assign to your network drive a letter that you can use to identify it later.
 -
 Click Browse…. This option is on the right side of the window. A pop-up window will appear.
 -
 Select a folder to use for your drive. Click the computer on which you want to create the drive, then find the folder that you want to use and click it to select it.
 -
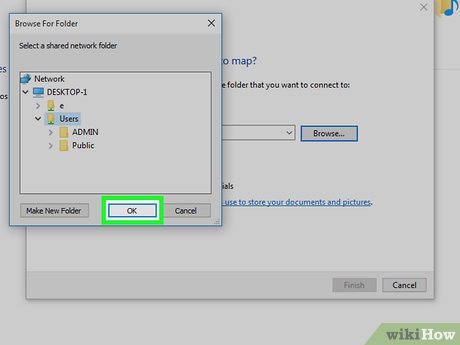 Click OK. This option is at the bottom of the window.
- If you receive an error, the folder that you chose is not shareable. This may happen because the folder is read-only.
-
 Click Finish. It's at the bottom of the window. Doing so will create your network drive and enable it for any networked computers.
- If your computer ever changes to a different channel on your network, you'll need to reestablish the network drive.
-
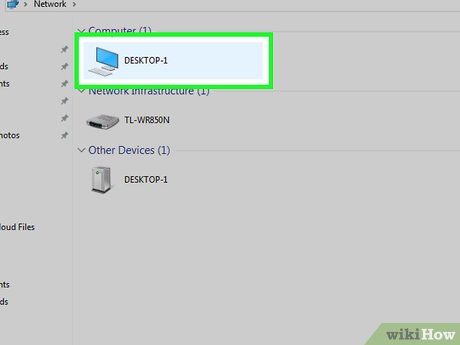
 Access the drive on other network computers. As long as the other computers on the network have network discovery and file sharing enabled, you'll be able to open the drive by going to This PC and double-clicking the network drive folder below the "Devices and drives" heading.
Method 2 of 2:
On Mac
-
 Make sure that your computers share a network. Each computer on which you want to use the network drive must be on the same Internet network for the network drive to appear on any computer other than the one on which you create it.
 -
 Enable network discovery. If your computer isn't set to discover other computers on the network, you'll need to enable network discovery. To do so:
- Open the Apple menu

- Click System Preferences...
- Click Sharing
- Check the "File Sharing" box
- Close the System Preferences window.
- Open the Apple menu
-
 Open the Finder. Click the blue, face-like icon in your Mac's Dock.
 -
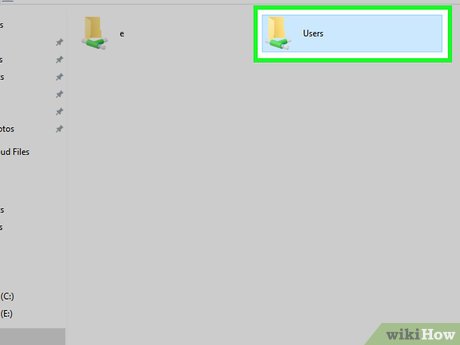
 Select a folder. Click a folder on the left side of the Finder window to open it, then click a folder that you want to use as the network drive to select the folder.
 -
 Click File. It's a menu item at the top of the screen. Clicking it prompts a drop-down menu.
 -
 Click Get Info. You'll find this in the File drop-down menu. Doing so opens a window with the folder's information.
 -
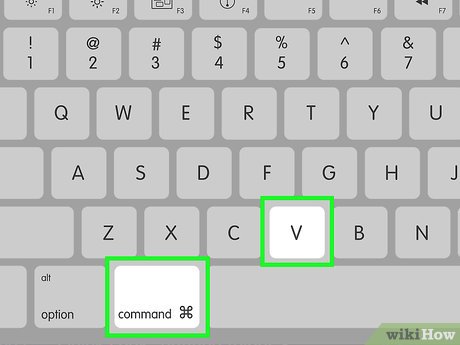
 Copy the folder's location. Click and drag your mouse across the text to the right of "Where:" to select the folder's location, then press ⌘ Command+C to copy the location.
- This location will usually say something like "System/FolderName" or similar.
-
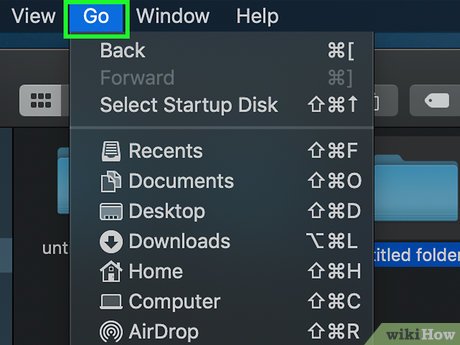 Click Go. This menu item should be at the top of the screen. A drop-down menu will appear.
- If you don't see Go in the menu bar, open a new Finder window to make it appear. You can also click the desktop.
-
 Click Connect to Server. It's near the bottom of the Go drop-down menu. Doing so opens a pop-up window.
 -
 Type in the computer's name followed by a slash. Do so in the "smb://" (or "ftp://") text field at the top of the Connect to Server window.
- If your computer is named "Rhonda", for example, you'd type in Rhonda/ here.
-
 Paste in the folder's address. Press ⌘ Command+V to do so. You should now see your computer's name followed by the folder's address in the text field.
 -
 Click +. It's to the right of the address bar. This will add the folder's address to your Mac.[2]
 -
 Click Connect. It's a blue button at the bottom of the window.
 -
 Enter your login information when prompted. The login and password you need to enter here will vary depending on your network, so check with your system administrator if you don't know how to log in.
- Once you're logged in, you should see a flash drive icon with your folder's name appear on the desktop.
Expert Advice

Luigi Oppido
Computer Repair Technician & Owner, Pleasure Point Computers
If you need to set up a physical network drive, follow these steps:
- Plug your network drive into your router or modem via the network plug on the back, or plug the USB into your router.
- Follow the on-screen installation software that comes with the drive.
- If directed, type in the IP address for the network drive into your web browser.
- Set up what you want to back up or save to the network drive.