How to Format a Hard Drive
This wikiHow teaches you how to format your computer's built-in hard drive. You cannot format the whole hard drive—doing so would erase your operating system—but you can format a portion of the hard drive after creating a partition. You can....
Method 1 of 2:
Using Windows
-
 Open Start. Click the Windows logo in the bottom-left corner of the screen. The Start menu window will open on the left side of the screen.
-
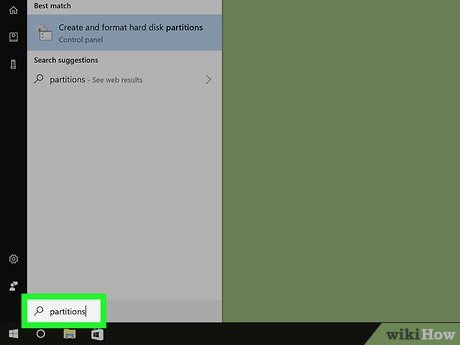 Type partitions into Start. Doing so will search for the Partition section of the Computer Management program.
 -
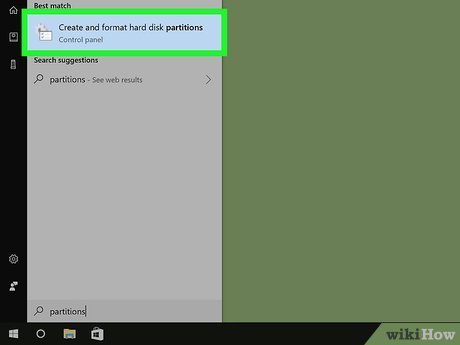 Click Create and format hard disk paritions. It's at the top of the Start window.
- If you don't see this option, try typing create and format hard disk partitions into Start.
-
 Select your hard drive. Click your hard drive's name in the window near the bottom of the screen.
 -
 Click Action. This tab is in the upper-left side of the window. A drop-down menu will appear.
 -
 Select All Tasks. It's near the bottom of the drop-down menu. You'll see a pop-out menu display to the right of the drop-down menu.
 -
 Click Shrink Volume…. This option is in the middle of the pop-out menu. A new window will open after Windows figures out how much space you have available.
- It may take Windows several minutes to determine your available space.
-
 Determine your partition's size. Type the number of megabytes that you would like your partition to be into the "Enter the amount of space to shrink in MB" text field on the right side of the page. This will indicate how big the drive you want to format will be.
- The maximum number of megabytes that you can allocate is listed directly above the field that you type in.
- There are 1000 megabytes (MB) in one gigabyte (GB). To create a 5 GB partition, you would type 5000 into the text field.
-
 Click Shrink. It's at the bottom of the page. Doing so will remove a section of space from your computer's hard drive and create a new "hard drive" with it.
- This will likely take a few minutes to complete.
-
 Select the new partition. Click the "Unallocated" box to the right of the hard drive's box.
 -
 Click Action, then select All Tasks. The pop-out menu will reappear.
 -
 Click New Simple Volume…. It's near the top of the pop-out menu. A new window will open.
 -
 Click Next. It's in the bottom-right side of the window.
 -
 Click Next. Doing so will accept your partition's size and take you to the next page.
 -
 Select a drive letter, then click Next. You can change the partition's drive letter (e.g., "E") by clicking the drop-down box and then clicking a new letter.
- If you don't care about your drive's letter, click Next to skip this step.
-
 Format your drive. Check the "Format this volume with the following settings" box, then click the "File system" box and select one of the following:
- NTFS - Used for Windows-only drives.
- FAT32 - Used for Windows and Mac. Has a storage limit of 32 gigabytes with an individual file size of 4 gigabytes.
- exFAT - Used this for multiple devices (Mac, Windows, consoles, and so on). No storage limit.
-
 Click Next. This will take you to the confirmation page.
 -
 Click Finish. It's at the bottom of the page. Doing so will begin partitioning your drive. Once partition is created, you can open it like any other hard drive from within the This PC program.
- If you ever want to change the partition's format, you can format it like a flash drive from within the File Explorer (Windows) or the Disk Utility (Mac).
Method 2 of 2:
Using a Mac
-
 Click Go. It's in your Mac's menu bar at the top of the screen.
- If you don't see Go, click the desktop or Finder to make it appear.
-
 Click Utilities. This is at the bottom of the Go drop-down menu.
 -
 Double-click Disk Utility. It's the icon resembling a hard drive with a stethoscope. This will open the Disk Utility program.
 -
 Select your hard drive. Click your Mac's hard drive in the upper-left side of the Disk Utility window. It's under the "Internal" heading.
 -
 Click Partition. This tab is at the top of the window.
 -
 Click +. It's below the hard drive circle. Doing so will open a set of options for your partition.
 -
 Determine your partition's size. Click and drag the knob at the bottom of the hard drive circle counter-clockwise to increase the partition's size, or clockwise to reduce it.
- You can also type a number in gigabytes (GB) into the "Size:" field to set your partition's size.
-
 Format your partition. Click the File format drop-down box, then select one of the following formats:
- Mac OS Extended (Journaled) - Basic Mac format. Only works on Mac.
- Mac OS Extended (Journaled, Encrypted) - Encrypted version of the basic Mac format.
- Mac OS Extended (Case-sensitive, Journaled) - Basic Mac format that treats files differently based on upper/lower-case differences (e.g., "file.txt" and "File.txt").
- Mac OS Extended (Case-sensitive, Journaled, Encrypted) - A combination of the three above formatting options for the Mac format.
- MS-DOS (FAT) - Works on both Windows and Mac computers. Has a file size limit of 4 gigabytes.
- ExFAT - Works on both Windows and Mac computers. Has no storage limit.
-
 Click Apply. It's in the bottom-right corner of the page. Your Mac will begin creating the partition.
- This process will take some time, so be patient.
-
 Click Done when prompted. Your Mac's partition has successfully been created. You'll see this partition listed as a hard drive in the Finder.
- If you ever need to reformat the drive, you can change the partition's format the same way in which you would change a flash drive's format.