How to draw arrows in Word
The following article shows how to draw arrows in Word to help you create diagrams quickly. How to draw diagrams and simple cubes in Word.
The following article details instructions on how to draw arrows in Word to help you create diagrams quickly.
In this article, instructions on the version of Office 2013, with other versions perform the same operation:
Step 1: On the card Insert -> Illustrations -> Shapes -> Lines, under lines selected arrow style to draw:

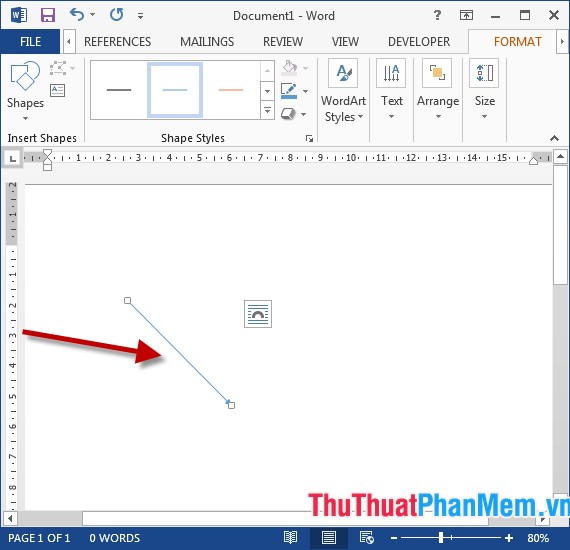
Step 2: Click the mouse to the position to draw, click and drag the mouse in the direction you want to draw the result:
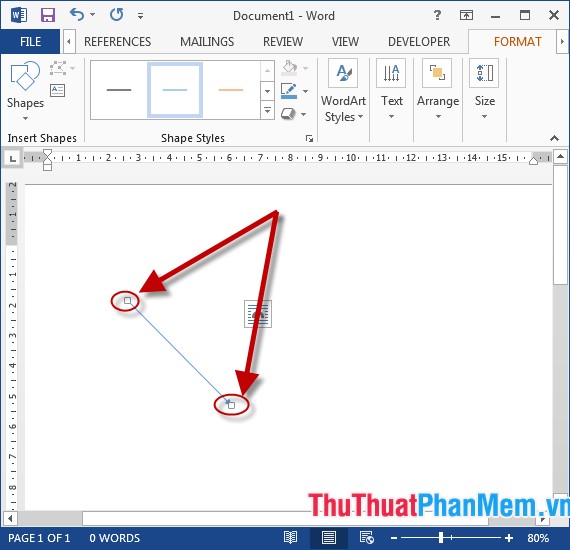
- In case you want to change the length of the arrow -> click the arrow appears 2 images according to the two arrowheads -> click and drag the mouse to change the length:
- To change the color of the arrow, click the arrow -> Format -> Shapes Outline -> select the color to change:

- To change the width of the arrow, click Format -> Shapes Outline -> Weight -> select the size to change:

- Choose effects for arrows: Format -> Shapes Effects -> effect selection for example here choose shadow effect:

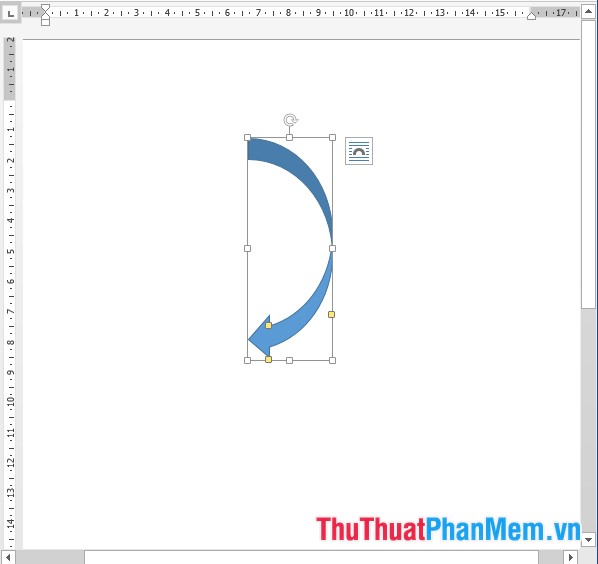
- Alternatively you can choose to draw curved arrows in the Block Arrows section:

- Results after drawing curved arrows:
Above is a detailed guide on how to draw curved arrows in Word, hoping to help you in the process of working. Good luck!
Was this article helpful?
Your feedback helps us improve.
Related Articles
 Instructions for drawing arrows in Microsoft Word7 minutes read
 How to draw arrows in Photoshop2 minutes read
 How to draw straight lines and arrows in Excel - Draw shapes in Excel7 minutes read
 How to Draw Arrows in Photoshop with 3 Simple Tools7 minutes read
 How to draw a frame in Word4 minutes read
 How to draw diagrams in Word5 minutes read
Reader Comments 0
Sign in with email or Google to join the discussion.