How to get the Drawing toolbar in Word to draw a picture
In Word, to draw shapes we will need to use the plus Drawing Shapes to draw geometry and various shapes. However, the Drawing tool in Word is well hidden and makes it take a long time for users to search.
Table of Contents
1. Use existing Drawing Shapes
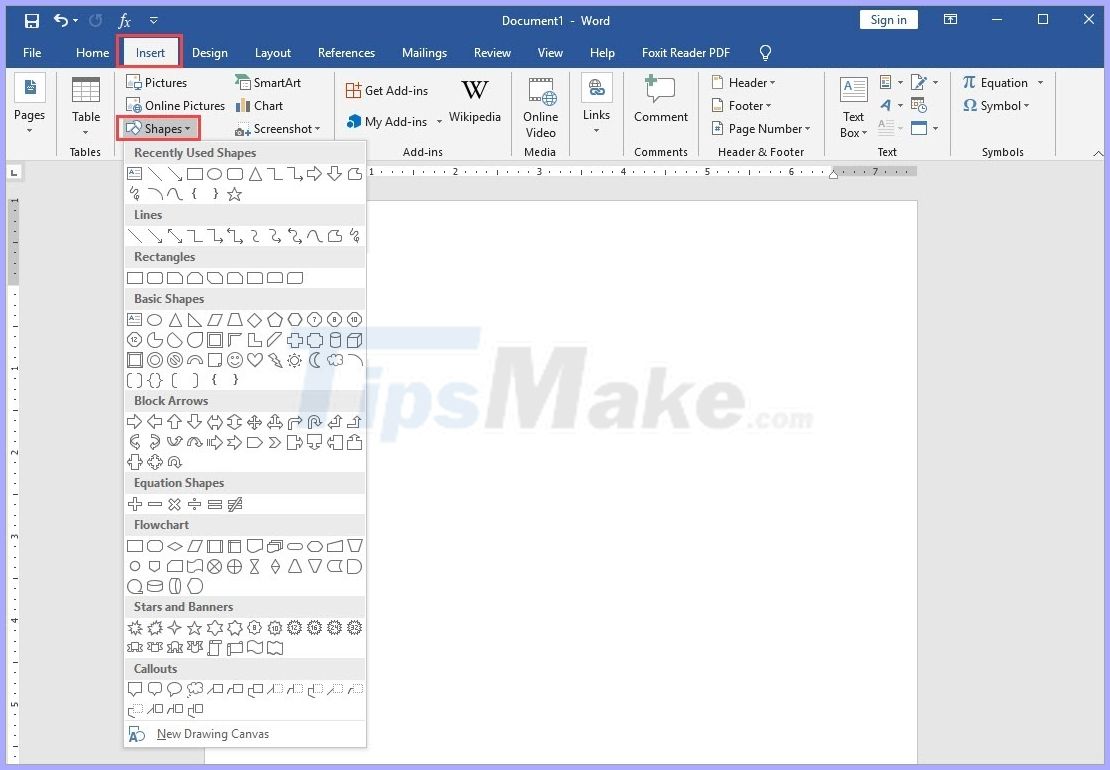
Step 1: You select the Insert tab and choose Shapes . The Drawing tool will appear for you to draw different geometry available.
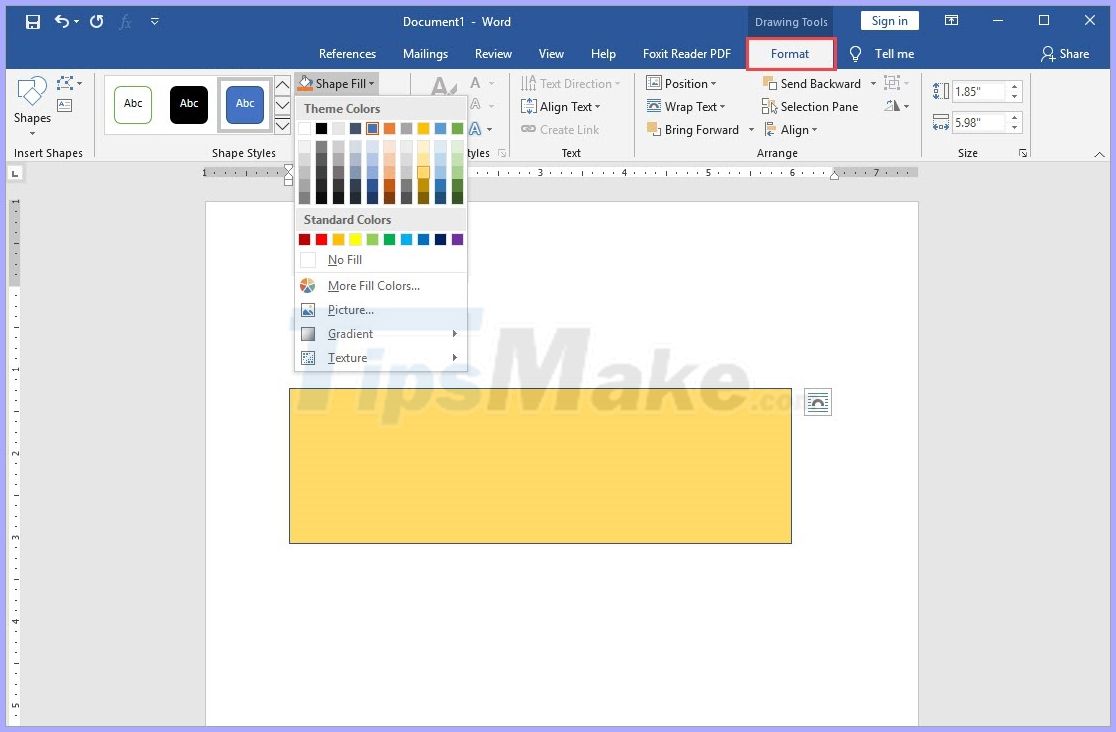
Step 2: After selecting the shape and drawing, you can select the Format tab to change the color of the geometry or change its properties.
2. Create the Drawing Shapes toolbar
Step 1: You File and select Options to set Word.

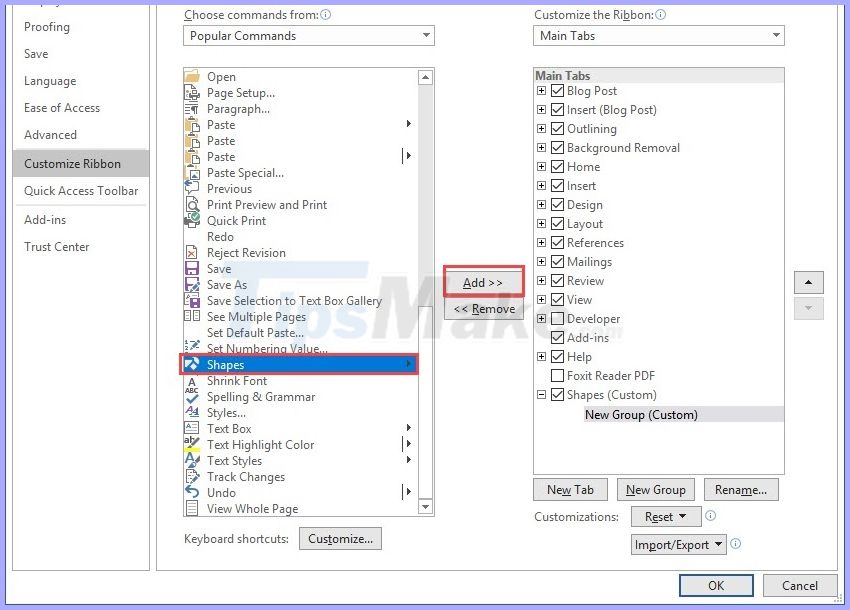
Step 2: After that, select the Customize Ribbon tab and click New Tab to create a new tool tab on the software.

Step 3: You proceed to name the toolbar, you can name it Shapes, draw shapes, Draw arbitrary so that it is easy to remember!

Step 4: After creating, you go to Shapes in the right column and click Add to add to the toolbar we have just created.
Step 5: Finally, click OK to finish.

Step 6: At this time, in your toolbar there will be Shapes section (or other name depending on your order). Click here to open the Quick Drawing Tool !

Was this article helpful?
Your feedback helps us improve.
Related Articles
 Instructions for drawing arrows in Microsoft Word7 minutes read
 MS PowerPoint - Lesson 6: Drawing Toolbar7 minutes read
 Instructions on how to draw diagrams in Word13 minutes read
 How to draw Among Us, how to draw Among Us3 minutes read
 Instructions for drawing straight lines in Word4 minutes read
Reader Comments 0
Sign in with email or Google to join the discussion.