How to Create a 3D Object in Microsoft Word
In Microsoft Word, you can do a lot more than simple word processing—you can create charts and graphs, add media, and draw and format shapes. These quick, easy steps will show you how to draw a 3D shape or add 3D effects to existing s...
Table of Contents
Method 1 of 3:
Drawing 3D Objects
-
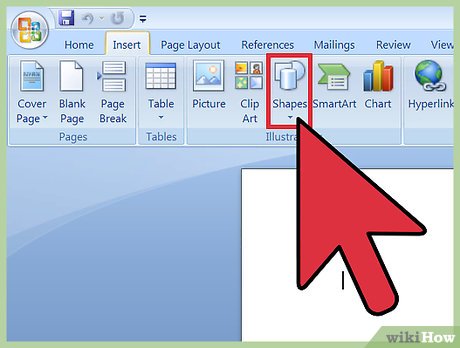 Select Insert > Shape. You'll find the 'Insert' menu at the top of the screen.
- Mac users will see a menu of shapes appear on the right side of the screen.
- PC users will see a drop down menu of shapes.
-
 Select a 3D shape. As you scroll through the available shapes, you'll see a small selection of pre-formatted 3D objects, including a cube, a cylinder ('can'), and a bevel. Click on your desired shape to select it.
 -
 Draw your 3D shape. Click anywhere on your document and your shape will appear in previously determined measurements, usually equalling or close to 1'x1'.
- You can also click and drag to draw your shape in the desired dimensions.
-
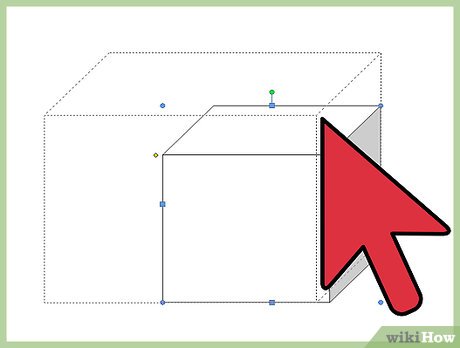
 Modify your shape. You can modify your shape by clicking on it to reveal resize boxes. Click and drag any of these to resize your object and also change the direction it's facing.
Method 2 of 3:
Converting 2D Objects to 3D
-
 Select Insert > Shape. You'll find the 'Insert' menu at the top of the screen.
- Mac users will see a menu of shapes appear on the right side of the screen.
- PC users will see a drop down menu of shapes.
-
 Draw a 2D object. Click on a 2D object that you'd like to convert to three dimensions. Click on your document and your shape will appear.
 -
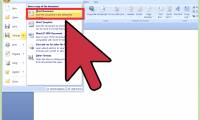
 Open the format menu. Right click (for Mac users, Ctrl + click) the shape and select 'Format Shape'.
 -
 Rotate your object in three dimensions. Select '3-D Rotation' and use the rotation buttons to turn your shape along the X, Y, and Z axes. Play with the rotation until your shape is facing the desired direction.
- You need to rotate the shape along the X or Y axis to see the depth you are about to add.
-
 Add depth to your object. Still in your 'Format Shape' menu, select 3-D Format > Depth and Surface. Increase the 'Depth' value to your desired depth and watch your 2D shape become 3D.
- You can experiment with the depth amount and the X, Y, and Z angles until you are satisfied with the look of your 3D object.
- The 3-D Format > Bevel menu allows you to add more 3D effects to the top and bottom of your object.
-
 Click 'Ok' when you are finished.
Method 3 of 3:
Adding 3D Effects to Text and WordArt
-
 Add a Text Box or WordArt. Select Insert > Text Box or Insert > WordArt. You'll find the 'Insert' menu at the top of the screen. Draw your box and type your desired text in the box.
 -
 Add 3D effects to the box. Right click (for Mac users, Ctrl + click) your WordArt or Text Box and choose 'Format Shape' from the drop down menu. Under "3-D Rotation", change the X and/or Y axis numbers; under "3-D Format", increase the value of the depth.
- You can experiment with the depth amount and the X, Y, and Z angles until you are satisfied with the look of your 3D object.
- To better see the 3D effects you've added to the object, change the fill color in the "Format Shape" menu.
-
 Add 3D effects to the letters. Right click (for Mac users, Ctrl + click) your WordArt or Text Box and select 'Format Text Effects' from the drop down menu. Under "3-D Rotation", change the X and/or Y axis numbers; under "3-D Format", increase the value of the depth.
- To better see the 3D effects you've added to the object, change the fill color in the "Format Text Effects" menu.
Was this article helpful?
Your feedback helps us improve.
Related Articles
 Create a quick dot (……………) line in Microsoft Word3 minutes read
 How to create and use templates in Microsoft Word6 minutes read
 How to Insert Equations in Microsoft Word10 minutes read
 How to create Resume in Microsoft Word10 minutes read
 How to Use Basic Microsoft Word9 minutes read
 10 Useful Table Formatting Tips in Microsoft Word11 minutes read
Reader Comments 0
Sign in with email or Google to join the discussion.