Instructions for drawing arrows in Microsoft Word
When you need to point to an image to emphasize or illustrate something, drawing an arrow is the most convenient way. This article will show you how to draw arrows in Microsoft Word.
Table of Contents
When you need to point to an image to emphasize or illustrate something, drawing an arrow is the most convenient way. This article will show you how to draw arrows in Microsoft Word.
Draw basic arrows
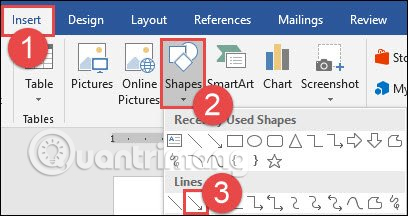
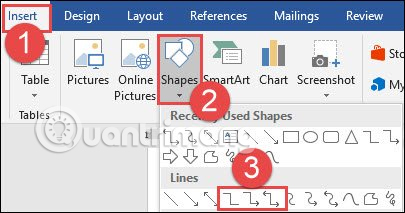
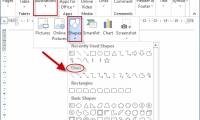
First, let's start drawing basic arrows. On the Insert tab, click the Shapes button. In the Lines group on the drop-down menu, click on the Line Arrow option.
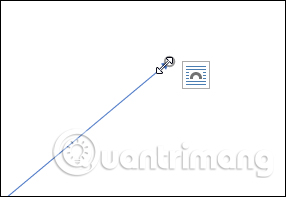
You will see a cross icon, press and hold the left mouse button, then drag to draw the arrow. At the required length, just drop the mouse and the arrow appears as desired.

Here are the results:

Resize, rotate and change the color of the arrow
Now we will edit the arrow just drawn. If you do not change anything, the arrow will default to the usual setting of black and arrow width of 3/4 point. But if you don't like this setting, you can change it.
Change the arrow size
To change the length of the arrow, you can do it quickly by hovering over the arrow until you see the two-dimensional arrow icon.
Click and drag the mouse to make the arrow shorter, longer or move it to another direction. If you just want to extend or shorten the arrow, but don't want to redirect, hold down Shift while clicking and dragging it.
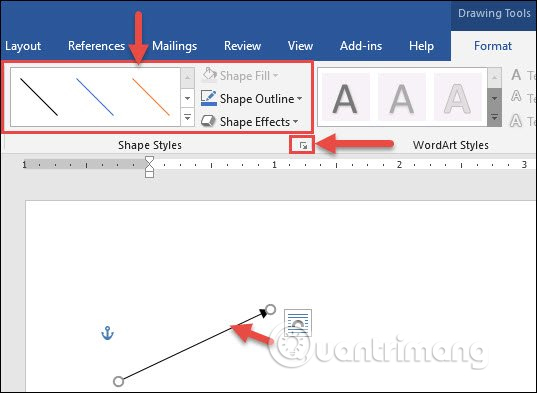
To make other changes, you can:
- Use the options in the Format tab in the Ribbon.
- Click Advanced Tools (small diagonal arrow in the bottom right corner of the Shape Styles group) in the Ribbon.
- Right-click and arrow to open the Autoshape / Picture Format dialog box to see more options.
Change the color of the arrow
To change the arrow color, click the Shape Outline button on the Format tab and then click on the color you want to use.

Change the thickness of the arrow
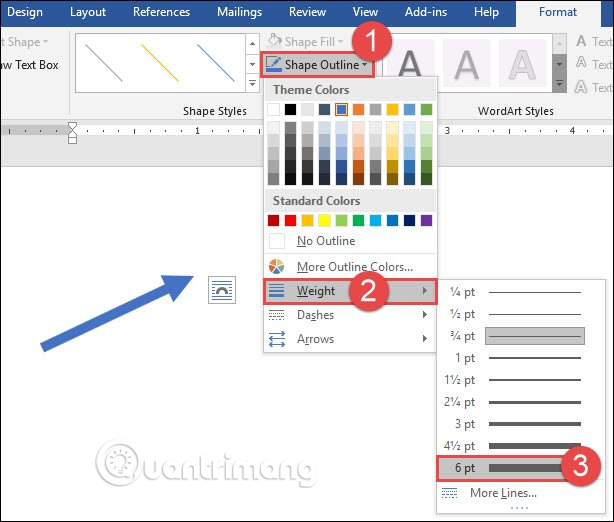
To change the thickness of the arrow, click on the Shape Outline button, point to the Weight menu and then click on the thickness you want to use.
Rotate the arrow
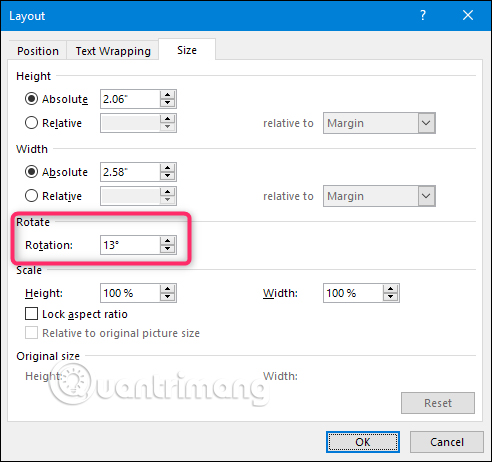
To rotate the arrow, click on the Rotate button on the Format tab and select the rotation direction option. To preview, simply point to each option.

To add more options to rotate the arrow, click More Rotation Options . On the Size tab of the Layout window, you can rotate the arrow with the correct angle.
Draw arrow block, curve and connect
On Word, you can draw different types of arrows such as block, curved and connected arrows.
How to create a block arrow
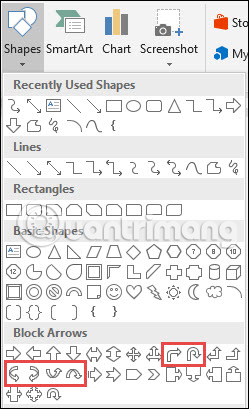
On the Insert tab of the Ribbon, click the Shapes button. In the Block Arrows section in the drop-down menu, click on the type of arrow you want to use. In this example, we will use the block arrow upwards.

Your cursor will turn into a cross icon, click and drag it to draw the arrow, release the mouse to complete.

You can use the same formatting tool we talked about in the previous section to change colors, borders, sizes, etc. In addition, you can use eight white buttons to change the size. Overall arrow ruler. The yellow button is used to reshape the arrowhead and arrow arrows separately.
How to create curved arrows
On the Insert tab of the Ribbon, click the Shapes button. In the Lines section, click on one of the curved arrow shapes. You will see an arrow with one end, an arrow with two ends and a simple curve without arrows.

Your cursor turns into a cross symbol, click and drag to draw the arrow, release the mouse after completion.

After drawing the curved arrow, you can change the curve by dragging the yellow button in the middle of the arrow.

To add more curved arrow options, check the curved arrows in the Block Arrows section.
And like with any other shape, you can use standard formatting tools to change colors, borders, etc.
How to create a straight connection arrow
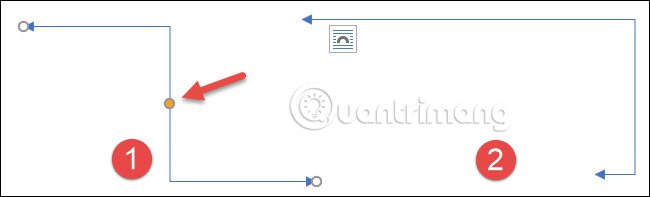
These arrows are used to connect different shapes in diagrams and flowcharts. On the Insert tab of the Ribbon, click the Shapes button. In the Lines section of the drop-down menu, select the connection arrow. As with curved arrows, you can choose the number of arrowheads you want to use.
- Instructions on how to draw diagrams in Word
Your cursor turns into a cross symbol, click and drag to draw the arrow and release the mouse when finished.
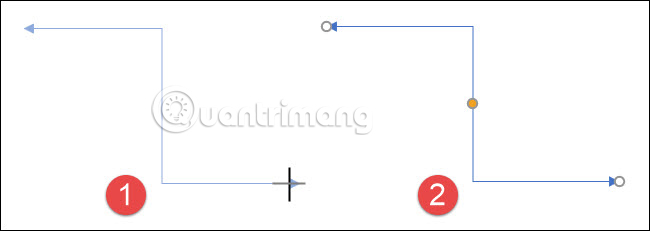
After drawing the connecting arrow, you can use the yellow button to change the shape of the arrow. Use the white button to change the length of the nose section on it.
I wish you all success!
See more:
- Instructions for drawing arrows with Gimp
- Word 2013 Complete Guide (Part 17): Drawings and how to create effects for drawings
- How to group shapes in Word
Was this article helpful?
Your feedback helps us improve.
Related Articles
 How to draw arrows in Photoshop2 minutes read
 How to draw arrows in Word2 minutes read
 Instructions for drawing arrows with Gimp2 minutes read
 How to get the Drawing toolbar in Word to draw a picture2 minutes read
 Tutorial for Word 2016 (Part 18): How to add Shape shapes5 minutes read
 Word 2013 Complete Guide (Part 17): Drawings and how to create effects for drawings10 minutes read
Reader Comments 0
Sign in with email or Google to join the discussion.