How to delete recent items in Search on Windows 10
Windows 10's search box now shows recent searches, and if you don't want to see this list, you can remove it with the following steps..
Clear recent search list in Windows Search
To prevent recent searches from appearing in the Windows Search home page, follow these steps:
Step 1. Open Settings on Windows 10.
Step 2. Click Search.
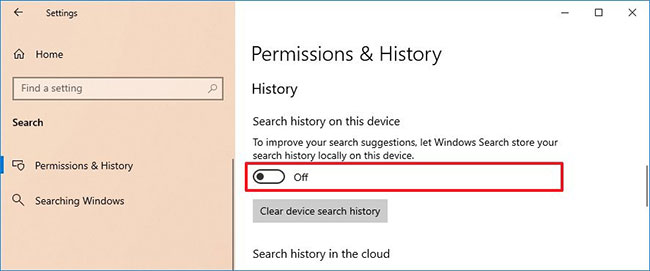
Step 3. Click Permissions & History .
Step 4. In the History section , turn off the switch to Search history on this device .
After you complete the steps, the Windows Search home page will no longer display your most recent searches.
Delete each search item in Windows Search
To remove each recent search from the Windows Search home page, follow these steps:
Step 1. Open Search.
Quick Tip : You can use the Win + S keyboard shortcut, click Search Box or the Search iconon the taskbar to open Windows Search.
Step 2. In the 'Recent' section , hover your mouse over the item and click the X button to delete it.

Step 3. Repeat step 2 to delete other recent searches.
After you complete the steps, the search query will be deleted and the location will be replaced with another item.
Note:
If you have fewer than two items in the list or are not using Windows Search, a message appears indicating the items you can see in the list.
Microsoft is rolling out this feature as a server-side update for devices running version 1809 or higher, but it may take a while to reach all devices.