How to create Picture in Picture effect in Photoshop
This tutorial will show you how to create a cool Picture in Picture effect with Adobe Photoshop by taking a single photo and creating the illusion that a smaller, cropped version of the same photo is inside it..
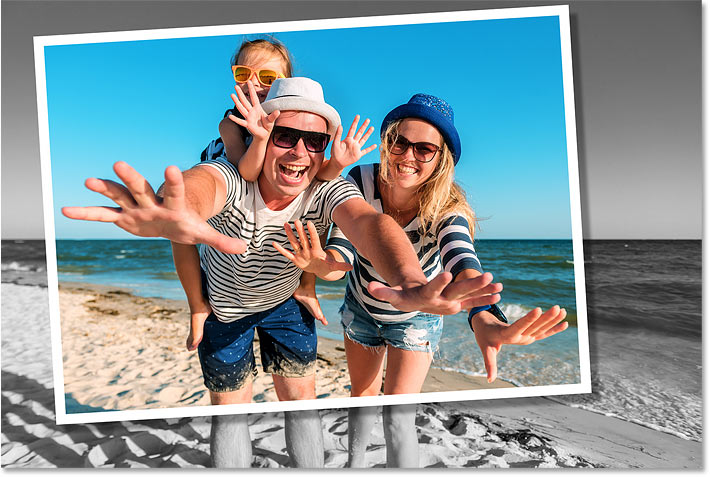
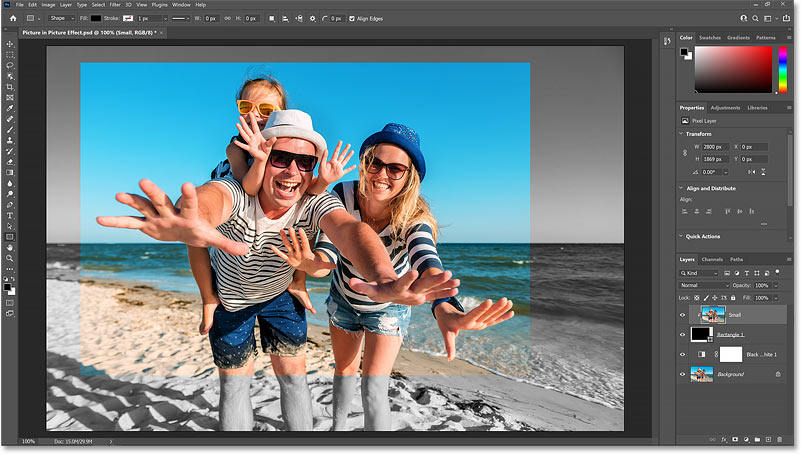
This tutorial will show you how to create a cool Picture in Picture effect with Adobe Photoshop by taking a single photo and creating the illusion that a smaller, cropped version of the same photo is inside it. We'll crop and rotate the smaller image around the main subject, add a border and drop shadow to highlight it, and finally convert the original photo behind it to black and white.
Step 1: Open the photo
Start by opening your photo.

Step 2: Make a copy of the Background layer
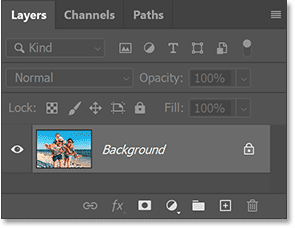
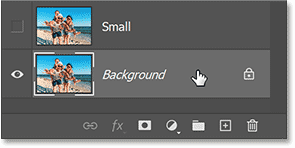
In the Layers panel , the image will open on the Background layer:
Make a copy of the image by dragging the Background layer down to the Add New Layer icon :

A copy appears above the original:

Step 3: Rename the copy to Small
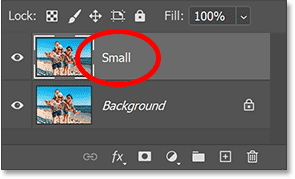
The copy will be used to create a smaller image inside the larger one. So double-click on the Background copy name and rename the layer to Small. Press Enter (Win) / Return (Mac) on your keyboard to accept:
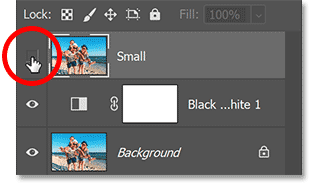
Step 4: Turn off the Small layer
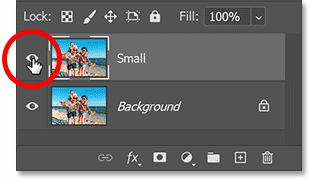
We don't need the Small layer right now, so turn it off by clicking on its visibility icon:
Step 5: Select the Background layer
Before creating a smaller version of the image, we'll convert the original image to black and white. Click on the Background layer to select it:
Step 6: Add a Black & White adjustment layer
Then click the New Fill or Adjustment Layer icon at the bottom of the Layers panel:
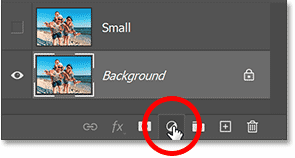
And select a Black & White adjustment layer from the list:
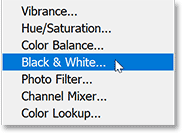
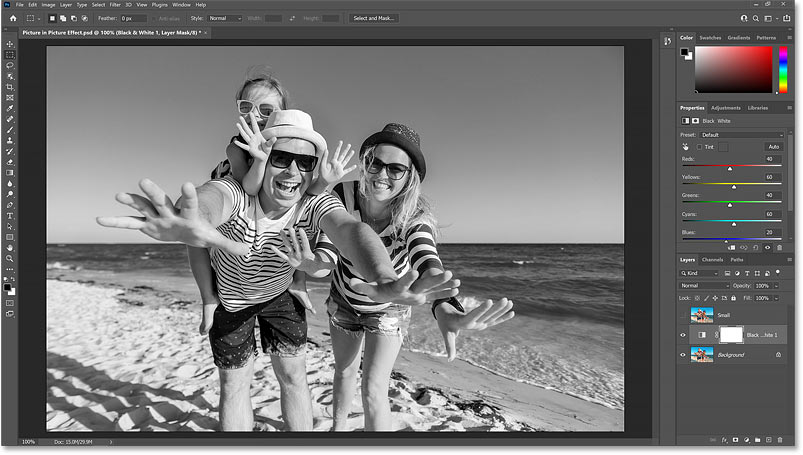
The adjustment layer appears between the Background layer and the Small layer. This means it will only affect the Background layer below it, not the Small layer above it:
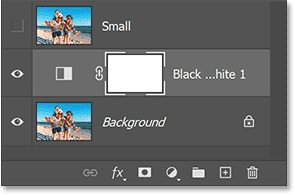
And the image is instantly converted to black and white:
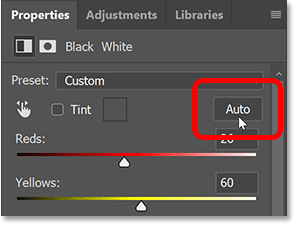
Step 7: Click the Auto button
The controls for the Black & White adjustment layer appear in Photoshop's Properties panel. You can fine-tune the black and white conversion by dragging the individual color sliders (Red, Yellow, Green, etc.) to adjust the brightness of different parts of the image based on their original color:
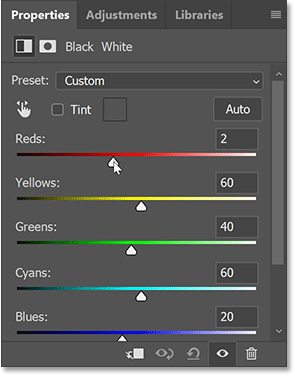
But since the effect is really just for the background and will mostly be hidden by the smaller image, clicking the Auto button will give you good enough results:
Step 8: Select and turn on the Small layer
Now we will create a smaller, full color image inside the original image.
Back in the layers panel, click on the Small layer to select it:
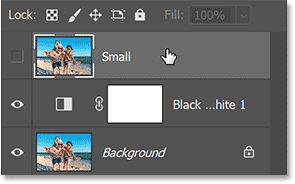
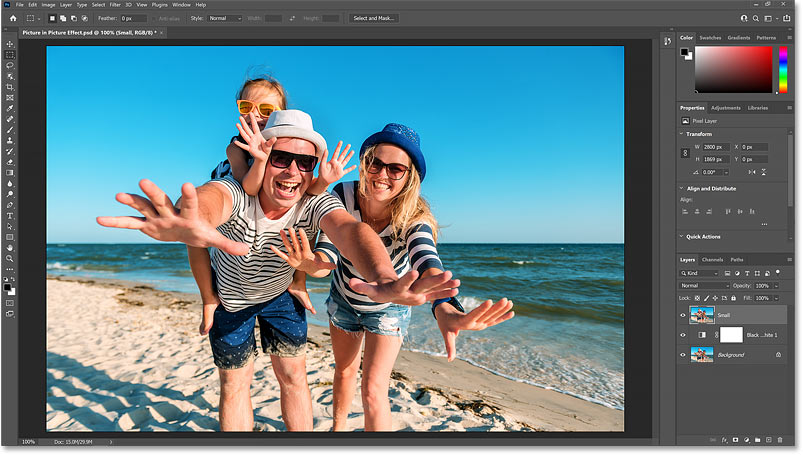
Then click the layer visibility icon to turn it back on:
The color version of the image will reappear:
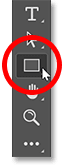
Step 9: Select Rectangle Tool
In the toolbar, select the Rectangle Tool. Don't select the Rectangular Marquee Tool near the top because that's a selection tool. Select the Rectangle Tool, one of Photoshop's shape tools:
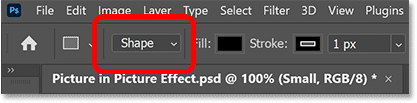
Step 10: Set Tool Mode to Shape
In the Options Bar, make sure the Tool Mode is set to Shape , not Path or Pixels:
Step 11: Set the color of the shape to black
Set the shape color to black if you haven't already. The color doesn't really matter, but black is easier to see when we draw the shape.
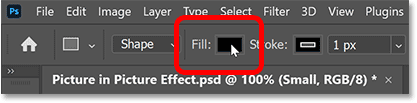
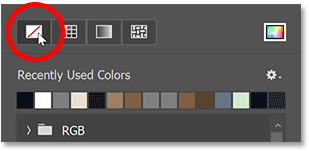
Click on Fill color swatch :
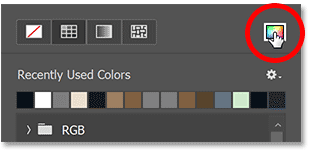
Then, click the Color Picker icon in the upper right corner of the dialog box:
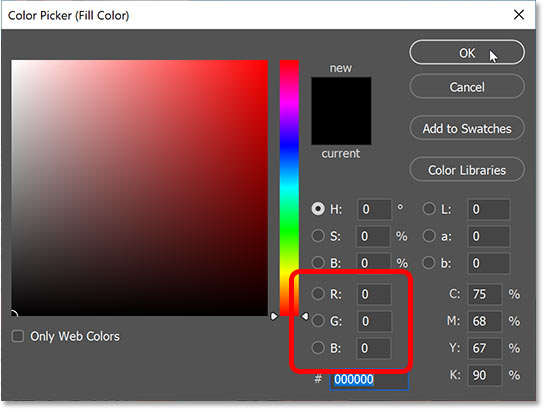
And select black from the Color Picker by setting the R, G, and B values to 0. Then click OK to close the Color Picker:
Step 12: Turn off strokes around shapes
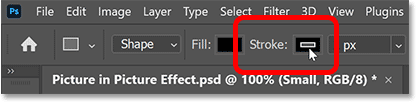
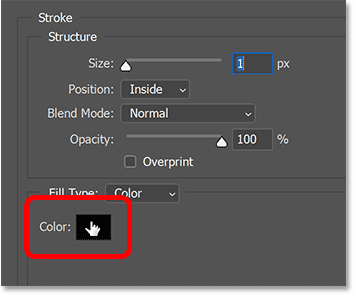
By default, Photoshop adds a 1 pixel wide black stroke around the shape, which we don't want. So let's click on the Stroke color swatch :
Then, click the No Color icon in the upper left corner. Press Enter (Win) / Return (Mac) to close the dialog box:
Step 13: Draw a shape around the main object
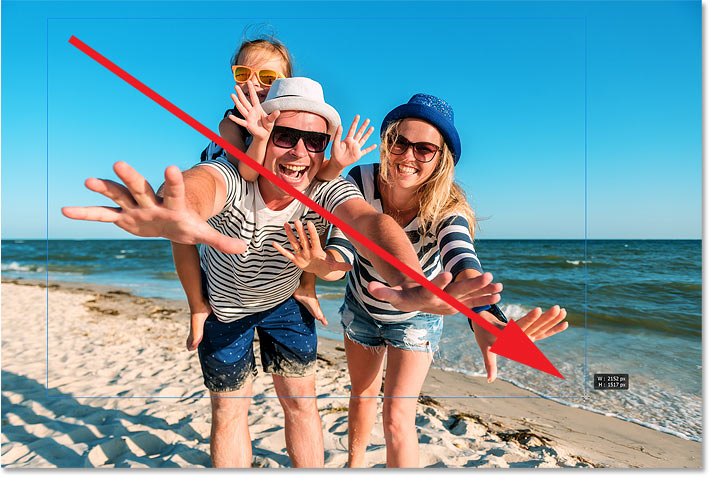
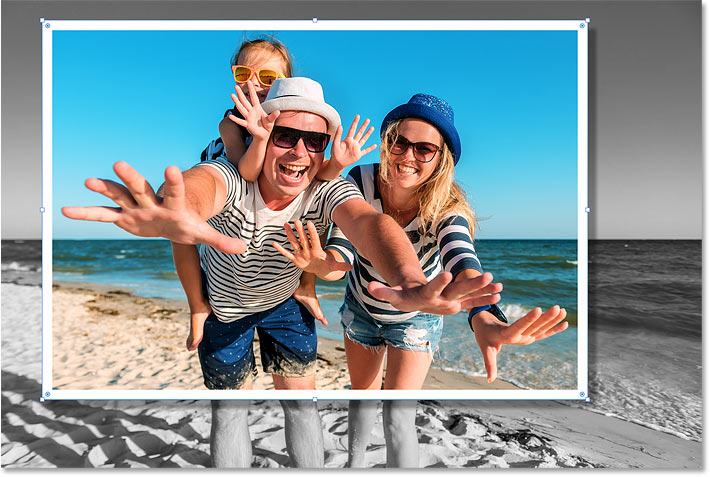
Drag a rectangle around the main object. The shape will become a smaller version of the image, so make sure to surround everything that will appear inside it.
Click the upper-left corner of the object to set the starting point for the shape. Then, hold down the mouse button and drag toward the lower-right. As you drag, only the outline of the shape appears:
How to reposition shapes
To reposition a shape as you draw, hold down the mouse button and press and hold the spacebar on your keyboard. Drag the shape to the location you need, then release the spacebar and continue dragging the rest of the shape.
How to perfect the shape
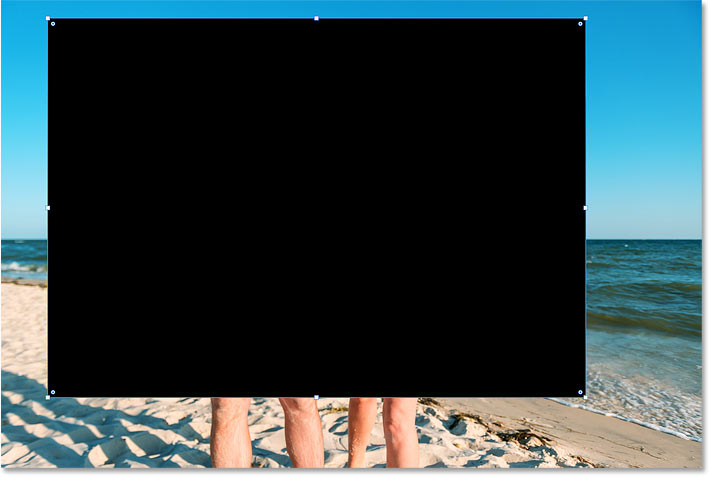
Release the mouse button when you're done to complete the shape, at which point Photoshop will fill the shape with black:
Step 14: Resize the shape if needed
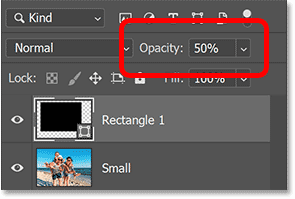
Since the shape completely obscures the image behind it, it's hard to tell if the shape is drawn exactly where we need it to be. So to see the image through the shape, reduce the Opacity of the shape layer in the Layers panel to 50%. A quick way is to press 5 on your keyboard:
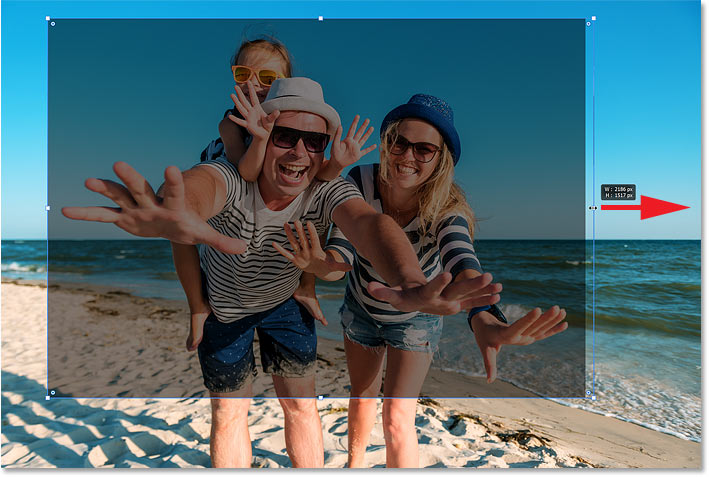
Then, click and drag any of the handles around the shape to resize it as needed:
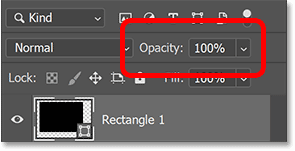
Reset shape opacity to 100%
When you're done resizing the shape, reset the shape layer's opacity in the Layers panel to 100% by pressing 0 on your keyboard. The shape will once again block the image from view:
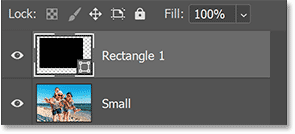
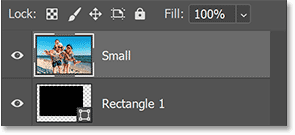
Step 15: Drag the Small layer above the shape
Next, we'll place the image on the Small layer into the shape. In the Layers panel, the shape is now above the image:
We need the image to be above the shape. So click on the Small layer and drag it above the shape layer. When the blue highlight bar appears above the shape layer:
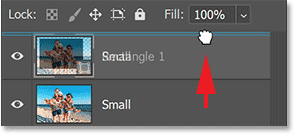
Release the mouse button to drop the Small layer into place:
And in the document, the image now blocks the shape from view:

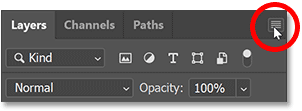
Step 16: Create clipping mask
To place an image into a shape, click the Layers panel menu icon:
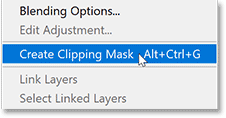
And select Create Clipping Mask:
Photoshop cuts the image on the Small layer into the shape layer below it:
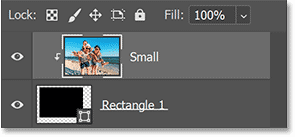
And the full color image now appears only within the boundaries of the shape, while the black and white version on the Background layer reappears around it:
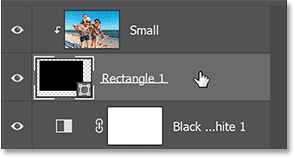
Step 17: Select the shape layer
To help smaller images stand out, add a white border and a drop shadow. We'll start with the border.
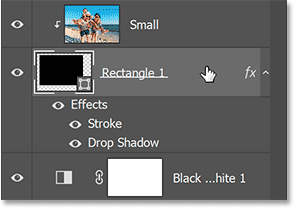
In the Layers panel, select the shape layer:
Step 18: Add white strokes around the shape
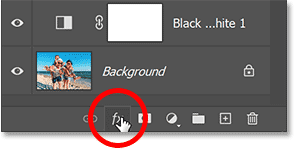
Then click on the layer effects icon (the 'fx' icon) at the bottom:
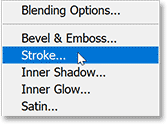
And select Stroke from the list:
Color stroke
In the Layer Style dialog box , change the stroke color by clicking the color swatch:
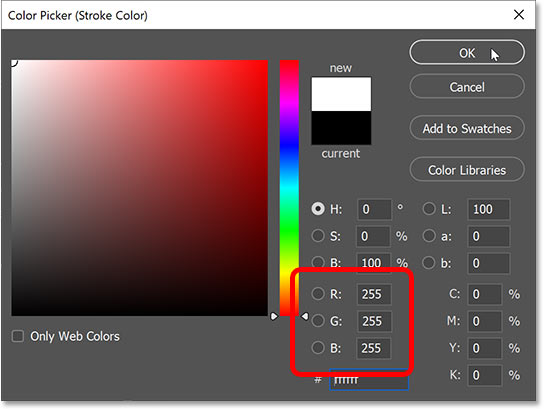
And in the Color Picker, select white by setting the R, G, and B values to 255. Then click OK to close the Color Picker:
Stroke position
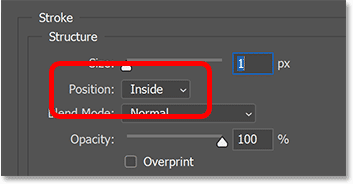
Back in the Layer Style dialog, make sure the Position of the stroke is set to Inside to keep the corners of the border nice and sharp:
Stroke size
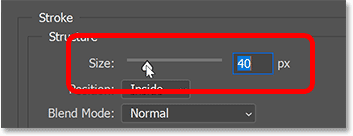
Then drag the Size slider to set the width of the border. The size you need will depend on your image. For example, I'll set my image to 40 pixels:
And here's the effect with a smaller border around the image:
Step 19: Add a drop shadow
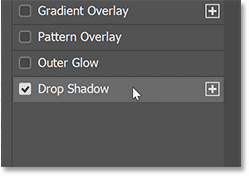
To add a drop shadow behind the image, click the Drop Shadow option in the vertical effects column on the left of the Layer Style dialog box:
Angle and Distance of the Shadow
Then click and drag inside the image to set the Angle and Distance of the shadow. Here, I'm dragging down and to the right so that the light source for the shadow comes from the top left corner:
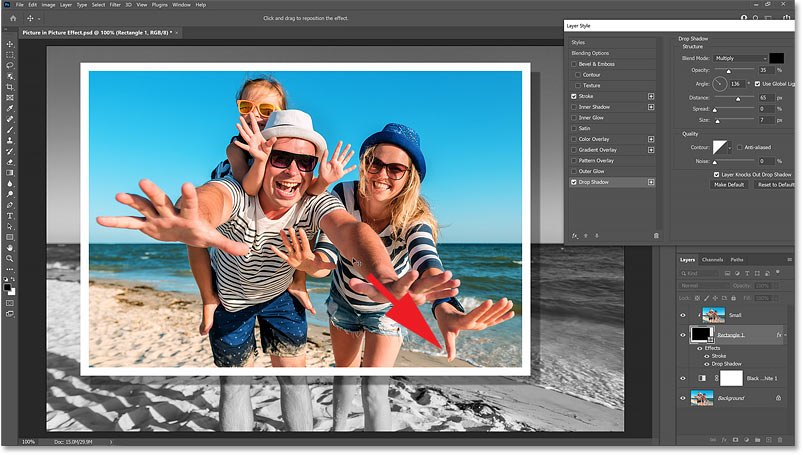
Or you can enter specific Angle and Distance values in the dialog box. The example will set the Angle to 135 degrees and the Distance to 50 pixels. You may need a smaller or larger Distance value depending on your image:

Ball size
The Size value controls how soft or opaque the shadow edges are. For example, we'll set it to 15 pixels:

Shadow Opacity
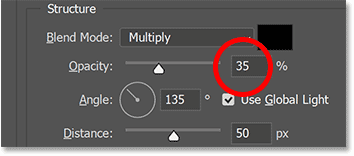
And you can adjust the intensity of the shadow (how light or dark it is) by dragging the Opacity slider . But for the example we'll leave it at the default value of 35%:
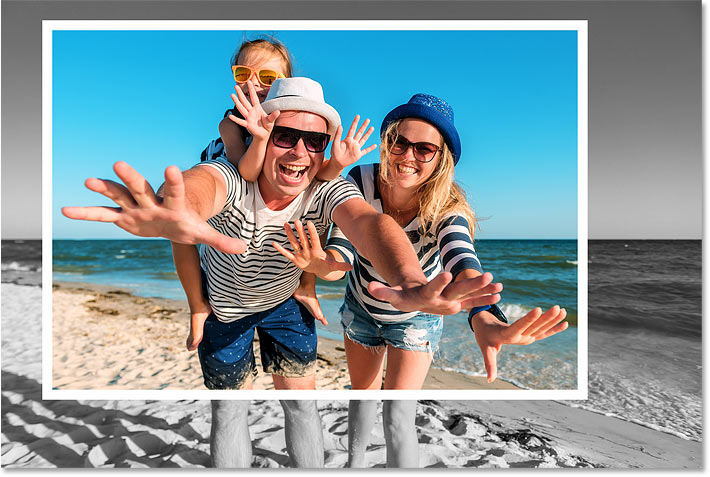
Click OK when you're done to close the Layer Style dialog box. And here's the effect with the border and drop shadow added to the smaller image. Just one more thing to do:
Step 20: Rotate the shape
Finally, you can add some fun to the effect by rotating the shape around your subject.
In the Layers panel, make sure the shape layer is active:
And with the Rectangle Tool still active in the toolbar, hover your mouse pointer just outside one of the shape's handles. The pointer will change to the Rotate icon (a curved line with arrows on both ends):
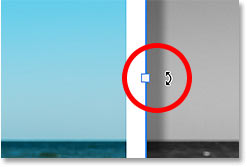
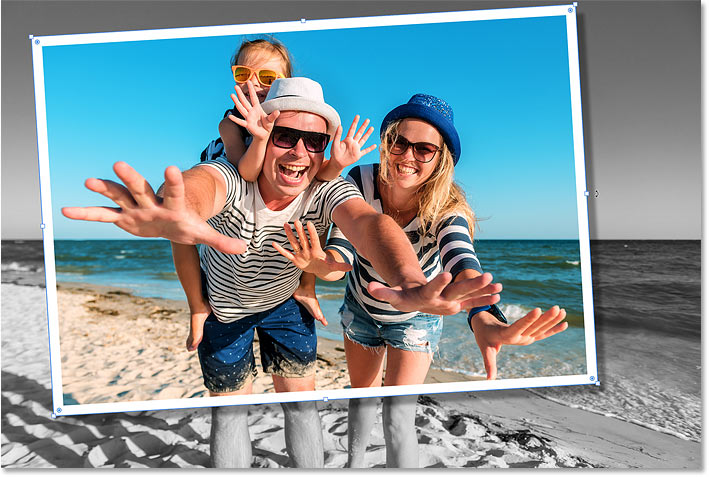
Then, click and drag to rotate the shape. The image inside the shape will remain fixed in place. Only the shape itself, along with its outline and shadow, will rotate, making the photo look like it was taken at an angle:
Step 21: Make any final adjustments to the size of the shape
Check to make sure that the rotated shape doesn't cut off parts of the subject and resize the shape again if necessary by dragging the handles.
When you're done, hide the border and handles around the shape by pressing Enter (Win) / Return (Mac) on your keyboard.
And here, after stretching the bottom of the shape to avoid cutting off part of the woman's thumb, is the final picture-in-picture effect: