How to edit classic photos on KUNI Cam
Many photo editing applications now focus only on a certain type of image editing, such as classic vintage style editing like KUNI Cam. This application provides users with color filters or editing tools such as lighting, colors that are somewhat classical.
During image editing or applying artistic filters to images, we can customize the level of effect applied to the image, depending on the needs of each person. The shooting mode on KUNI Cam also applies some classic effects for you to choose right while shooting. Especially with the paid version of KUNI Cam, we also use more tools to edit videos, besides editing images as with free versions. The following article will guide you how to use the KUNI Cam application to edit photos on your phone.
- 6 photo editing applications that help you catch the "hot trend" trend of young people
- How to use VSCO "magic tricks" photo editing with filters
- These framed art apps for phones
- Instructions for creating superimposed images on smartphones
Instructions for adjusting images on KUNI Cam
Step 1:
Users click on the link below to download KUNI Cam for iOS. With KUNI Cam Android version, we have to pay to download.
- Download KUNI Cam for Android
- Download KUNI Cam for iOS
Step 2:
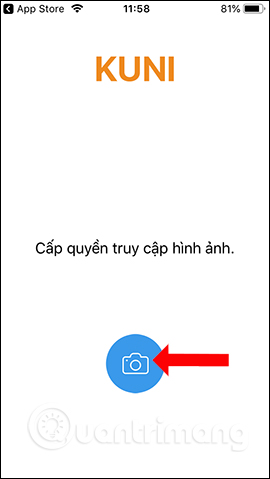
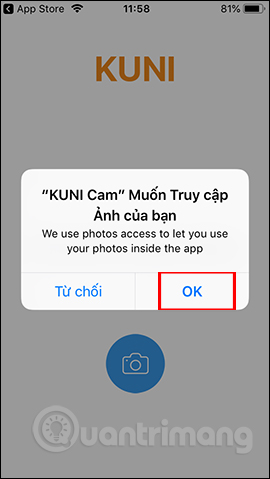
In the first interface of the application click on the camera icon to agree for KUNI Cam to use the collection on the device.
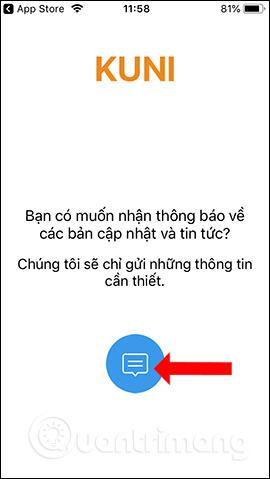
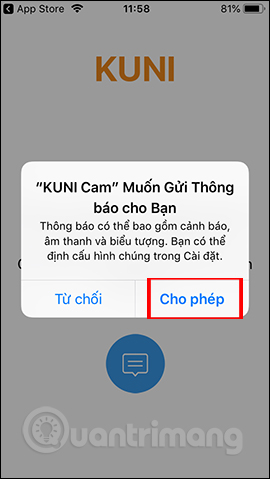
Next click on the notification icon and then click Allow to agree to receive notifications from the application.
Step 3:
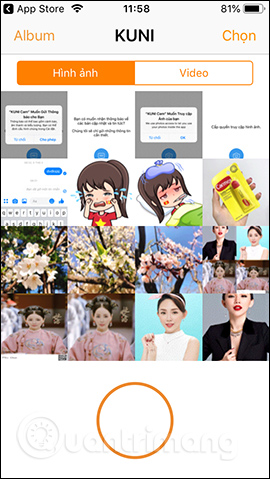
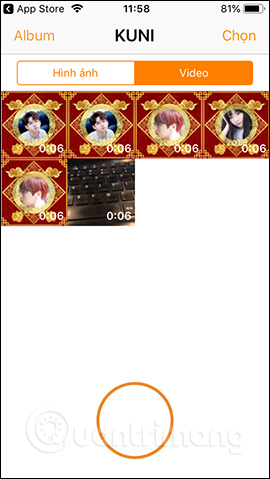
Immediately after that the application will display the collection on the device with 2 items: Photos and Videos. Here, click on the image to edit it.
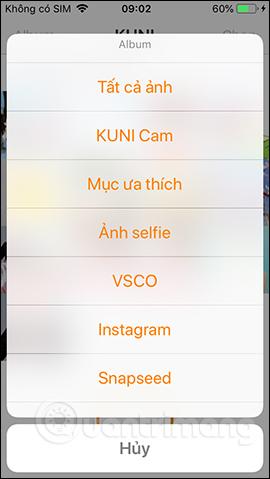
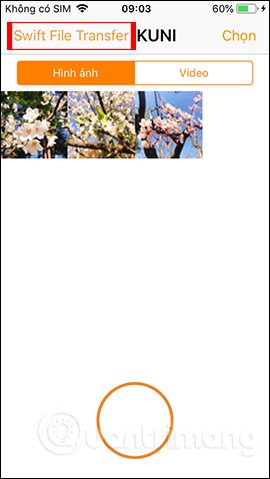
If you want to change the display gallery, click Album then select the photo gallery from other applications you want.
Step 4:
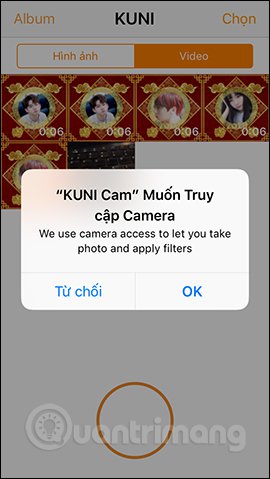
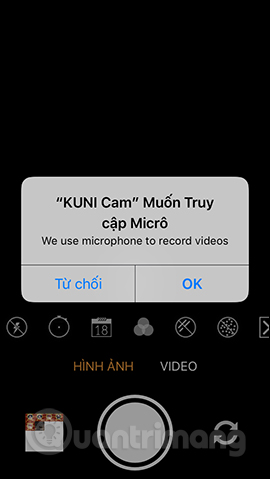
To take a new photo click on the yellow circle icon . At this time, users need to agree to use KUNI Cam camera . Next, agree to the application to use the microphone .
Step 5:
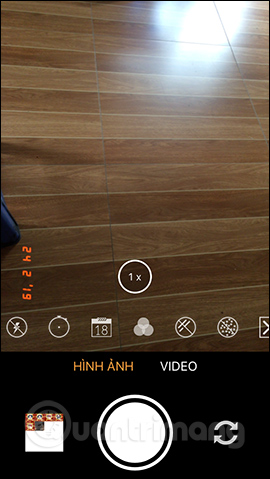
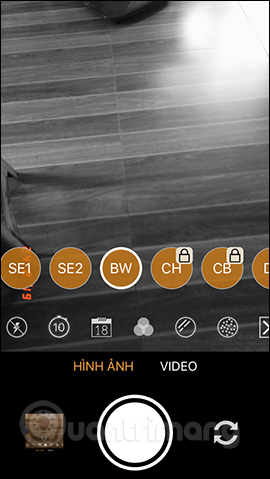
In the shooting interface, there are tools to apply classic color filters along with a number of other customizations. It is possible to use the front or rear camera.
Step 6:
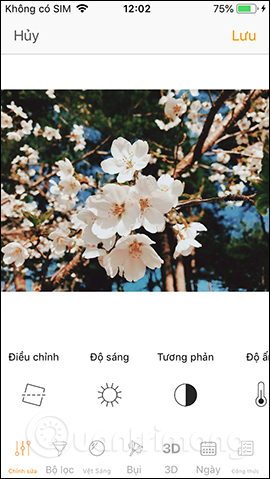
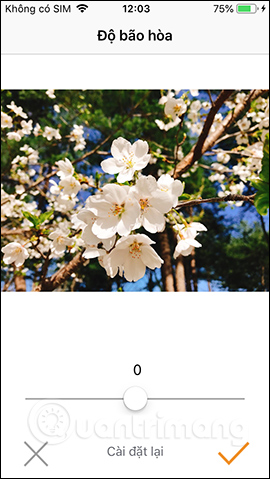
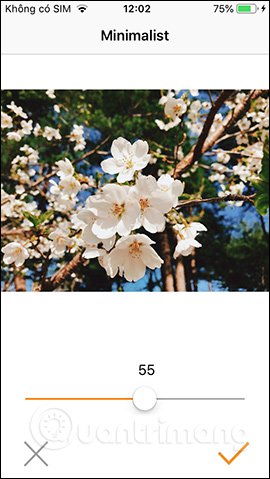
Switch to photo editing interface with tools below the screen. With the Edit section you can adjust the light, saturation for photos, colors for images. The sections all have the correction level applied to the edit. Adjust to the level you want and press the yellow check mark to apply.
Step 7:
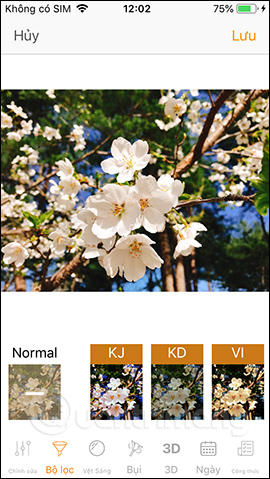
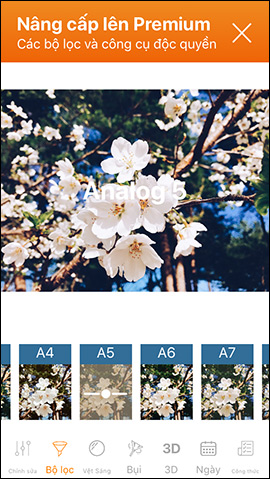
Click on the Filter section to select a color filter for the image. There are many different color filters to choose from.
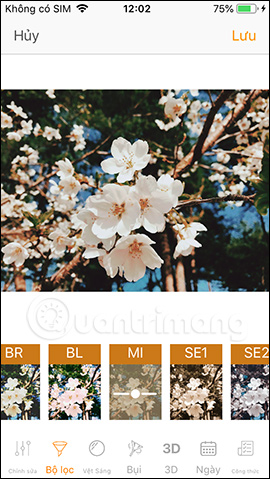
Press 2 on the color filter to open the level adjustment bar for the filter. Note that there are a number of forced user filters that can be used.
Step 8:
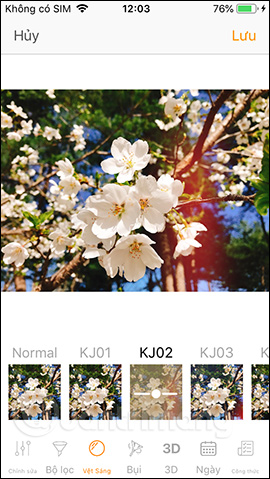
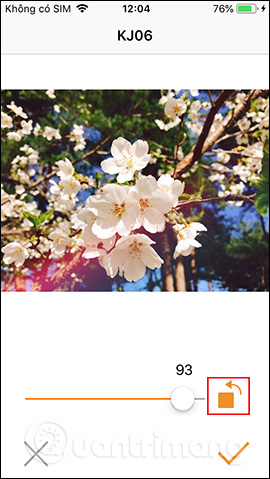
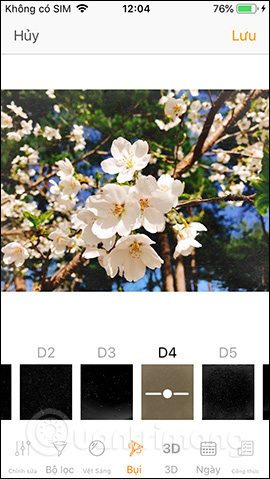
Click on the Light Trace item to add artistic light trails into the image. With a light-stick adjustment bar, add a square icon to adjust the position for light trails.
Filter section Dust creating small dots for images also adds a small dot level adjustment on the image.
Step 9:
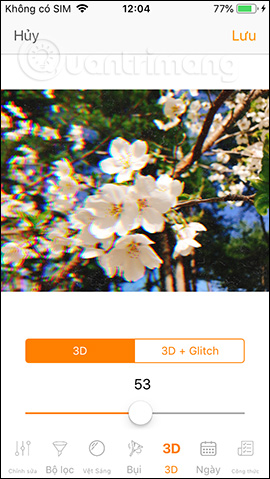
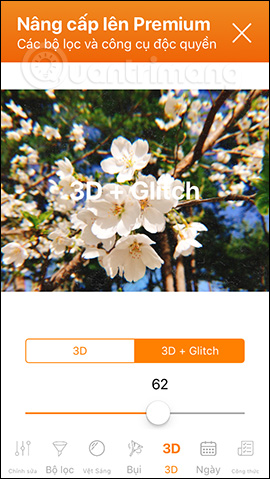
The 3D effect will have 2 styles, but with the free version you can only use 3D effects, and 3D + Glitch only applies to the paid version.
Step 10:
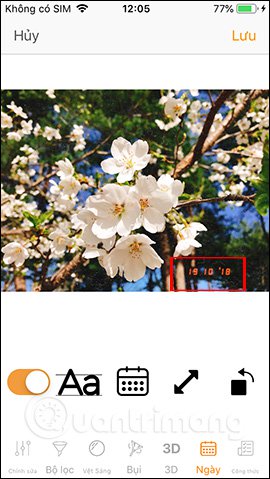
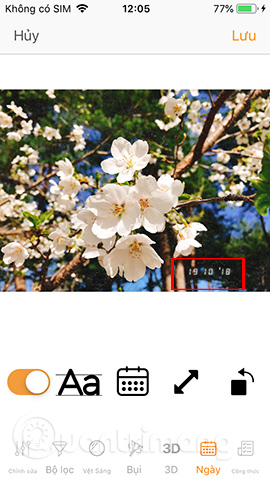
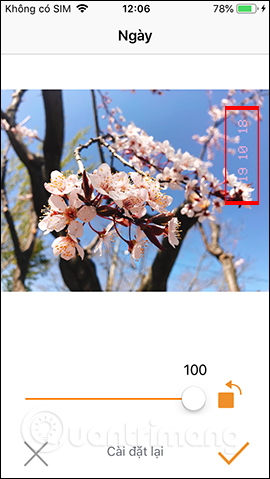
The Date section has many other custom parts. First of all, you need to slide the round button to the right to activate the day in the image. By default the app will display the date of the photo, or the date it was saved in the device album.
Next, if you want to adjust the font display date, click on the word Aa .
Step 11:
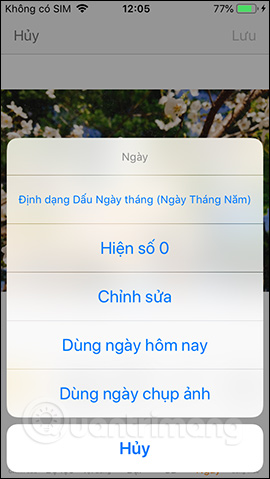
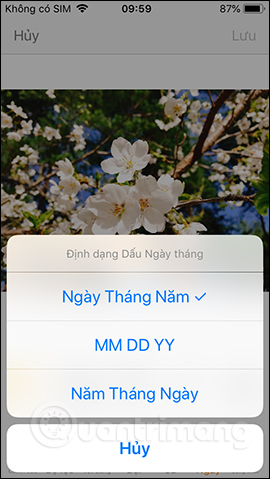
To adjust the date type displayed, tap the calendar icon . Here you will adjust the date you want to appear in the image, or adjust the date stamp format.
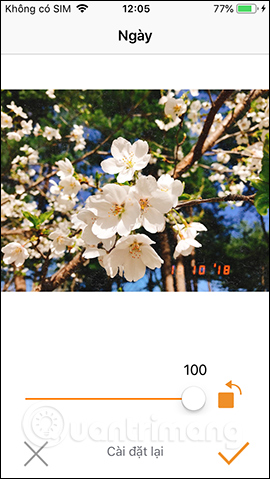
2 head arrow icon to make room larger or smaller part of the day in the image. Use the size bar to select the size for the day. Next to the square icon to adjust the current position time.
Step 12:
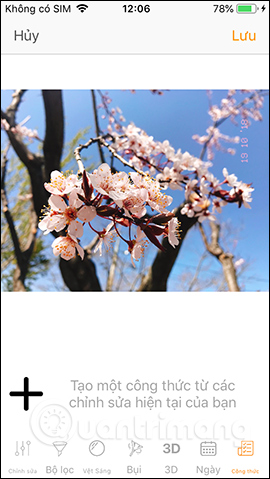
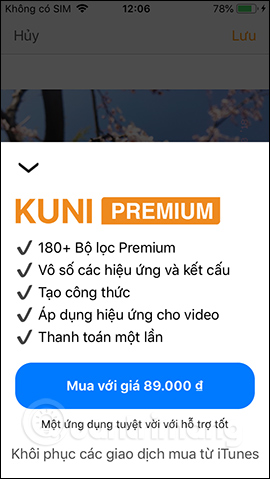
With the Formula section , you will create your own editing formula from your current edits. However, this feature is in the paid version.
Step 13:
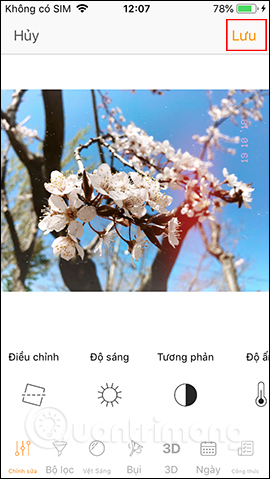
After editing, click on Save in the top right corner. Here the application will include the option to share photos on Instagram immediately if desired.
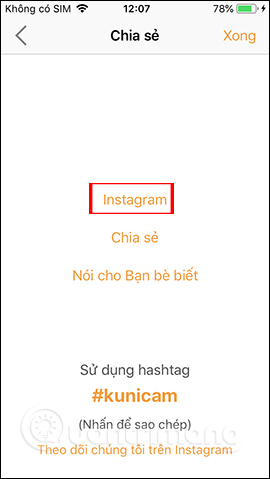
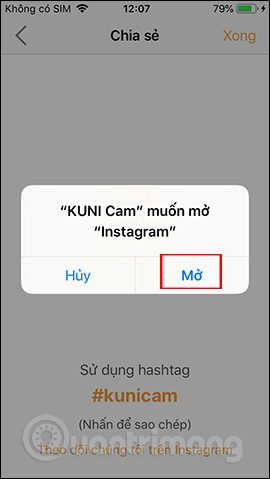
Users need to agree to have KUNI Cam open Instagram on the device. Also when clicking the Share photo button will expand the photo sharing application and download photos to the album.
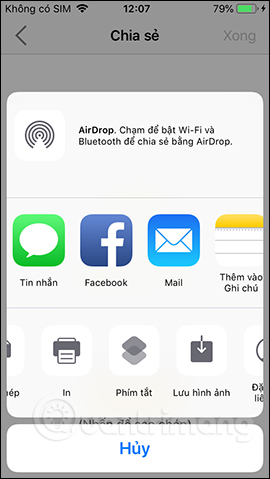
Above is how to use the details of KUNI Cam application, edit photos on the phone in a classic style. Not only are there color filters, but the application also offers many different types of effects.
I wish you all success!