How to Create a List in Cells in Excel
Create bulleted and numbered lists
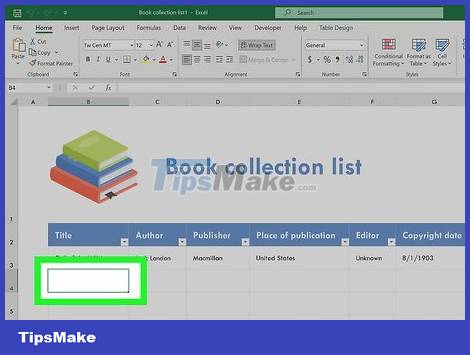
Double-click the cell you want to edit. If you want to create a bulleted or numbered list with each item on its own line in the cell, start by double-clicking the cell where you want to import the list.
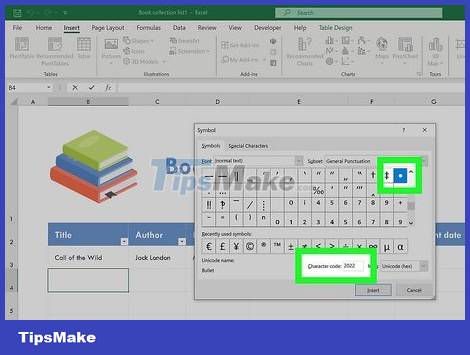
Insert bullet points (optional). If you want to start each item in the list with a symbol instead of a number or other character, you can use the keyboard shortcut to insert a bullet. Here's how to do it:
On Mac: Press Option + 8.
On Windows:
If there is a small numeric keypad on the side of the keyboard, hold down the Alt key along with the number 7 key.
If not, you need to click the Insert menu, choose Symbol, enter 2022 in the "Character code" box at the bottom and then click Insert.
If after you type 2022 the dot does not appear, select the font Wingdings and use 159 as the character code. You can then click Insert to add a bullet point.

Enter the first list item. Don't rush to press Enter or Return after typing.
If you want the list to be numbered, start the first list item with 1. or 1).

Press Alt+↵ Enter (PC) or Control+⌥ Option+⏎ Return (Mac). Line breaks will be added so you can start typing the next line in the same cell.

Enter the remaining items in the list. To continue the list, simply enter the next bullet point on the second line, enter the list item, and then press Alt + Enter or Control + Option + Return to open a new line. Once done, you can click anywhere in the spreadsheet to exit the cell you're typing in.
Paste the list from another app
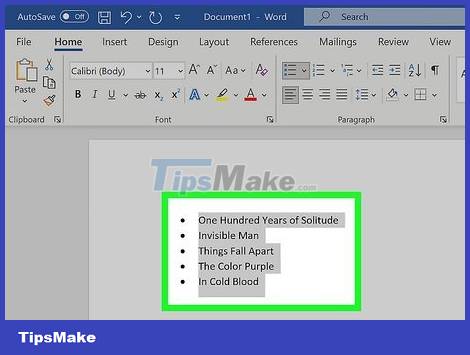
Create a list in another app. If you want to paste a bulleted list (or other type of list) into a single cell instead of spanning multiple cells, this method will guide the way to do that. Start by creating a list in an app like Word, TextEdit, or Notepad.
If you create a bulleted list in Word, the bullets will be copied across the cell after pasting into Excel. Note: bullets cannot be copied from other applications.

Copy the list. To proceed, simply highlight the list, right-click the highlighted area, and select Copy.
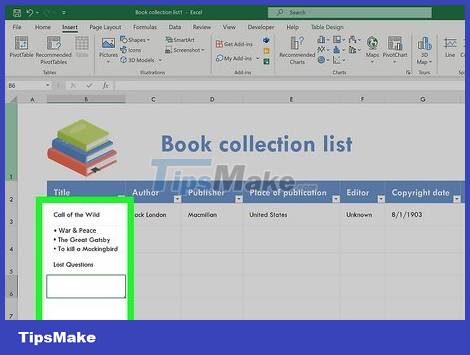
Double-click the cell to paste the list in Excel. You need to double-click the specific cell before pasting for the list items to show up in the same cell.
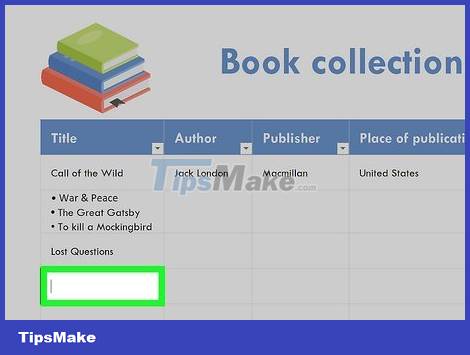
Right click in the cell. The context menu will expand.

Click the caching icon located under "Paste Options". This option has a clipboard icon along with a black rectangle. The list will be pasted into the cell where you double-clicked. Each list item will display on its own line in the same cell.
Create drop-down list

Open the set of spreadsheets for which you want to create the drop-down list. If you want a drop-down list to appear when you click a cell, use Excel's data validation tool.

Create a new workbook in the workbook. You can do so by clicking the + icon next to existing worksheets at the bottom of the Excel window. This worksheet will be the place to enter the items that you want to display in the drop-down list.
After creating the list in your own spreadsheet and adding it to the table, you can proceed to create a drop-down list containing the pre-entered data in any cell.
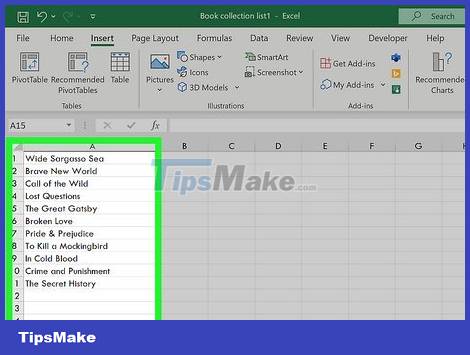
Enter each list item in a single column. Enter all available choices in the list in individual cells. All the items you enter will appear in a drop-down list.
If you want to create multiple drop-down lists and use this same spreadsheet to store list data, you can add a title to the top of the list. For example, if you plan to make a list of cities, you can enter City in the first box. This title will not show up in the actual drop-down list, but only for organizing on the spreadsheet containing the list data.
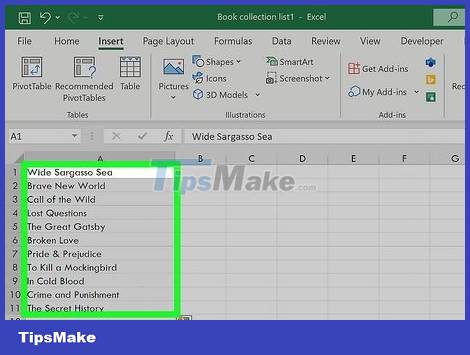
Highlight the entire table (including the header at the top of the list) and press Ctrl+T. The Create Table dialog box opens.
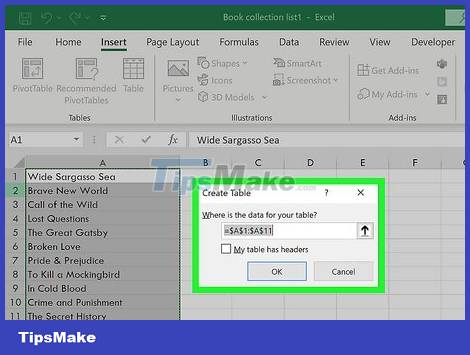
Select the title option and click OK . If you've added headers to the top of the list, check the "My table has headers" box. If not, be sure to uncheck this option before clicking OK.
Now that the list data is in the table, any edits you make in this table later will automatically be updated in the upcoming drop-down list.
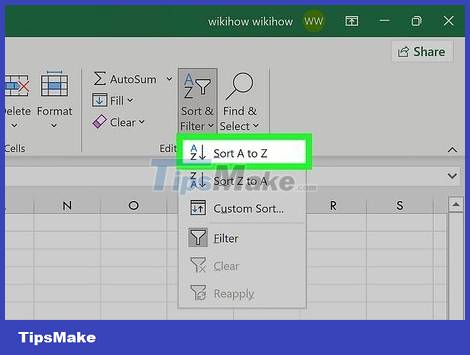
Sort the list alphabetically. This will help keep the list organized after you add it to the spreadsheet. To proceed, simply click the arrow next to the header box and select Sort A to Z.
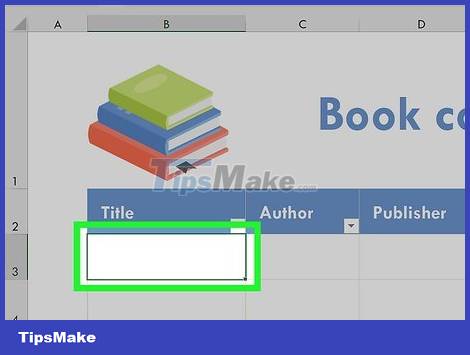
Click the cell on the worksheet to which you want to add the list. This can be any cell in any worksheet in the workbook.
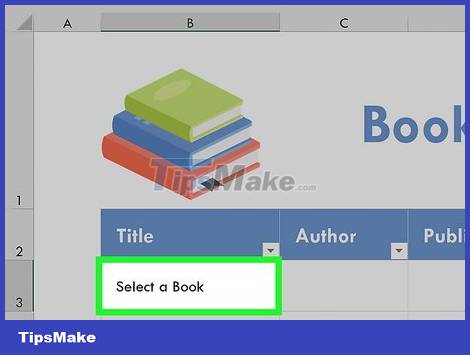
Enter a name for the list in the box. This is the cell where the list will appear, so give it a name that represents the choices in that list. For example, if you have already created a list of cities, you can enter City here.
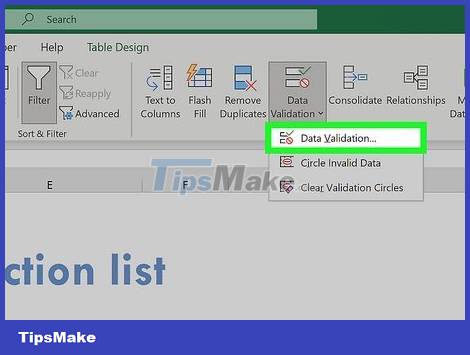
Click the Data tab and select Data Validation . You need to make sure that the cell you want to add the list to is selected before proceeding with this step. If you don't see the Data Validation option in the toolbar, click the option that has two black rectangles, a green checkmark, and a red circle with a line inside. You can find this option in the "Data Tools" section. The Data Validation window will open.
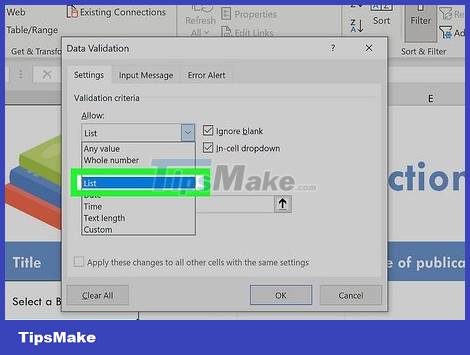
Click the "Allow" menu and select List . Additional options will be expanded.

Click the up arrow in the "Source" field. The Data Validation window will minimize so you can select the list data.
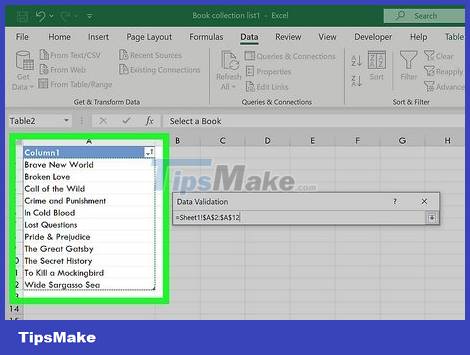
Select the list (excluding titles) and press ↵ Enter or ⏎ Return. Return to the tag containing the list data and drag the mouse pointer over the list items minus the title. Then press Enter or Return to add the selection to the "Source" field.
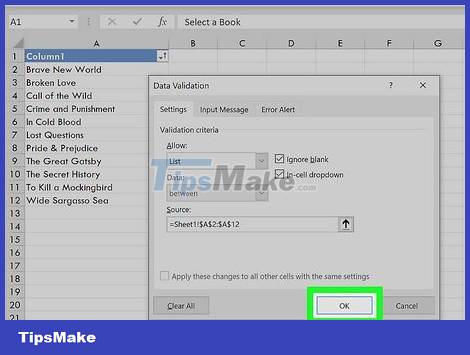
Click OK . The drop-down list will be loaded into the cell you selected. If you want to add or remove items from the list, just make the change on the new worksheet containing the data, the actual list in the cell will automatically be updated.