Table of Contents
Using the Table

This practical guide explains how to add frames around text on google docs with clear steps and useful context. It also covers common requirements, potential problems, and the details that can help you get better results.

Click the Insert tab at the top left of the screen. You can find below the title of the Google Docs document.
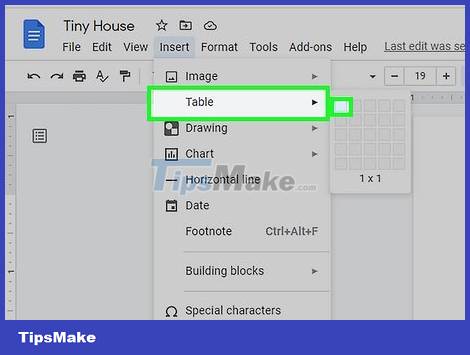
Hover over Table and click the square in the upper left. A table with only one cell will be created and act as the border of the text inside.

Type or paste text into the table. Once text is inserted into the table, it's easier to visualize the required border thickness.

Adjust the table size. You can do this by clicking and holding on one edge of the border, dragging until the table reaches the size you want, and then releasing the mouse button.
You can also use this method to create a page border by having the table wrap around the entire page.

Change table style and border (optional). You can change the table background color and border color, width, and style by using the four rightmost buttons of the menu.
If you don't see these buttons, click the button with the three-dot icon to the right of the menu. These options will appear to the right of the submenu.
Using Paragraph Styles
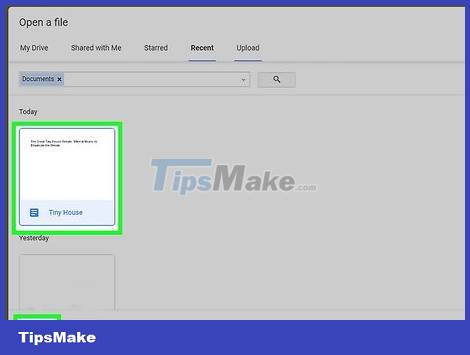
Open a Google Docs document. You can create or open Google Docs documents through Google Drive by signing in to your Google account.
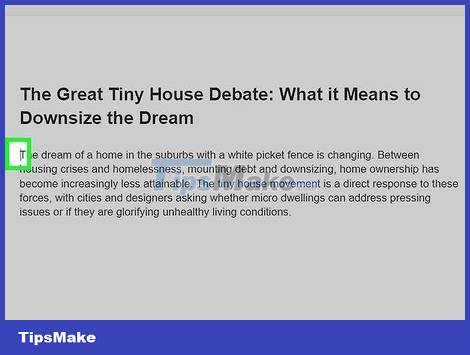
Click in front of the text that you want to border. If there is a lot of content on the document and you only want to add a border around a specific paragraph of text, the paragraph must start on a new line.
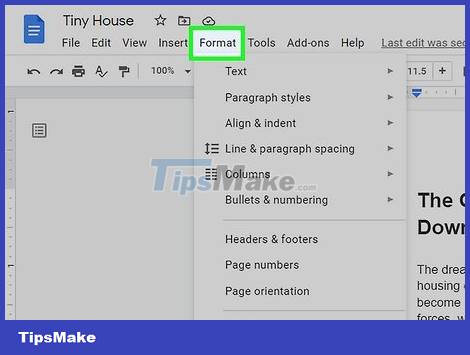
Click Format. This menu will reveal many options for adjustments you can make to the format and content of the page.
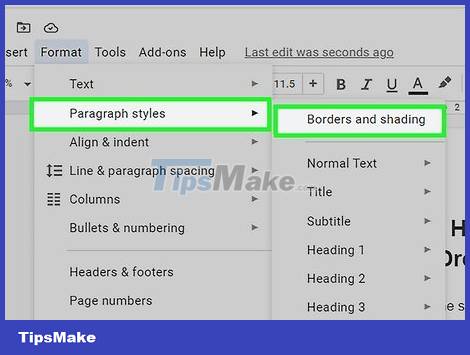
Hover over the Paragraph styles section and select Borders and shading. The 'Borders and shading' window will pop up with many border tweaking options.

Click on the first four boxes next to 'Position'. Each cell here corresponds to a different line in the border, so you need to enable all of them for the text box to have all four sides.
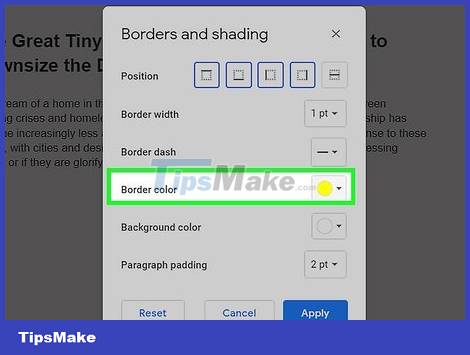
Customize border (optional). Adjust the width, style, color, background color, and spacing between the border and text using the drop-down menu to the right of each title.
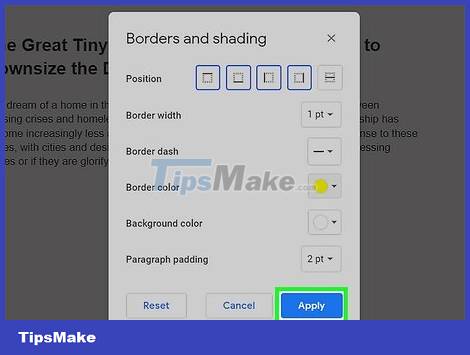
Click Apply. A border will appear around the text.
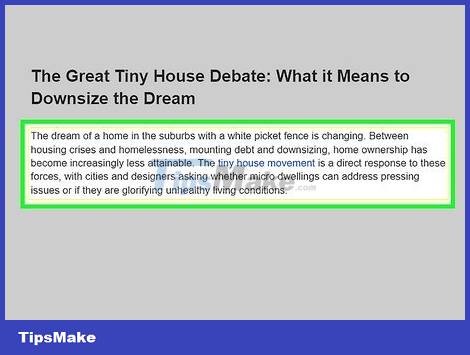
Adjust text box size (optional). This method will create a frame around the text, spanning the entire width of the page. If you want to shrink the frame, you can click next to the text and then align the paragraph margins by dragging the blue arrows at the top of the page to the desired points.
Using Text Boxes in Drawing

Open a Google Docs document. You can create or open Google Docs documents through Google Drive by signing in to your Google account.
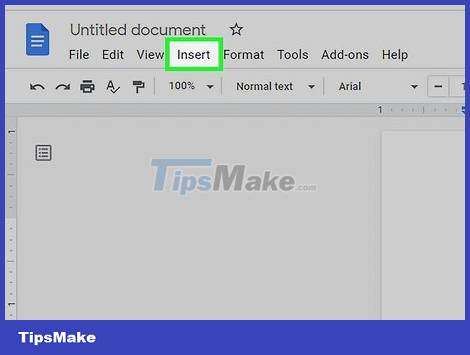
Click the Insert tab at the top left of the screen. You can find below the title of the Google Docs document.
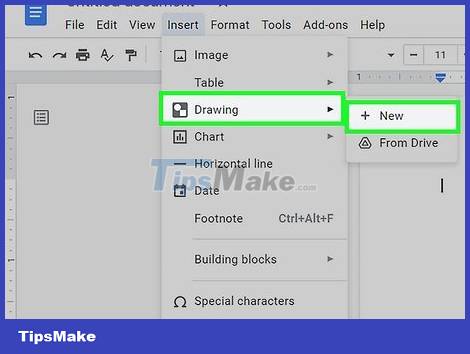
Hover over Drawing and select New. The 'Drawing' window will pop up.
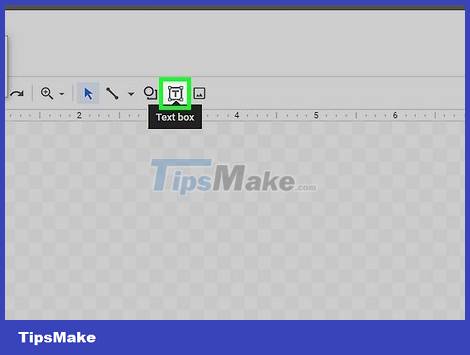
Click on the Text box option with the 'T' icon in the frame.
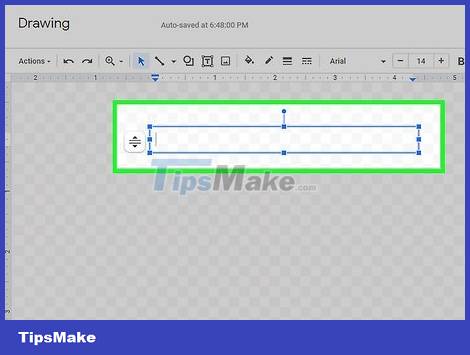
Draw the text box. Click and drag your mouse to make the text box the size you want.

Enter the text that you want to frame. Through the top menu of the Drawing window, you can adjust the font, size, text color, and so on.
After entering text, consider resizing the text box again to balance the content inside.
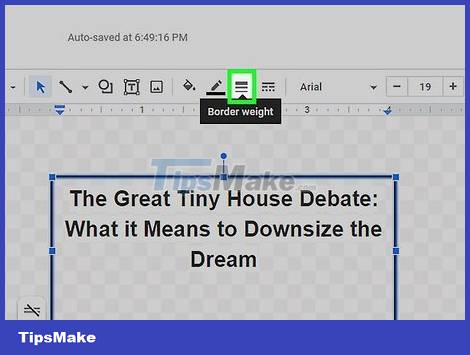
Click the Border weight option with the icon of three horizontal lines overlapping in descending order. This option represents the border thickness, so the higher the parameter you select, the thicker the border will be. Please select the thickness you want.
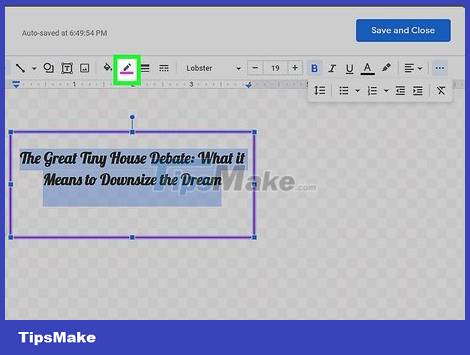
Customize other border settings (optional). Use the buttons located just to the left and right of the Border weight button to change the text box fill color, border color, and border style.
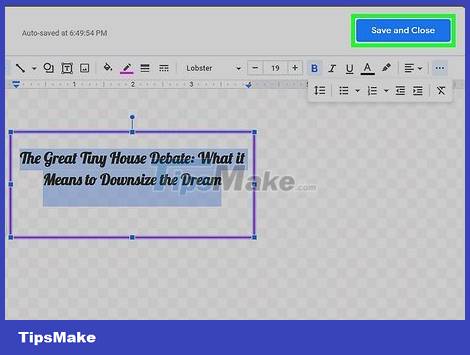
Click Save and Close. So you've created a frame around the text in a Google Docs document. Be aware, though: sometimes resizing drawings in Google Docs can cause the text inside to become pixelated, especially if you click and drag. So consider resizing the artboard by clicking on the object and then choosing Edit.
Using Rectangles in Drawing
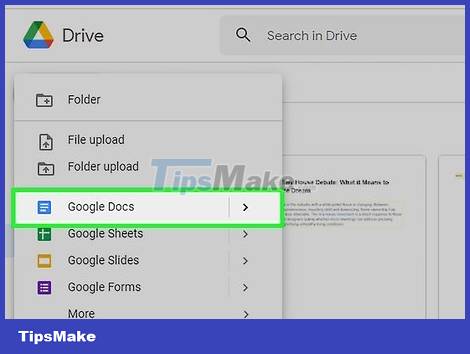
Open a Google Docs document. You can create or open Google Docs documents through Google Drive by signing in to your Google account.
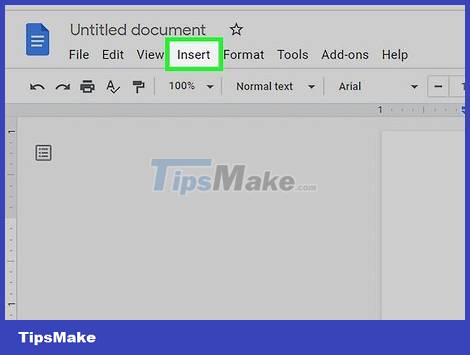
Click the Insert tab at the top left of the screen. You can find below the title of the Google Docs document.
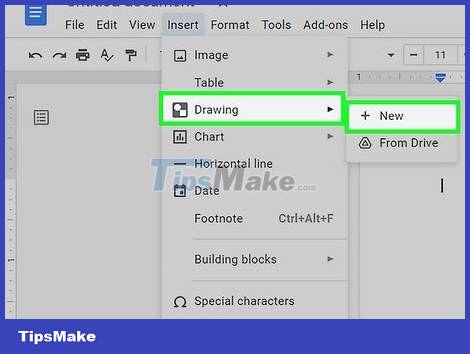
Hover over Drawing and select New. The 'Drawing' window will pop up.
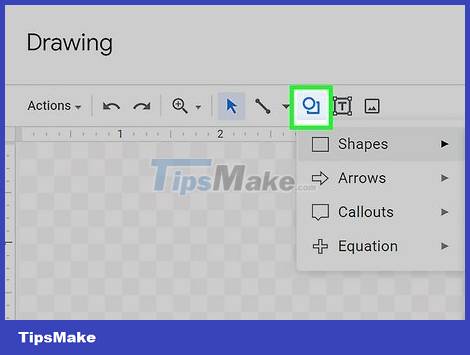
Click the Shapes button with the circle icon overlapping the square.
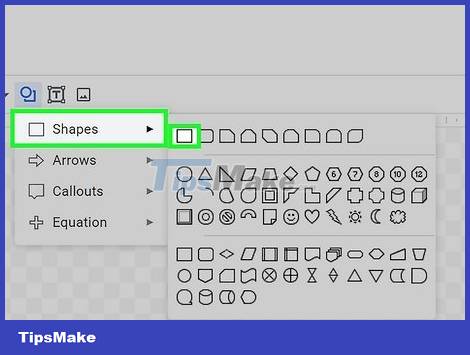
Hover over Shapes and select the rectangle. Rectangle is the first option in the first category of the Shapes menu.

Draw a rectangle. Click and drag on the Drawing window to create a rectangle of the desired size.
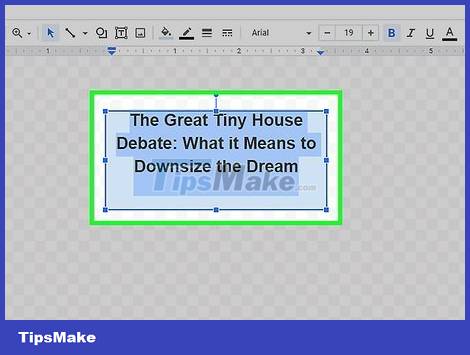
Double click on the rectangle and add text. You can adjust the font and size, color, and many other aspects through the top menu of the Drawing window.
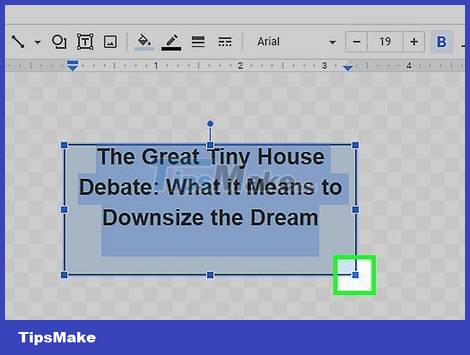
Adjust the rectangle size to fit the text. You should adjust the size of the rectangle in the Drawing window instead of working directly on the Google Docs document because this will avoid pixelation of the text.
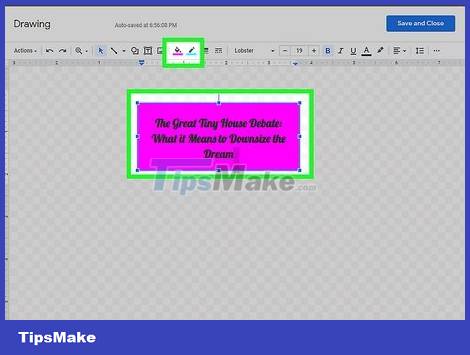
Change the rectangle style if desired (optional). Use the four buttons located in the center of the top menu of the Drawing window to fill in the background color, and choose the border thickness, color, and style for the rectangle.
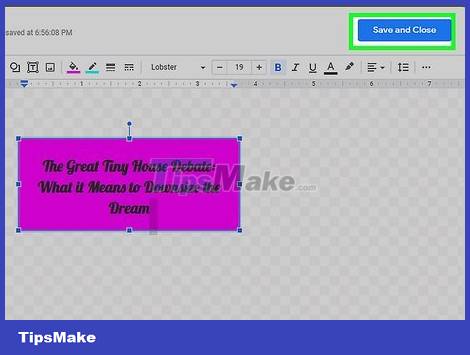
Click Save and Close. So we have a text frame on a Google Docs document. If you want to resize the drawing, you should do so by clicking on it and then clicking the Edit button that appears. If you resize the drawing directly on a Google Docs document, the text inside may become pixelated.
Using Images and Text Boxes in Drawing

Open a Google Docs document. You can create or open Google Docs documents through Google Drive by signing in to your Google account.
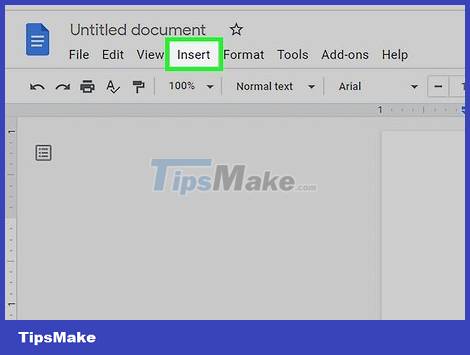
Click the Insert tab at the top left of the screen. You can find below the title of the Google Docs document.
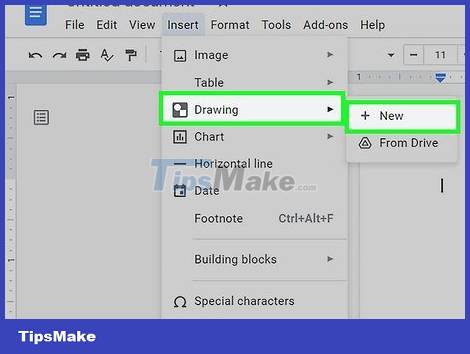
Hover over Drawing and select New. The 'Drawing' window will pop up.
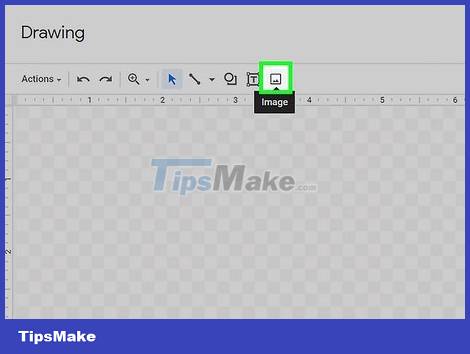
Click the square Image button with an icon that looks like two mountains inside. This option is on the far right in the top menu of the Drawing window.
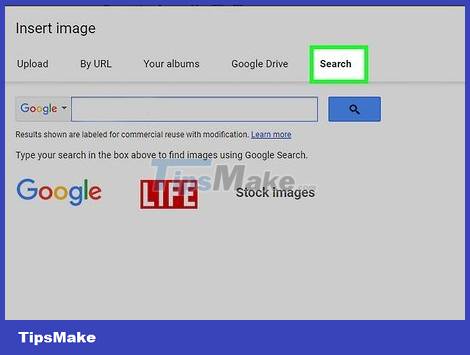
Select the Search tab. If you've selected and saved the desktop border, click Upload, then drag the image into the frame or choose from files on your computer. If you take this method, you can skip to the next step.
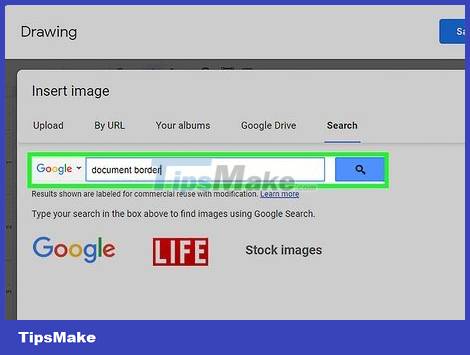
Search with keywords like document border or document border. You can add or remove keywords according to your needs. Then simply scroll over the search results as you normally would to cycle through the available contour templates.
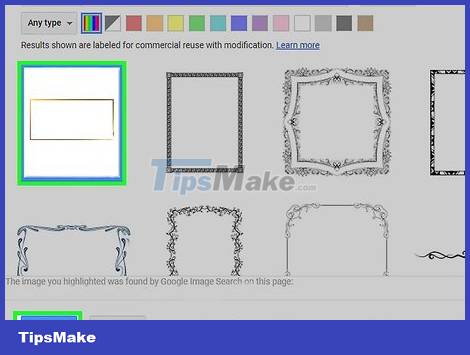
Select the outline pattern you like, and then click Select. The contour image will appear in the Drawing window.
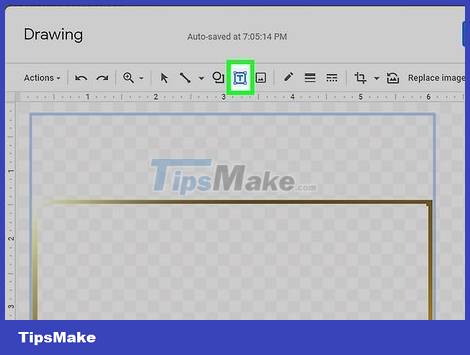
Click on the Text box option with the 'T' icon in the box.
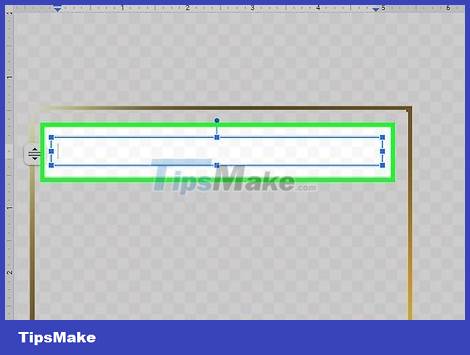
Draw the text box inside the border. The text box needs to be contoured to display properly.
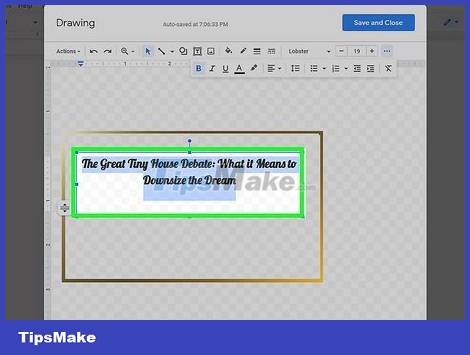
Enter text in the text box. If you need more space, you can try resizing both the border and the text box by clicking on each object and then dragging the corners outward.
You can change the font, font size, color, and more through the menu at the top of the Drawing window.
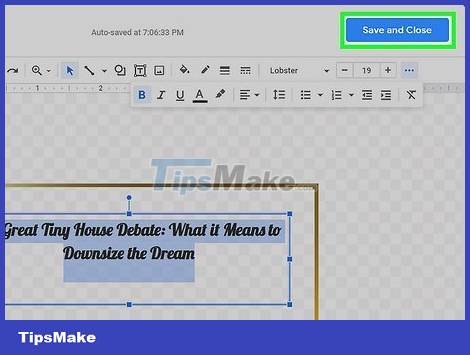
Click Save and Close. The drawing will show up on the Google Docs document.
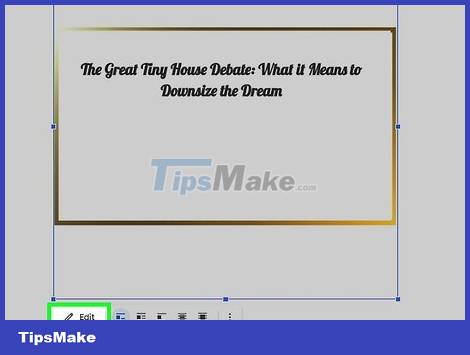
Adjust the drawing to your liking on a Google Docs document (optional). If text or images become pixelated when you resize the border right on a Google Docs document, try clicking on the object to be edited, choosing Edit, and then adjusting the size in the Drawing window.
Conclusion
Understanding Google Docs makes it easier to compare options, avoid common mistakes, and apply the information in this guide more effectively. Review the relevant requirements before making changes or choosing a solution.
FAQ
How do you add frames around text on google docs?
Follow the steps in this guide in order, confirm the required settings or tools, and verify the result before making additional changes.
Is it safe to add frames around text on google docs?
It is generally safe when you follow the recommended instructions, use trusted tools, and avoid changing settings you do not understand.
What should you do if the process does not work?
Recheck the requirements, restart the device or application when appropriate, and review each step for missed settings or compatibility issues.
Related Articles
 How to Create an Image Frame on Google Docs4 minutes read
 How to Stretch LINE Spacing in Google Docs4 minutes read
 Instructions for Translating Text on Google Docs3 minutes read
 How to Insert Text Box in Google Docs4 minutes read
 Guidelines for Writing Text on Google Docs (Google Docs)5 minutes read
 Add a Text Box or Border Around Text on a Google Docs Document Explained11 minutes read
Reader Comments 0
Sign in with email or Google to join the discussion.