How to group images in Google Docs
In a document that contains both text and images, it can sometimes be a challenge to ensure a good, logical layout. To make this task a little easier, you can use the image grouping/merge options in Google Docs.
Table of Contents
The images after being grouped together will be able to move and resize flexibly to better fit the layout of your document. Find out below.
Grouping images in Google Docs
At the moment, Google Docs still doesn't offer a convenient live grouping option like Microsoft Word. However, with a little 'magic' from the drawing tool, you can create a specific group of images and use it in your document just like any other single image.
Group images in Google Docs with drawing tools
Through the drawing tool, you will insert your image into it instead of inserting it directly into Google Docs. Open your document, place the cursor where you want to group the images, and choose Insert > Drawing > New ( Insert > Drawing > New ) from the toolbar.

This will open a pop-up window for the canvas. In the toolbar at the top, click the Image button .

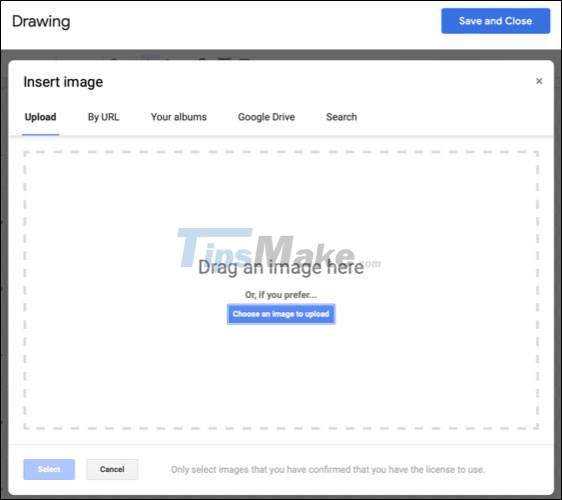
In the next window that appears, find the first image that you want to insert. You can upload an image from your computer, with a URL, from Google Photos, Google Drive, or perform a web search.
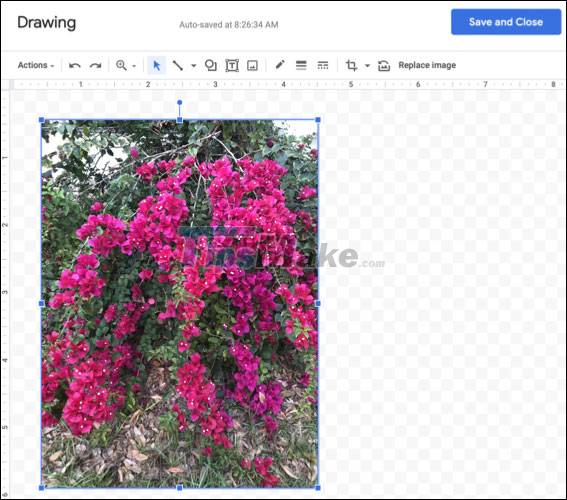
Once the image appears on the canvas, you can edit it before adding a second image if desired. Drag a corner or edge to resize, crop the corner, or add a border.
Then add and edit the image(s) further by following the same process. You can drag images to move them exactly where you want them in the group.
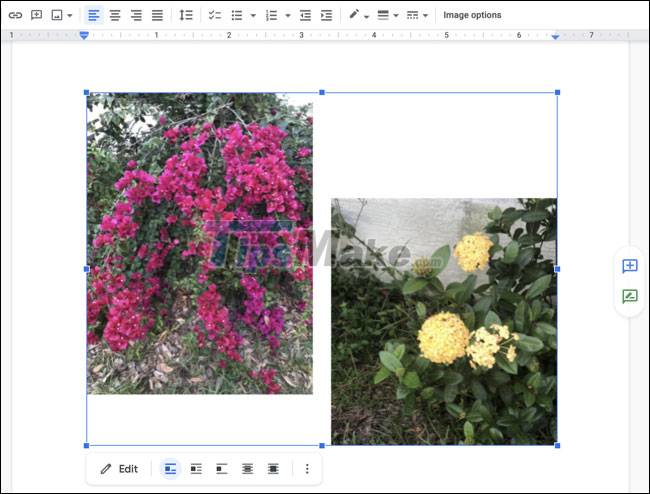
When you're ready to group these images, select the first image, hold Shift, and select the remaining image(s). You will see them placed inside a single shape. Right click on one of the images and select ' Group ' from the menu.

At the top right, click ' Save and Close ' to place the group of images in the document.
You'll see the images appear as a single group that you can then edit like any other single image in your document.
Group photo editing
After you place a group of images in the document, if you want to make changes to each image within it, you can use the drawing tool.
Select the group of images in the document and click ' Edit ' in the floating toolbar below.
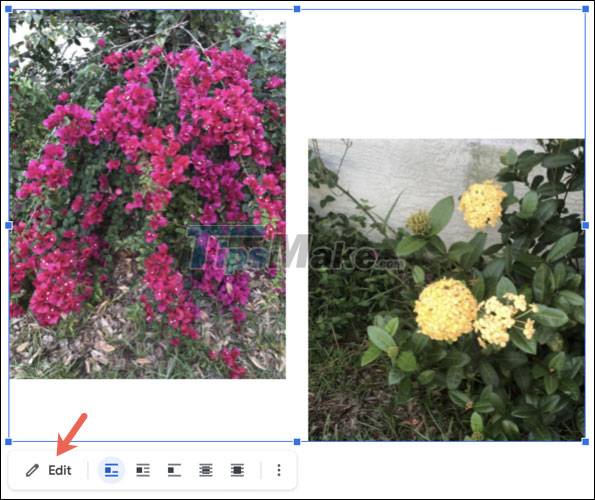
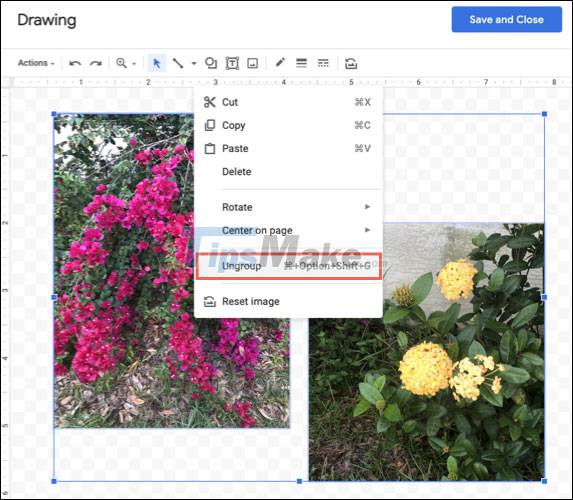
This will open the group of images in the same Draw window as when you originally created it. Right click on an image in the group and select ' Ungroup ' .
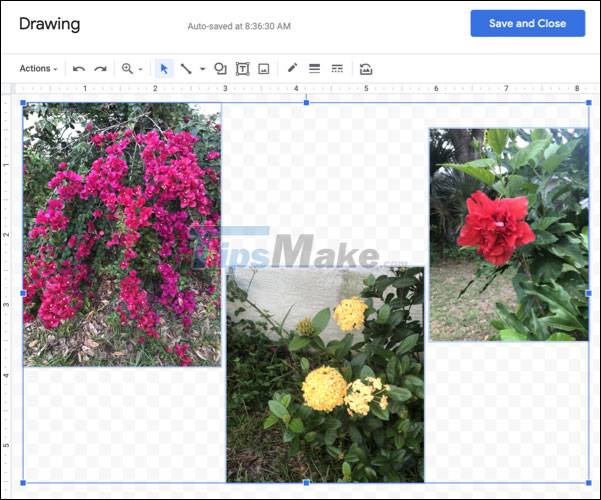
You can then make changes to each image, add more images, or rearrange them. When you're done, gather them together and click ' Save and Close ' .
In general, if you have several images that you want to keep together in Google Docs, you can group them to treat them as a single image.
Was this article helpful?
Your feedback helps us improve.
Related Articles
 Instructions for cutting and rotating photos on Google Docs2 minutes read
 How to crop images in Google Docs, Google Documents3 minutes read
 How to extract images in Google Docs5 minutes read
 The way Google Docs helps you become professional7 minutes read
 Detailed guide on creating images in Google Docs using Gemini3 minutes read
 Instructions for dividing and merging columns on Google Docs3 minutes read
Reader Comments 0
Sign in with email or Google to join the discussion.