Table of Contents
This guide explains how to create a Diagonal Line in a Table Cell in Word, with clear steps, practical tips, and important checks before you begin.
The example to create a diagonal line in the first cell of the table shows column and row headings:
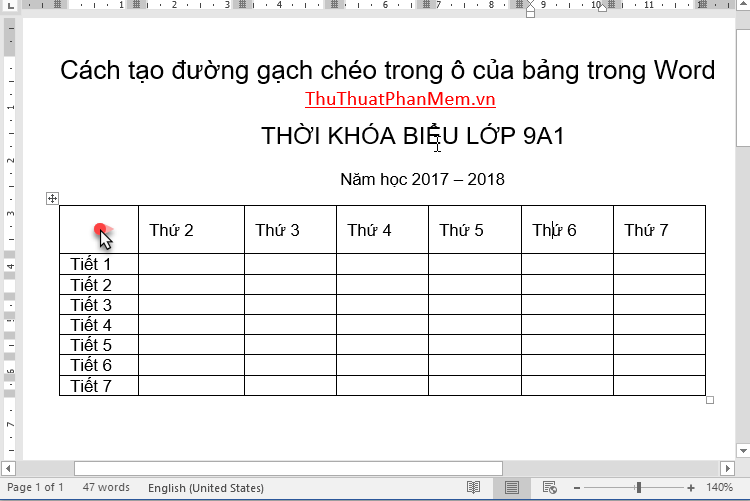
Step 1: Place the cursor in the box to create a diagonal line -> card Home tab icon Paragrap choice Boders -> preferences towards a line through examples here create a line through the down Diagonal Down Borders:
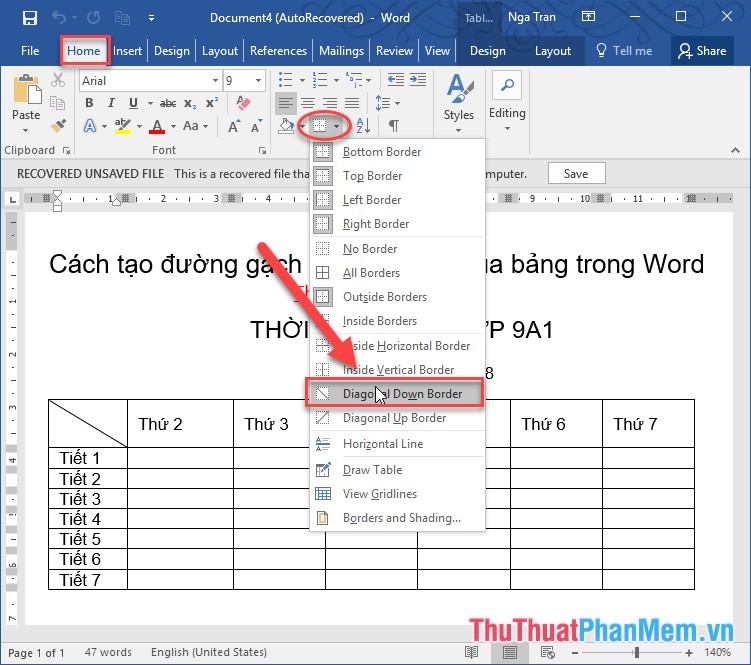
Step 2: The results have created a diagonal line, the next step you type the content you want to insert into the diagonal box above:

Step 3: Press Enter and type the content you want to insert in the diagonal below -> Highlight the content in the diagonal line on the top to select the right alignment:

Step 4: Select the content of the text in the lower slash, choose the left alignment -> get the results:

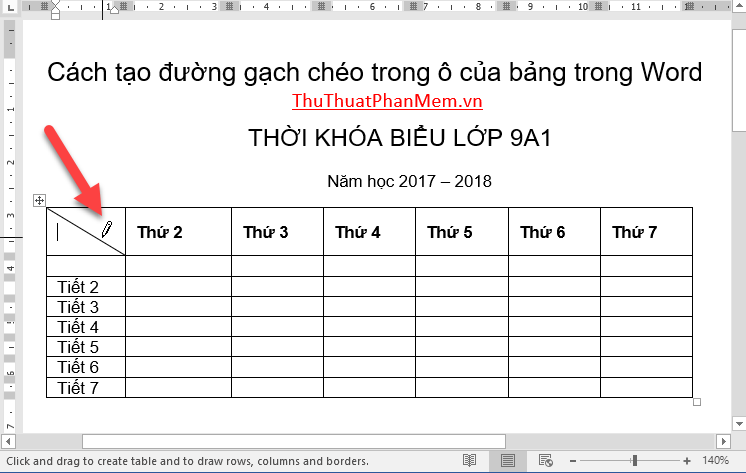
So you have inserted a slash in the cell and show the text content in a diagonal line. Alternatively you can create a diagonal line using the brush. Click on the table -> go to the Design tab of the table -> select Borders -> Borders -> Draw Table:

Click and hold the mouse to draw a diagonal line in the cell:
With the use of brushes you can create multiple slashes in a cell as quickly as possible:
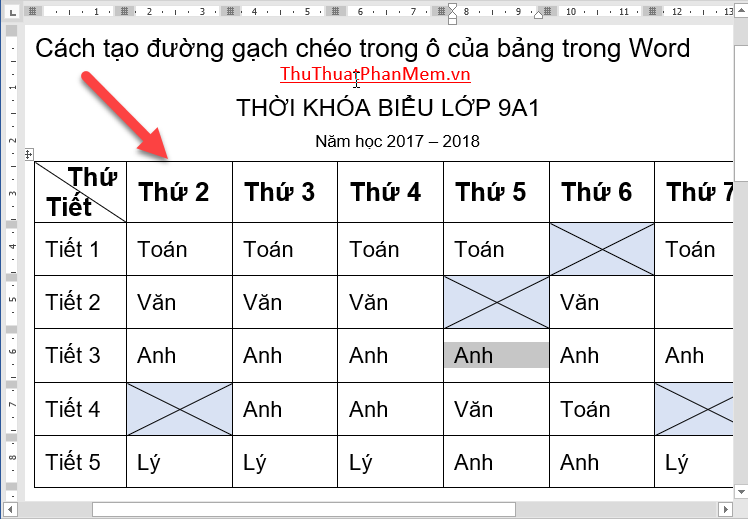
The above is a detailed guide on how to create a diagonal line in a table cell in Word. Good luck!
FAQ
What should I know about Create a Diagonal Line in a Table Cell in Word?
Focus on the key features, requirements, limitations, and practical use cases explained in this guide.
How do I get the best results with Create a Diagonal Line in a Table Cell in Word?
Follow the recommended steps, use current software or information, confirm compatibility, and review settings before major changes.
Are there any risks or limitations?
Potential limitations depend on compatibility, data quality, cost, privacy, support, and how the product or method is used.
Related Articles
 How to Create Diagonal Lines in Word Tables?5 minutes read
 Diagonal Lines in a Cell in Excel2 minutes read
 How to Create Cell Spacing in a Word Table: Step-by-Step Guide3 minutes read
 Instructions on How to Create Diagonal Lines in Excel Box5 minutes read
 How to Center the Cell in the Table on Word: Center the Word in Word4 minutes read
 How to Create a Table in Word 20077 minutes read
Reader Comments 0
Sign in with email or Google to join the discussion.