Steps to draw dashed lines in AutoCAD
Drawing dashed lines in AutoCAD is a basic but quite important skill and is present in most common drawings. In the following article, let's learn how to draw dashed lines in the following Cad.
Table of Contents
1. Add dashed lines with Layer Manager
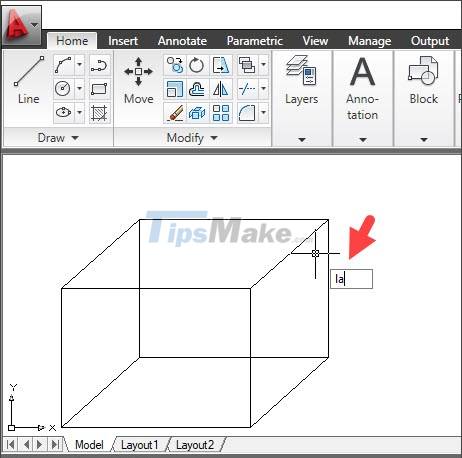
Step 1: You enter the command la => Enter to open the Layer manager dialog box.
Step 2: Double-click Continuous in the Linetype section.
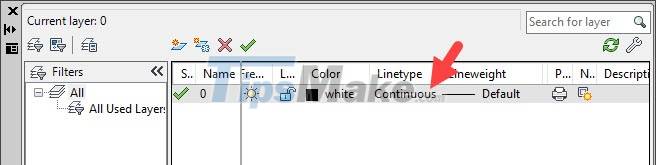
Next, you click Load.

Step 3: You choose the dotted line pattern (1) => OK (2).
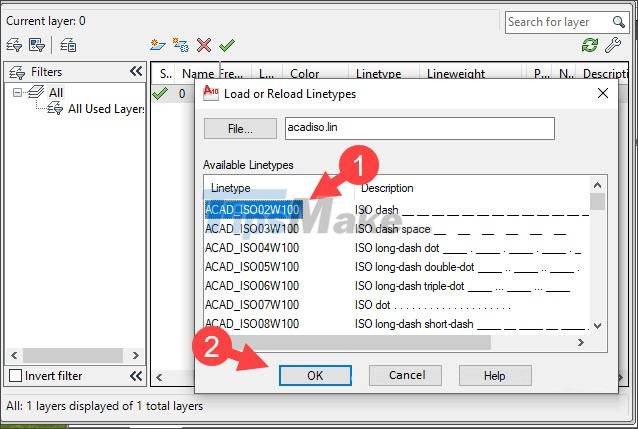
Step 4: You click OK (1) => click on the X (2) to close the Layer Manager window.

2. Draw dashed lines with Properties panel
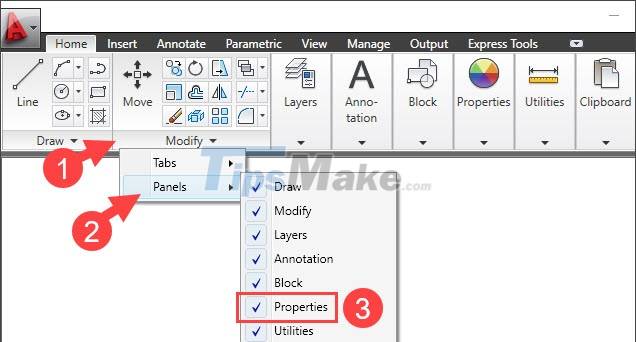
First, you need to check if your Properties panel is already visible. If you do not see the Properties panel, right-click on the panel (1) => panel (2) => tick Properties (3).
2.1. Draw dashed lines Vẽ
You click on the line to create a dashed line (1) => touch the arrow in the Properties panel (2) => You click on Linetype (3) => select the dashed pattern (4) just set up.
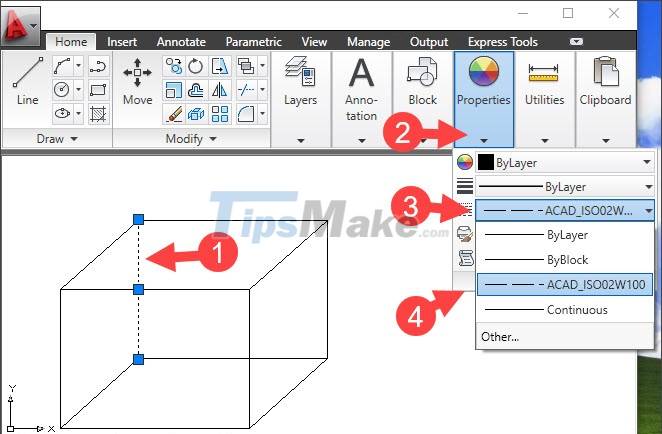
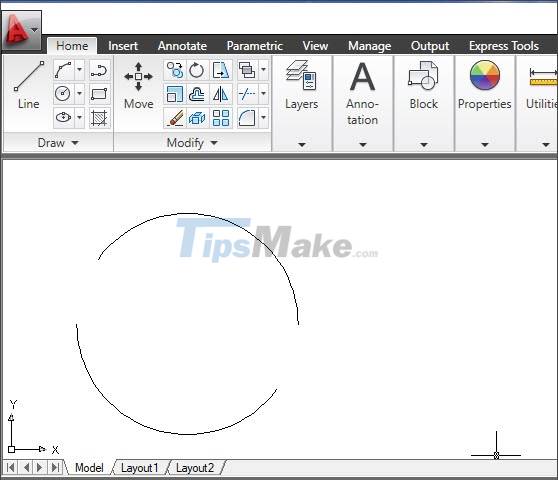
After the operation is complete, the line will change to the dashed line as shown below.

2.2. Adjust the dash size
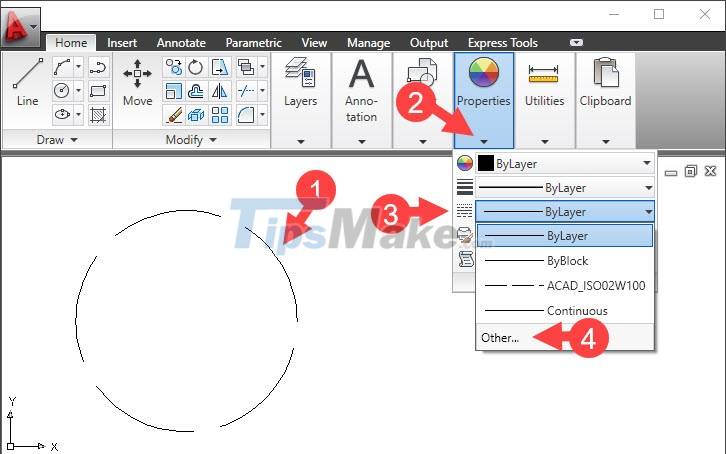
Step 1: Click on the image, the line (1) needs to be changed => Properties (2) => Linetype (3) => Other (4).
Step 2: Click Show details.

Next, you change the parameters Global scale factor and Current object scale (1) => OK (2).
Note: The higher the index (greater than 1,0000), the thinner and fewer the dashed lines, and the lower the index (0.1, 0.2…), the more dashed lines are.

Once done, your dashed line will change like the example below.
3. Create a dash with the Properties dialog box (shortcut Ctrl + 1)
After adding the dashed line on the Layer Manager, you can quickly display the Properties dialog box with the shortcut Ctrl + 1. How to do it as follows:
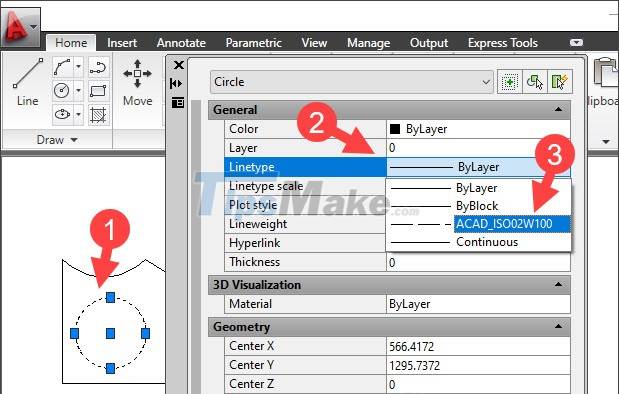
Step 1: You click on the object (1) and press Ctrl + 1 to open the Properties dialog box. Next, click on Linetype (2) => select the dashed line pattern (3).
Step 2: You set the dashed line parameters in Linetype scale (1) => click on X (2) to exit.

After the setting is complete, the object is converted from solid to dashed lines as shown below.

With the instructions in the article, you can create dashes in Cad easily and quickly. Good luck!
Was this article helpful?
Your feedback helps us improve.


Reader Comments 0
Sign in with email or Google to join the discussion.