
How to configure TCP/IP using CMD command on Windows
Instructions for using Netsh to set up TCP/IP on Windows, from setting static IP, enabling DHCP to configuring DNS. Useful solution for administrators and advanced users.
Configure TCPIP using Cmd command
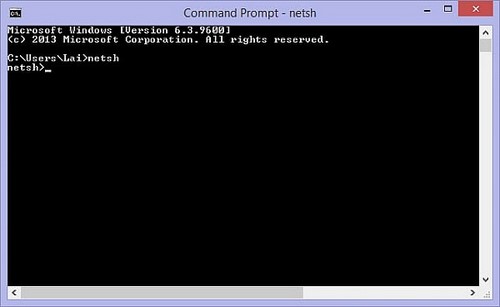
Step 1 : First, open CMD and then enter the netsh command to use Netsh.exe.
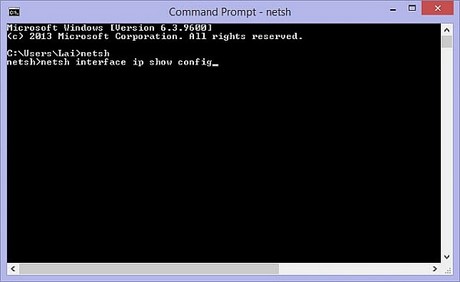
To set up TCP/IP you enter the command.
| netsh interface ip show config |
To set a static IP, enter the command.
| set address local static 192.168.2.2 255.255.255.0 |
In which 192.168.2.2 is the IP, and 255.255.255.0 is the subnet mask
To set up DHCP mode you enter the command.
| set address name= 'Local Area Connection' source=dhcp |
To configure DNS you enter the command.
| set DNS 'Local Area Connection' static 192.168.2.1 |
Where 192.168.2.1 is the DNS address.
To exit the netsh.exe environment you type.
| exit |
If you want to check TCP/IP information using CMD command, you use the command.
| ipconfig /all |
You can use Netsh to configure TCP/IP on Windows flexibly, from setting static IP, enabling DHCP to editing DNS. If you need to manage the network system in depth, CMD commands will help check IP addresses quickly and accurately.
You should read it
- NASA launched the application to help users take selfie photos in space, invite experience
- Horror cases of living with corpses
- 2 steps to backup Zalo messages on your computer
- List all shortcuts in Adobe XD
- Add the QR code scanning function to Control Center on iOS 12
- Dell lost second place to Acer
- Access commonly used items in Windows 7 with Jump Lists
- Kaspersky Internet Security 2011 Beta causes the computer to hang
- How to reset and re-run the search index on Windows 10
- How to Change the Language of Your Computer (Windows XP)
- The fact that Xiaomi surpasses Huawei is a testament to how corona virus can change the smartphone market
- How to add columns and delete columns in Word
Maybe you are interested
What do successful people usually eat for lunch? What is UAC? How to enable / disable UAC on Windows 10, 8, 7 Fix Steam game not running Camera wifi - New trends in 2019 'Imitate' China, the US will deploy dense camera system, a surveillance camera 4 people How to play Steam games on your phone using the Steam Link application