What is UAC? How to enable / disable UAC on Windows 10, 8, 7
Every time you download a new application and access it, the User Account Control (UAC) window appears not only once, but even many times while manipulating the application. If this makes you uncomfortable, in this article I will guide you to turn off UAC on Windows 10, 8 and 7.
Besides, I will explain what UAC is and whether to disable it or not, share many different methods to enable / disable it in your Windows computer.
I. What is UAC? Should I turn off UAC?
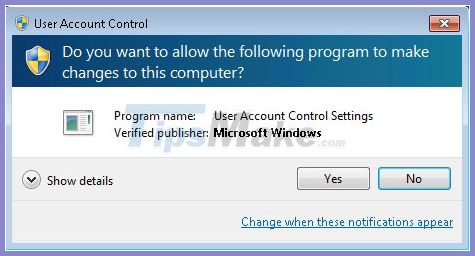
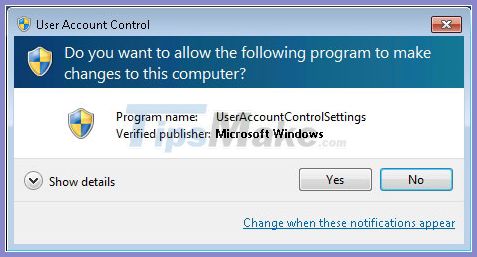
User Account Control or UAC is part of the Windows security system that prevents an application from making unwanted changes on the PC without your permission. When some software tries to make changes to Windows system and Registry related parts, Windows 10 will display a "UAC confirmation dialog" so that the user will confirm if they really want to make those changes. or not.
UAC therefore provides a special secure environment for your User account, restricting access to generation changes from the application. So the answer to the question of whether to turn off UAC or not is of course "should not be turned off" because it is meant to protect you.
However many users are dissatisfied with seeing these UAC prompts and prefer to use Windows 10 with the classic security model, i.e. by creating a limited and admin account like in Windows XP and earlier. If you're one of those users, here's how to enable and disable UAC and get rid of its pop-ups in Windows.
II. How to enable and disable UAC on Windows 10 and 8.1, 8

The operating systems from Windows 8 and above have quite similar design, you can apply the methods in this section to enable / disable UAC on your Windows 8, 8.1, 10 computer.
Option 1: Turn on and off UAC through Control Panel
To disable UAC using the option in Control Panel, you need to do the following steps:
Step 1: Open the search dialog box by pressing the key combination Windows + Qand then type: UAC
Step 2: Select Change user control settings in the search box.
Step 3: The User Account Control Settings window immediately appears, as in the example below I am setting the alert mode to " Always notify" , ie always alert when the application makes system changes.
Step 4 : Change this status bar to adjust UAC , from always notify (Always notify) -> Never notify (Never notify).
Adjust UAC alert levels to suit your needs, and then click OK to apply the settings.
Method 2: Turn UAC on and off with a simple Registry editing method
If you are having problems with the search box on Windows 10, another way to disable UAC is to use Registry Editor.
Step 1: Press the key combination Windows + Rand then type: regedit
Then click OK to open the Registry Editor.
Step 2: Navigate to the key in the following navigation, you can highlight and copy this path and paste it in the address bar of Registry Editor.
ComputerHKEY_LOCAL_MACHINESOFTWAREMicrosoftWindowsCurrentVersionPoliciesSystem
Step 3: Find the EnableLUA key and double-click on it.
If you do not see it, you can quickly create the key by: Right-clicking on any empty area and then selecting New -> DWORD (32bit) Value then named EnableLUA.
Step 4: At Edit DWORD (32bit) Value window , edit the corresponding value as follows in Value data:
- "1": Enable UAC (Enable)
- "0": Disable UAC (Disable)
Assuming you've entered the picture below Value data = 1, so will trigger UAC . Please enter the value corresponding to your desire, then restart your computer to see the effect.
Method 3: Use the Winaero Tweaker application to turn on and off UAC
You can use the tool to turn on and off Winaero Tweaker simply UAC.
Step 1: Click on User Accounts .
Step 2: Select 1 of the two options:
- Enable UAC: Enable UAC
- Disable UAC: Disable UAC
After you click one of the two options above, the application will automatically turn on / off UAC immediately, the advantage of this option is to help you avoid having to edit the Registry.
Download Winaero Tweaker here
III. How to enable and disable UAC on Windows 7

Step 1: Click the Start Menu and then select Control Panel.
Window in the Control Panel , go to the regime of view by: Small icons then click User Accounts.
Step 2: The screen to make changes to your user account appears, click Change User Account Control settings.

Step 3 : Click Yes.

Step 4: Change UAC alert level to suit my needs, in the picture below I am leaving the alarm level at the highest level (Always notify).
You can reduce the alert level to the lowest level to disable it permanently (Never notify).
Finally click OK to apply settings.

Step 5: Click Yes when asked to apply the setting.

IV. summary
Through the article " What is UAC? Instructions on how to turn on and off UAC on Windows 10,8,7" , you probably already know the use of this feature and how to enable / disable it. Personally, I always turn on UAC but do not set it to too high a warning level, I also advise you to turn it on to ensure the security of the computer.