How to Backup Android Data to Google
Back up Android photos and videos to Google Photos
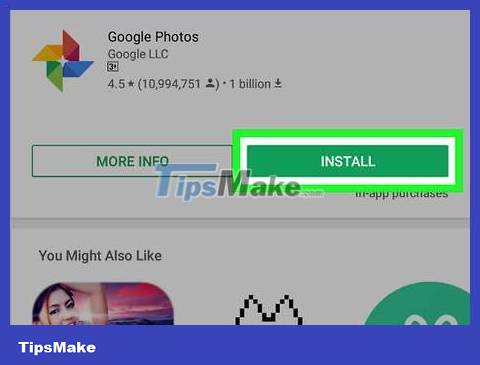
Download and install Google Photos. This is a free application on the Google Play store.
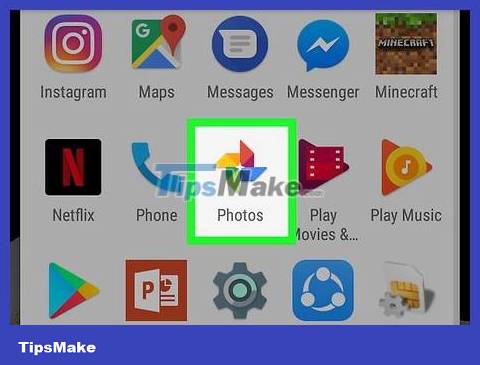
Open the Photos app on your Android device.
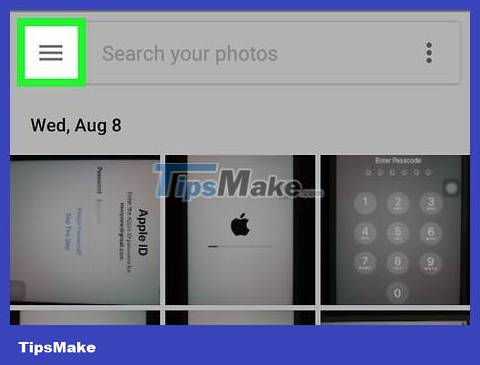
Touch the menu. This section is located at the top left of the screen.
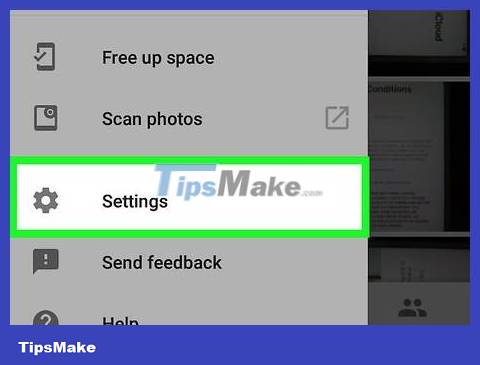
Select Settings. You'll see options to upload and organize photos.

Save photos to Google Drive. Flip the switch next to Google Drive. This automatically saves photos and videos on the device to the Google Photos library.

Check to see if photos and videos have been backed up.
Open the Google Photos app.
Tap Photos. You will see this application at the bottom.
Photos and videos that haven't been backed up will have an icon that looks like a crossed-out cloud.
Backup Android data on Google Drive
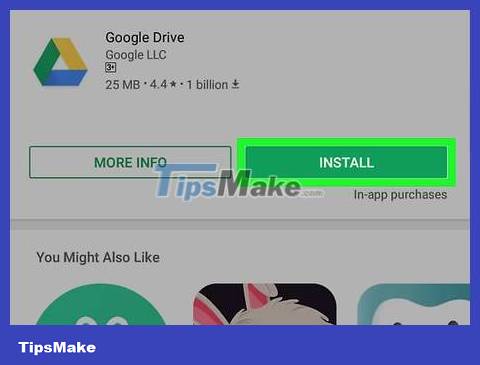
Set up an account on Google Drive. Drive is Google's cloud service that gives you 15 GB of free storage to back up photos, videos, and other data. Before backing up Android data on Google Drive, you need to create an account on this platform.
Download and install the Drive app on the Google Play store.
Open Google Drive on the device.
Sign in with your Google email address and password. You will be automatically connected to Drive.
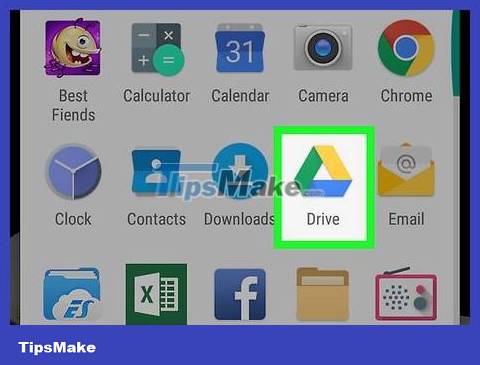
Open the Google Drive app on your Android device. This app allows you to easily upload files to Google's cloud storage service.
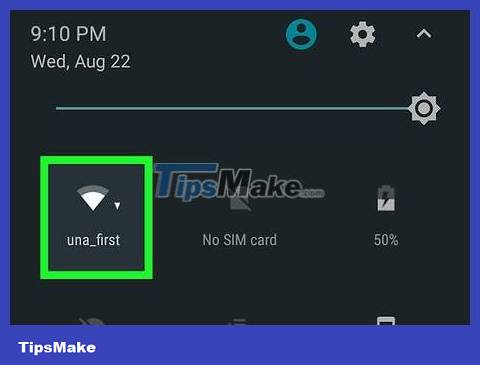
Make sure your phone's Wi-Fi or cellular connection is turned on.
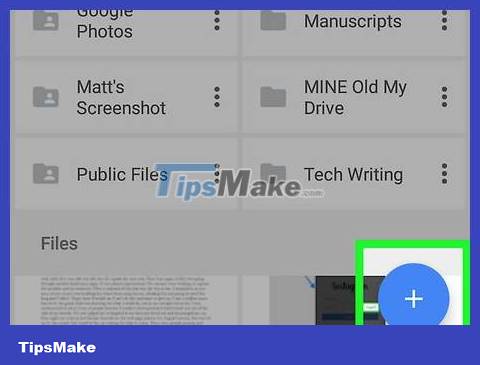
Tap the plus icon in the corner. A new window will be displayed.
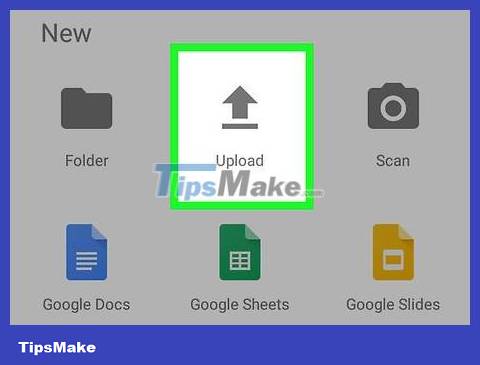
Select Upload.
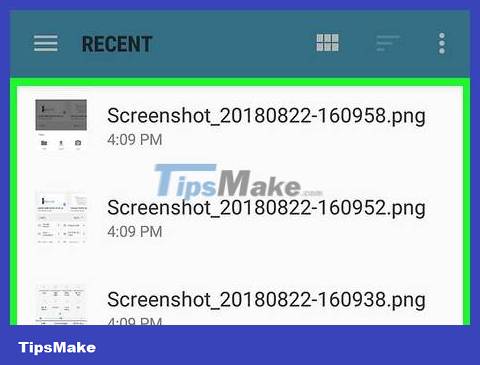
Tap the photos and videos you want to back up to Drive. This is the operation of selecting what to upload.
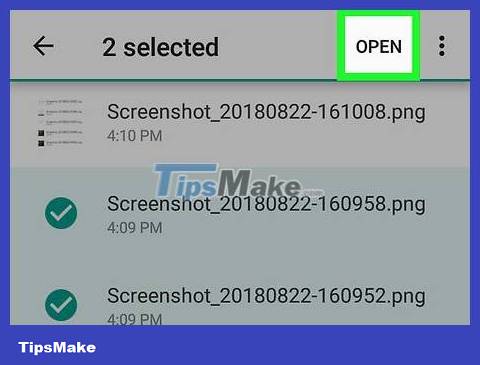
Tap Done. Selected items will be automatically backed up to the cloud.
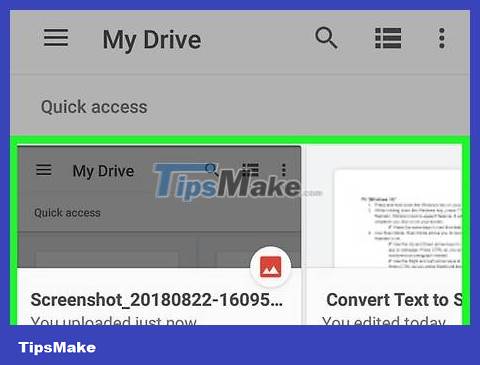
View uploaded files in My Drive.
Sync Android apps and settings with Google
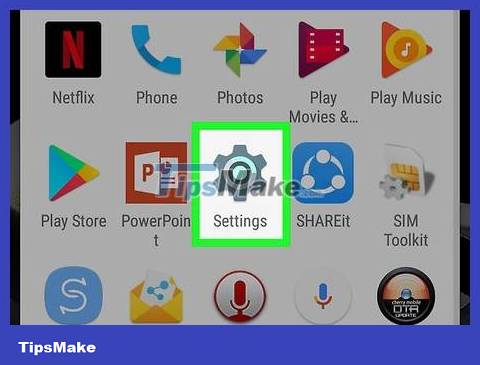
Open Settings. This part has a gear shape at the top of the screen. The Settings option allows you to easily sync Android applications with Google.
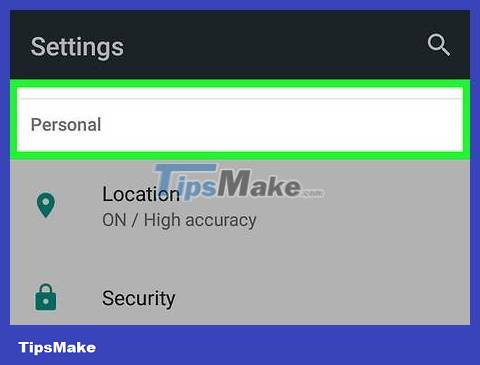
Go to Personal. This is the section that allows you to manage and view personal information, privacy settings and account history.
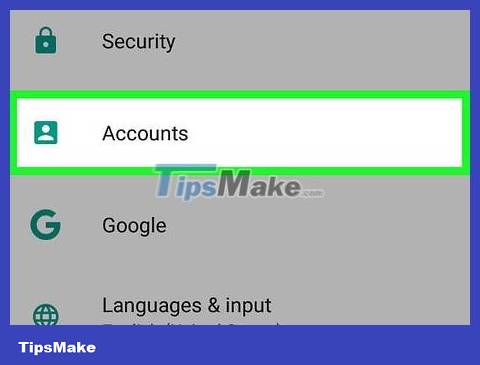
Go to Accounts. This section allows you to manage and view your Google account preferences and individual Google services.
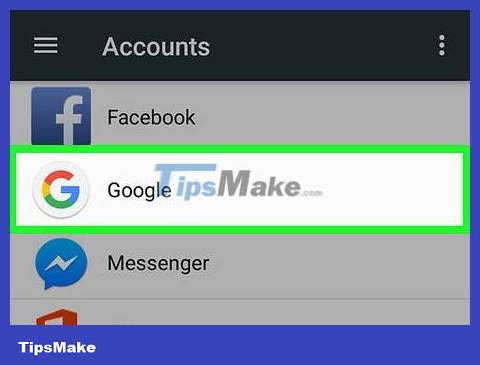
Tap Google. You can view and manage the entire list of Google apps.

Select the account you want to sync. You can only do this if you have multiple accounts on Google.
You can see a list of Google apps that are synced and when they were last synced.
Thanks to auto-sync, Google apps automatically refresh data on your Android device and notify you about updates.
You are allowed to turn off the automatic sync feature of each Google application.
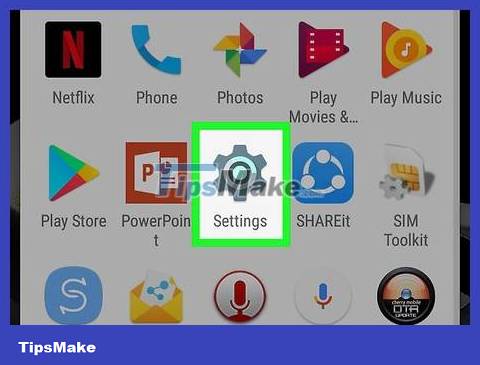
Go to Settings. This gear-shaped icon is at the top of the screen. With many Settings options, you can synchronize Android settings with your Google account.
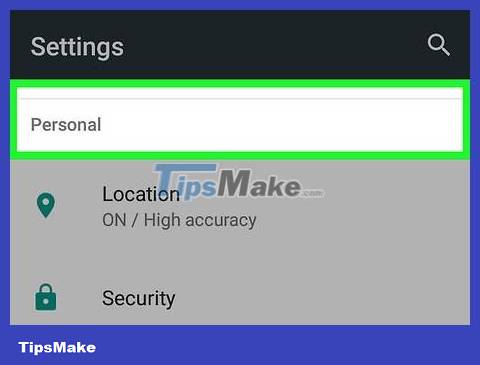
Go to Personal. Here, you can manage and view personal information, privacy settings, and account history.
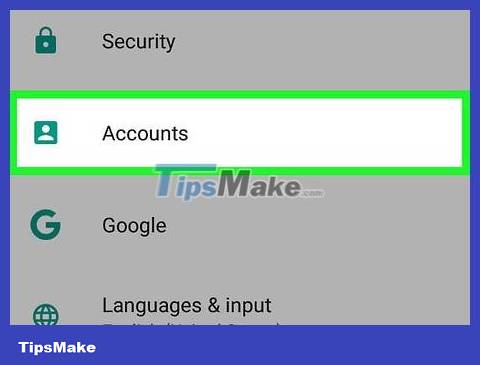
Go to Accounts. This section helps you manage and view your Google account preferences and each Google service.
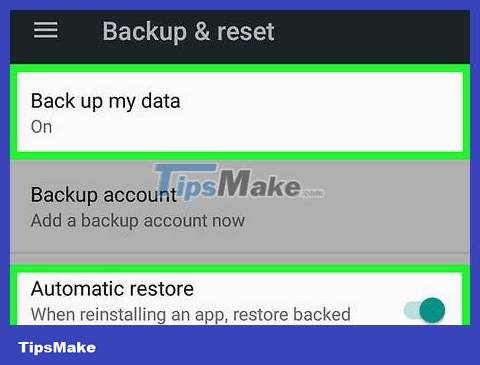
Select both 'Backup my data' and 'Automatic restore'. Not only do you back up your Google account, but you also restore all data and settings on the device. The Auto Restore feature becomes especially useful when you lose data on your current device, or want to switch to a new device.
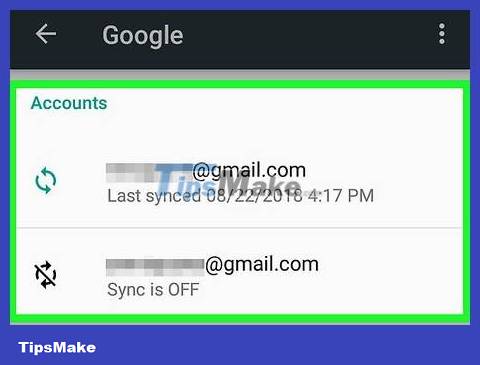
Select the account you want to sync. This step can only be done when you have multiple accounts on Google.
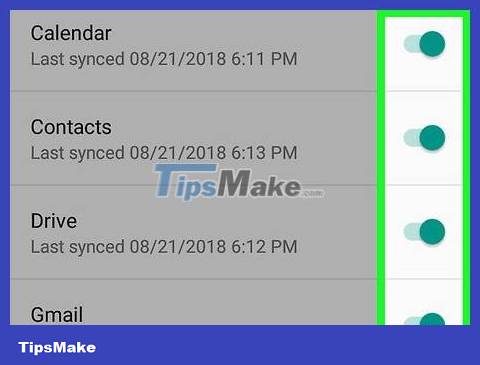
Check all the boxes listed. This helps ensure that all your data is in sync.
Note that Android 5.0 and Android 6.0 have more advanced backup features, such as game saves, settings, app data, and more.
Back up data using Android Backup service
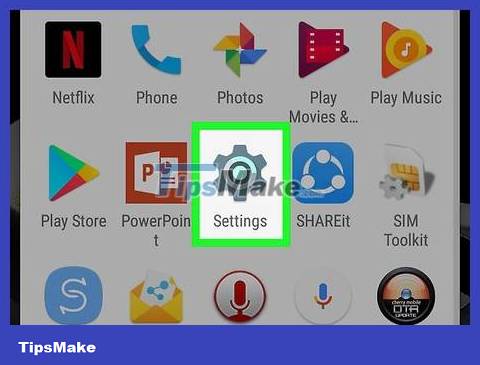
Go to Settings. This is the gear-shaped section at the top of the screen. This section allows you to back up your apps using the Android Backup service. This feature is very useful when you need to replace the device or delete data on the device you are using.
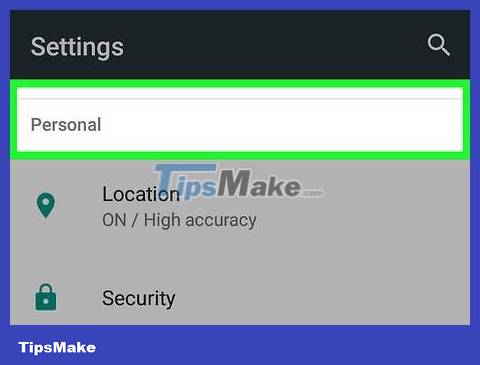
Go to Personal. This section helps you manage and view personal information, privacy settings and account history settings.
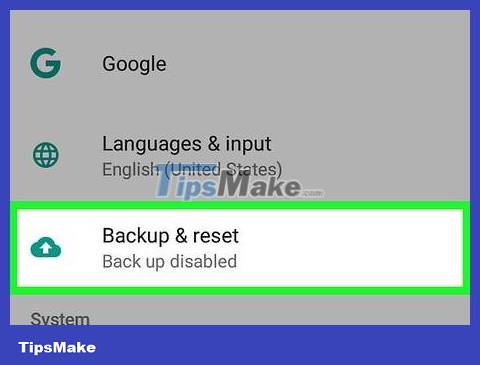
Select 'Backup & Reset'.
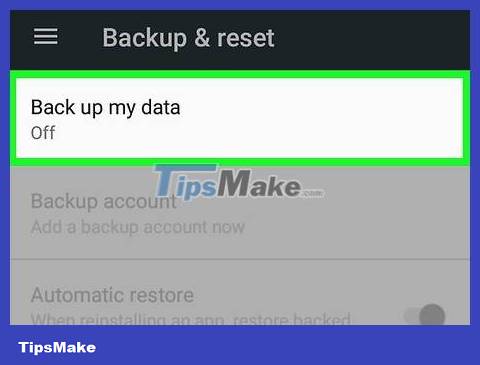
Tap 'Backup my data'. Check this box to enable the automatic backup feature.
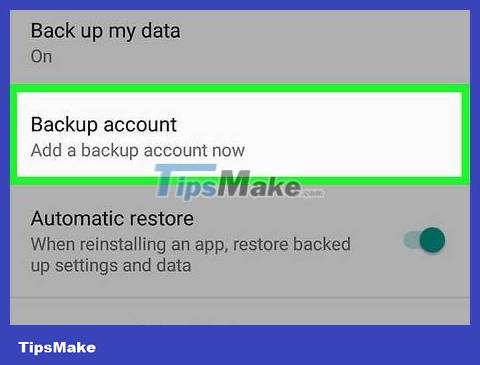
Select backup account. Data on the device will be automatically backed up. Needless to say, you already know that this feature can only be used when you have multiple accounts.
Go to Settings.
Go to Personal.
Tap 'Backup account'.
Tap 'Add account'.
Confirm your device's PIN, pattern, or password.
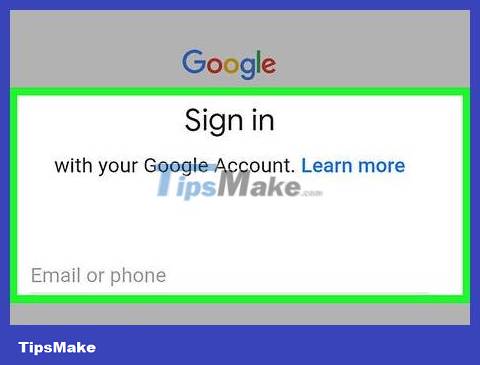
Sign in with the selected Google account. Your data will be automatically backed up.
This service will back up your calendar settings, network, passwords, Gmail, display, language, keyboard, Google apps and more.
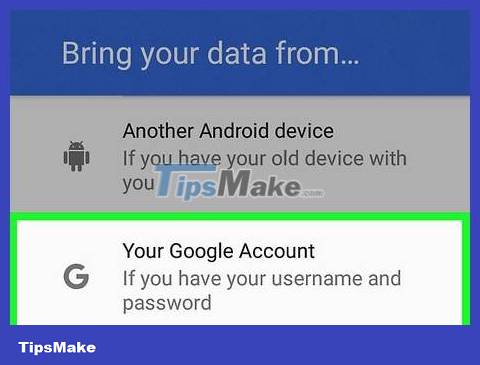
Data recovery. You can restore data from the Google account you selected for backup.
Add a Google account to a new or formatted device. This step automatically restores data that has been backed up through the Android Backup service.
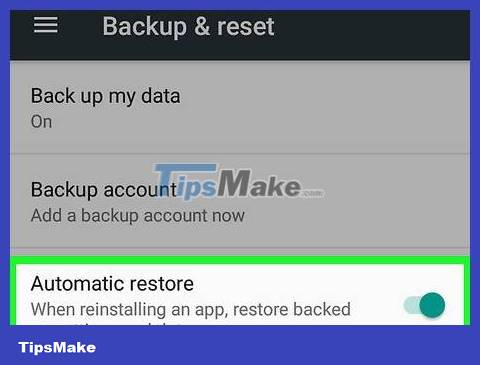
Restore application settings. When you reinstall an app on a new or formatted device, you can restore your previously backed up settings if you want.
Go to Settings.
Go to Personal > Backup & Reset.
Tap 'Automatic restore'. You will turn this feature on.
Note that you cannot restore data of apps that do not use the Android Backup service.
You should read it
- ★ Instructions for backing up and storing data on your Android device securely
- ★ How to transfer data from iPhone to Android using Google Drive
- ★ How to use Google Backup & Sync backup tool
- ★ Instructions for using Google Backup & Sync to sync, backup and backup data
- ★ Manual backup and data recovery on Android devices